How do you connect an external screen to your MacBook?
Connect monitor to your MacBook
You want to connect a monitor to your MacBook for your work, studies, or free time. We'll tell you how to do so in 5 steps:
- Step 1. Check which MacBook you have
- Step 2. Buy a cable converter or docking station
- Step 3. Connect your MacBook to your monitor
- Step 4. Give permission for the connection
- Step 5. Get started
Step 1: check which MacBook you have
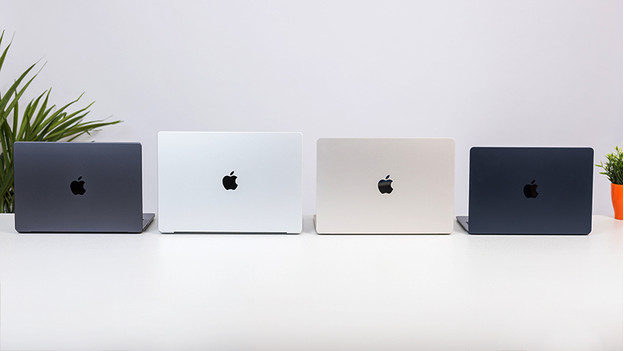
You can connect an extra screen to any MacBook model. Some models are suitable for connecting multiple multiple monitors. You can see here how many screens you can connect to your MacBook:
- Apple M2: connect 1 screen
- Apple M3: connect 1 screen (2 screens when closed)
- Apple M3 Pro: connect up to 2 screens
- Apple M3 Max: connect up to 4 screens
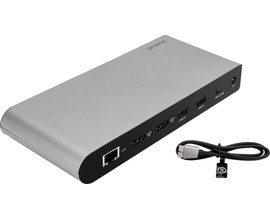
Step 2: buy a cable converter or docking station
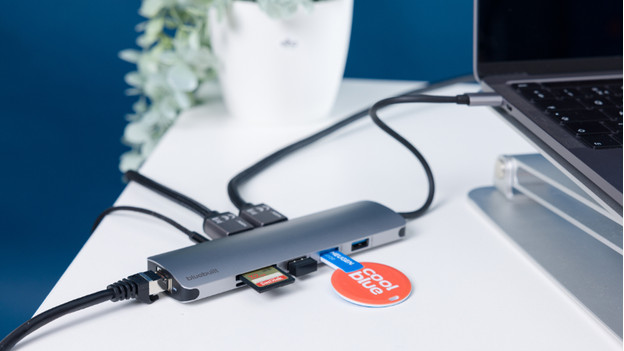
To connect monitors, you often need a docking station. A Thunderbolt cable is only enough if you connect an Apple Studio Display. Before you choose a docking station, it's important to know how many monitors you want to use. Not all docks support the same amount of screens. Want to connect more monitors? You need a stronger docking station.
Docking station for 1 monitor
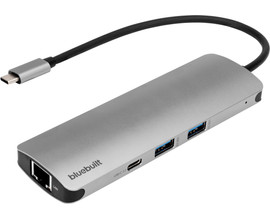

- With this docking station, you can connect 1 extra 4K monitor to your MacBook with a USB-C port.
- Via the USB-C port and your own laptop charger, you can charge your MacBook with this docking station.
- You can make a stable wired internet connection via the Ethernet port.
- You can't connect more than 1 monitor at the same time to this docking station.
Docking station for 2 monitors
- With this dock, you can connect 2 extra monitors to your MacBook.
- You can charge your MacBook with this dock if your laptop supports Power Delivery.
- You can easily connect other accessories via the USB-A ports.
- You have to install DisplayLink software before you can use this docking station.
Step 3: connect your MacBook to your monitor
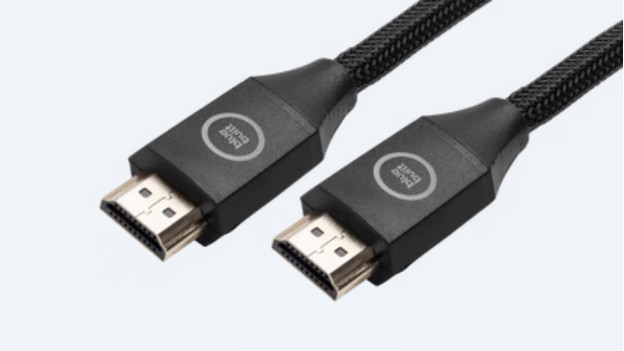
In addition to a docking station, you also need a connection cable. Check which connectors your monitor has and choose the right cable. This is usually an HDMI to HDMI cable. You can find the HDMI port on your monitor and the USB ports on your docking station and MacBook.
Step 4: give permission for the connection
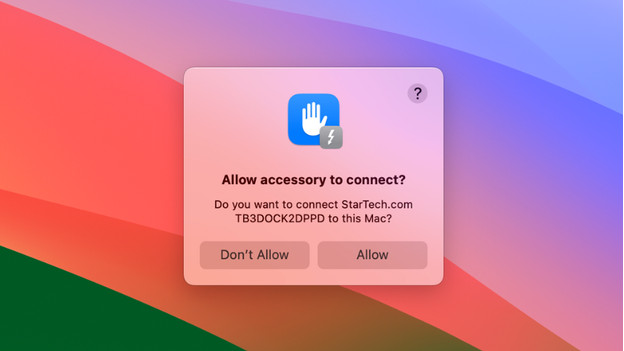
As soon as you connect your MacBook to your docking station and monitor via the cable, a notification with 'Allow accessory to connect?'. Click on allow and you can get started right away.
Step 5: get started

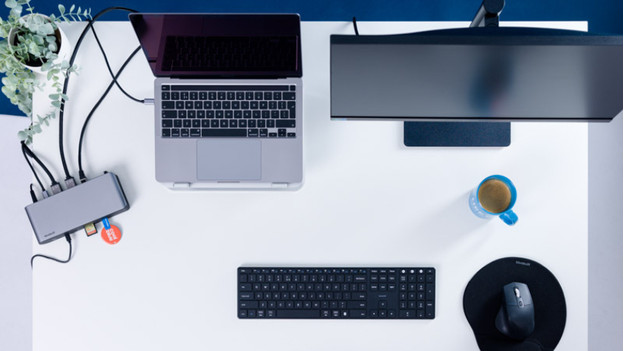
You've connected your MacBook to an extra screen. We like to give you a couple of extra tips to get the most out of your MacBook setup:
- order your screens via the settings. That's useful if your mouse switches between screens on the wrong side.
- Connect a mouse and keyboard to your docking station to complete your workplace.
- Use split screen to multitask even more easily.