Written by Caitlin
Edited on
3 August 2022
·
08:33
Connect your gas stove in 6 steps
Before you cook fresh meals on your new gas stove, you must first connect the stove to the gas supply. You can do this by connecting a gas hose to the gas stove and the gas supply in the kitchen. In this article, you can read how to connect a gas stove in 6 steps.
What do you need?
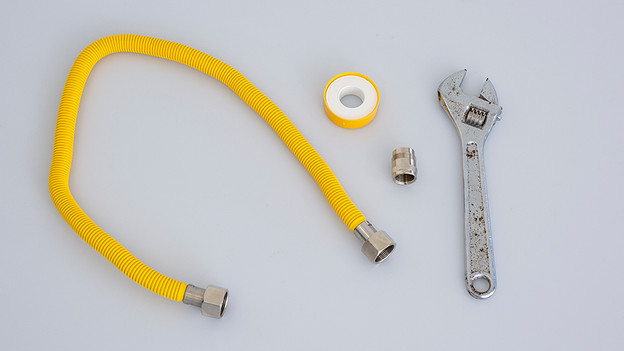
To connect a gas stove, you need the following supplies:
- A new stainless steel gas hose (a rubber gas hose is only suitable for freestanding stoves)
- A gas connector (adapter)
- Gas tape
- A wrench
Step 1: close the gas
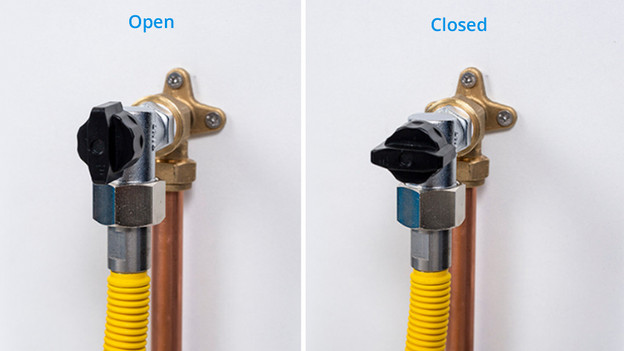
The gas valve is located in your kitchen, near your gas connection. Turn the tap perpendicular to the pipe. It'll then be closed.
Step 2: place the gas connector
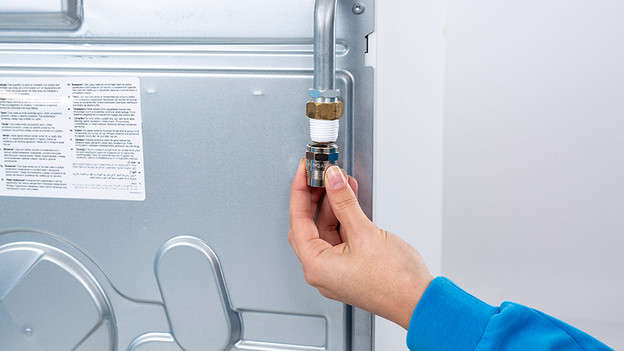
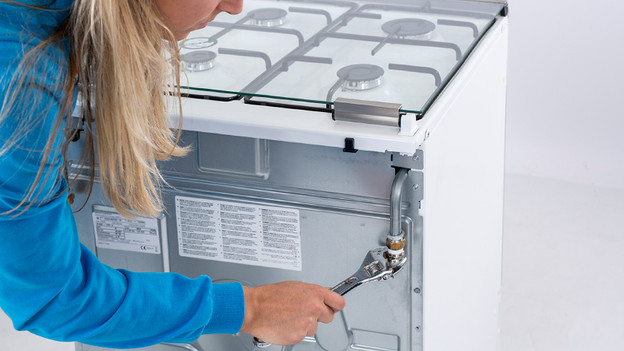
A gas hose usually doesn't fit directly on your stove. That's why you place a gas connector. Before you do that, first tape the end of the stove's gas connection. This way, you prevent a leak. Apply several layers of tape with the rotation of the thread. If the tape is stuck, connect the gas connector and tighten with the wrench. Tighten is well, but not too much. Does your gas hose fit directly on the stove? Then proceed directly to step 3.
Tape the end of the stove
Position the comfort connection
Tighten the gas connector

Step 3: connect the gas hose to the stove
Check if there is a rubber ring in the gas hose and screw the gas hose onto the stove. Tighten the gas hose securely with the wrench. If there is no rubber in the gas hose, first apply a layer of tape to prevent leaks. Stick the tape clockwise with the rotation of the gas connector. Turn the tape around a few times. After this, you turn the gas hose on. Note: never apply tape if there is a rubber ring in the gas hose. Due to the friction, a leak can occur.
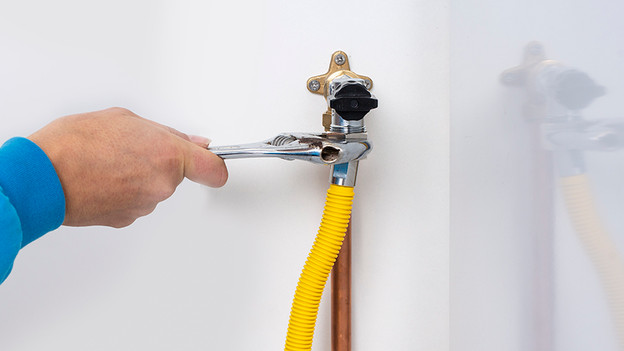
Step 4: turn the gas hose on the gas
Now connect the gas hose on the gas supply in the kitchen. The same applies here: if there is rubber in the gas hose, connect it directly on the gas tap. Tighten securely with the spanner. If the gas hose doesn't have a rubber ring, first tape the end of the gas tap. Do this again clockwise with the rotation and apply a double layer of tape. Then tighten the gas hose with the wrench.
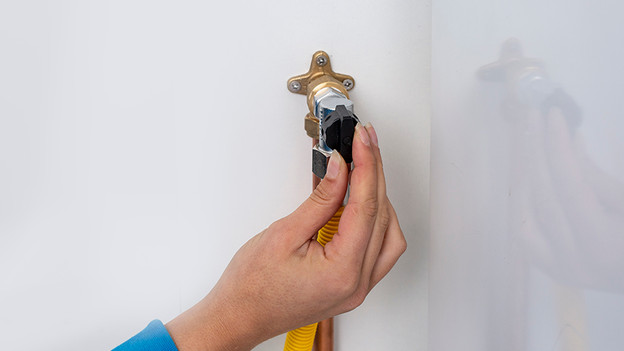
Step 5: check for leaks
The easiest way to check the gas connection for a leak is with soap. Make soapy water with detergent or hand soap. Apply soapy water to the entire connection from the wall to the gas stove. Turn on the gas tap. Look for small bubbles. Nothing happens? Great, your connection is leak-free. If bubbles do appear, run through the connection step again. Note: before you start again, close the gas tap again.
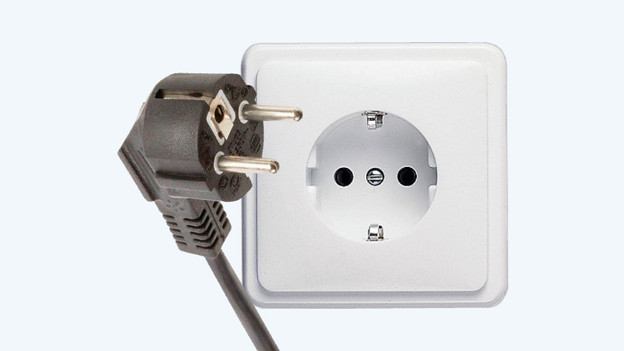
Step 6: plug the connector into the socket
After you've connected the gas hose, plug the connector into the socket. The cable and connector are attached to the stove. So you don't have to attach it yourself. You don't need an electrician for this.
Article by Caitlin
Stove Expert.


