How do you connect a monitor to your MacBook?
Connect monitor

To connect your monitor to your Mac, you have to take 3 steps: find out what type of connector you have on your Mac, and what type of connector your monitor has. Now connect them.
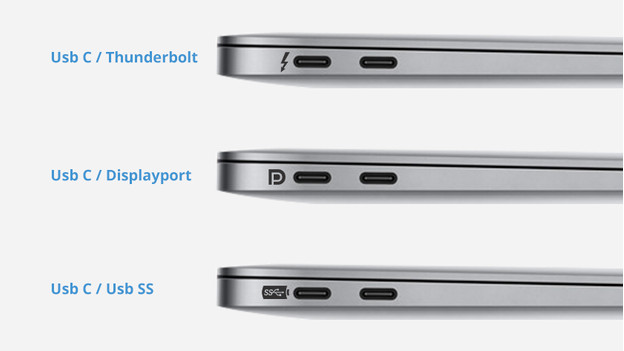
1. Connectors Mac
Check the connectors on your Mac for connecting a monitor. In most cases, it's a Thunderbolt 3 connector (USB-C)
2. Connectors monitor
Check the connectors of the monitor. Does your monitor use a USB-C cable? Connect your MacBook and monitor directly with a cable. Are the connectors different? You need a cable with different outputs, or you can use a converter.
Connect the monitor to your Mac with the cable and a converter, if required. Switch on the monitor and boot your Mac. Now you're ready to set up the monitor.
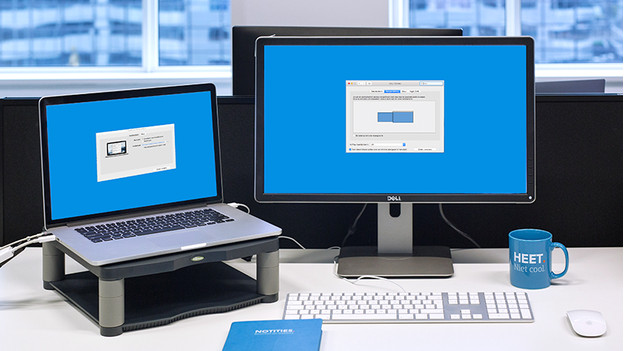
Set up monitor

Setting up your monitor is as follows:
-
From the Apple menu (the Apple logo in the top left corner), choose System Preferences .
-
Choose Images .
-
Click the Signature .
4 tab. You now decide what the main screen is by placing the white bar above this screen. By placing the blue area representing the second screen above or below, or to the left or right of the main screen, you indicate the order of preference. In this way you use both screens as one large worktop. Do you want the same image on both monitors? Then tick the box Switch synchronous display.
You have now connected your monitor and set it up, ready for use!
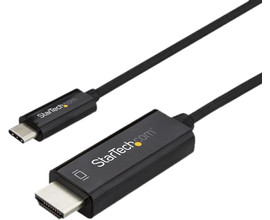
USB-C to HDMI
With this converter, you can connect an HDMI monitor to the USB-C port of your Mac or MacBook.
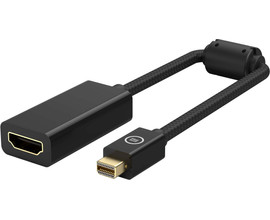
Mini DisplayPort to HDMI
Does your MacBook have a Mini DisplayPort connector? With this converter, you can connect an HDMI monitor to it.


