
Get started with the DJI Mini 2
Get started with the DJI Mini 2
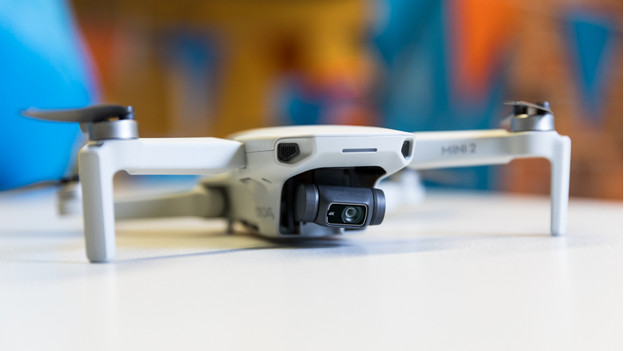
Now that you have your DJI Mini 2, you want to get started right away. We'll explain step by step how to het your drone ready for its first flight.
- Step 1. Get the drone ready for use.
- Step 2. Charge the battery and the remote.
- Step 3. Download the app.
- Step 4. Set up the remote.
- Step 5. Connect it to the drone.
- Step 6. Start flying.
- Step 7. Control the drone.
Step 1: get the drone ready for use
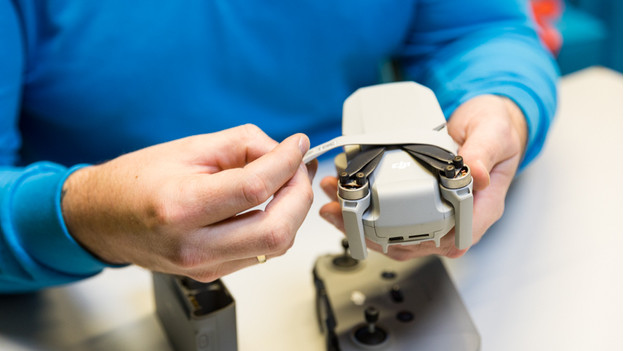
When you take the Mini 2 out of the packaging, you can see that it's stored in a very compact way. The arms of the drone are folded in and there's a harness around it. First, detach the first strap from the harness. Then, unfold the arms of the drone. The propellers are already attached to the arms. After that, take the protective cover off the camera so it can move freely. Now, all you have to do is screw the joysticks onto the remote. The joysticks should be at the bottom of the remote.
Step 2: charge the battery and remote
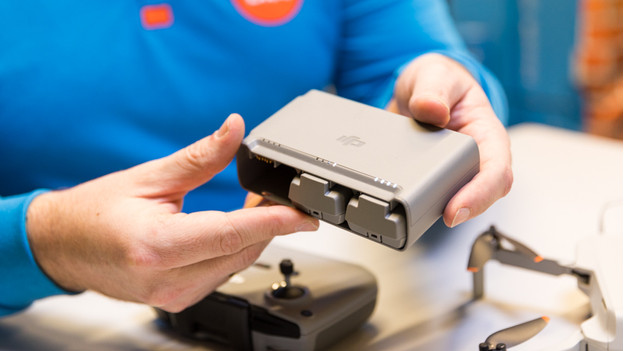
Before your first flight, you first have to fully charge the battery of the drone and remote. You can charge the battery while it's in the drone. The battery compartment is located at the back. Did you buy the Fly More Combo? It includes a charging hub that charges the 3 included batteries at the same time. The batteries have a button that you can push to release them from the drone or charging hub. There's a connector for the charging cable on the bottom of the remote.
Step 3: download the app
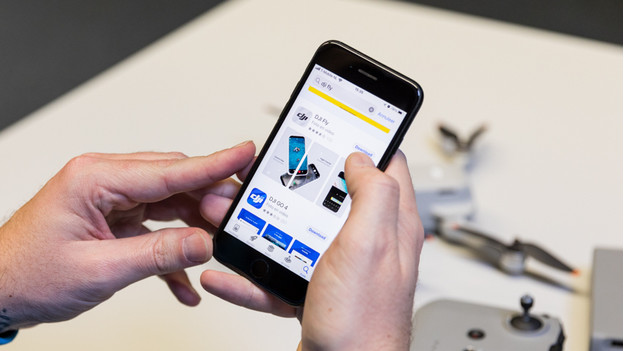
You can control the DJI Mini 2 with the DJI Fly app. You'll find this app in the app store on your smartphone. Download the app before you start flying. Once you've downloaded it, open the app and agree to the DJI terms. Sign in with your DJI account or create one if you don't have one yet. After you've signed in, you'll see the home screen of the app.
Note: Android users have to download the DJI Fly app via the DJI website. To open the download, you need an APK Installer app. You can download that in the Google Play Store. You'll recognize the installer by a box with the Android icon. After you've installed the APK installer, open the installer and go to 'Install APKs'. Here, you'll see the DJI Fly app. If you select it, your phone will install the DJI app.
Step 4: set up the remote
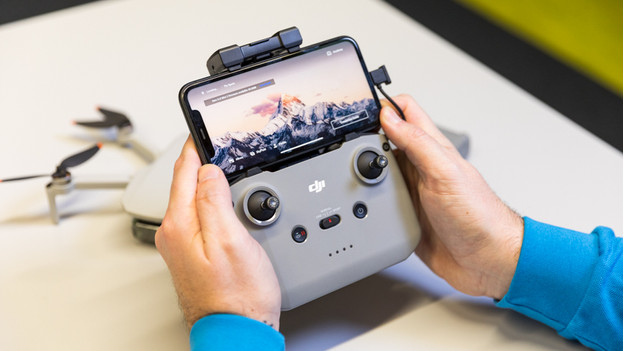
Before you can connect to the drone, you have to place your smartphone in the holder on your remote. Then, connect the RC cable of the remote to your smartphone. There's an Apple Lightning, micro USB, and USB-C cable connector for Apple and Android phones. You can find a short instruction video under 'Connection Guide' in the app. Turn on the remote with the power button. Press it two times, first briefly and then press and hold.
Step 5: connect to the drone
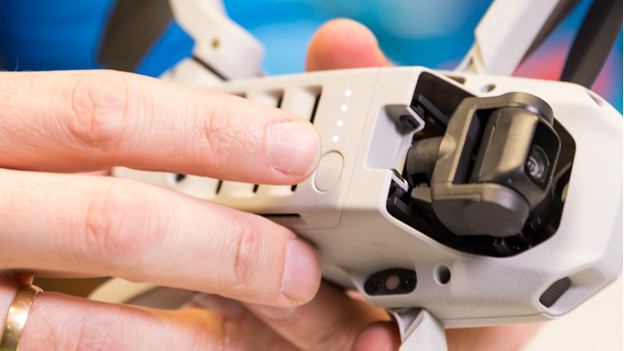
Turn on the drone in the same way as the remote. Press the power button on the bottom, first briefly and then press and hold. When the drone is switched on, you can make a connection via the app. In the app, tap 'Connection Guide'. Select the Mini 2 and tap 'Connect to aircraft'. The lights on the remote will start flashing. Then, press and hold the power button for 4 seconds. As soon as the lights stop flashing, the drone is connected to the remote.
Step 6: start flying
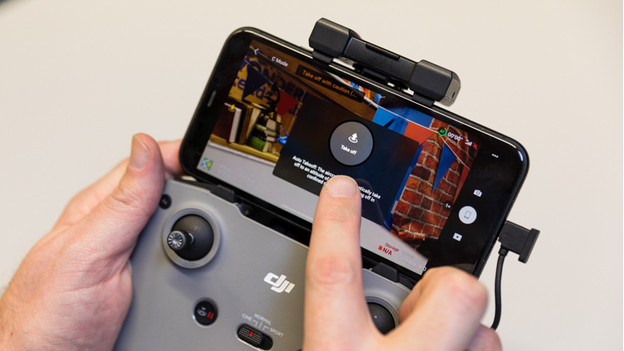
You're ready to fly now. Put the drone down in a safe location. Keep enough distance from people and buildings. There are 2 ways to take off. In the app, tap the arrow point upwards on the left side of the screen. If you keep your finger on this icon, a large button will appear. Keep your finger on it and the drone will take off. A different way to do it is with the joysticks on the controller. Push both joysticks downwards to make the propellers start spinning. Move the left joystick upwards and the drone will take off.
Step 7: control the drone
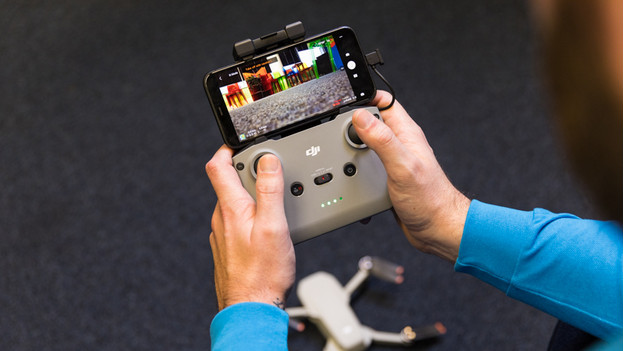
Once the drone is in the air, it's time to start recording. You can move the drone into the right direction with the joysticks. Use the right joystick to go forwards, backwards, to the left, and to the right. With the left joystick, you can turn the drone around its axis or fly it up and down. Practice takeoff and landing before you control the drone when it's far away. The more experience you have controlling the drone, the smoother the images will be.
Step 8: Fly More Combo
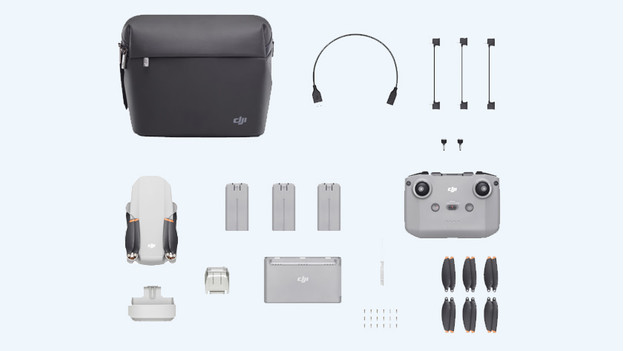
Did you buy the Fly More Combo and did you find out you're missing some accessories while going through these steps? It's likely that the accessories are still hidden in the included DJI storage bag. Open all the compartments to see if there's anything there. The extra propellers and spare joysticks are usually in the top compartment of the bag. You can find the standard joysticks on the bottom of the controller.


