How do you set up a Brother laser printer?
Summary steps
You're going to set up the printer until a print rolls out. This will certainly succeed with the following steps.
- Step 1: install toners
- Step 2: download software
- Step 3: install software
- Step 4: choose a connection method
Before you get started
The setup takes approximately 30 minutes. What do you need?
- A Brother printer
- A stack of A4 paper
- A computer or laptop
- A USB-B cable if necessary
Note: we used the Brother MFC-L2710DW for this article. The setup process of other Brother laser printers is almost identical. If you encounter differences during installation, check the manual of your printer.
Prepare the printer
Follow these instructions to prepare the printer for the setup.
- Remove the printer from its packaging and remove all tape and protective material. Make sure you also remove any protective material from the inside of the printer, if necessary. It's often there to ensure the printer doesn't get damaged during transport. You can check the manual to be sure, so you don't forget any material.
- Put the plug in the socket to power the printer and turn it on.
- Select the right language on the screen.
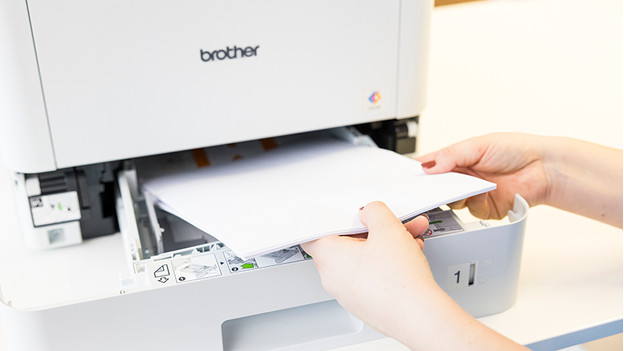
- Put some paper in the paper tray.
You've now made the printer ready for first use. Now all you need is to set up your computer.
Step 1: install toner
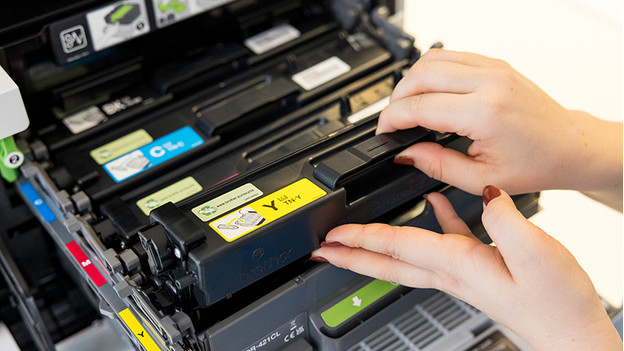
Open the cover on the front of your printer. Remove the packaging from the toner cartridges and place them carefully. Make sure you click them in properly, otherwise the printer will display an error message.
Step 2: download software
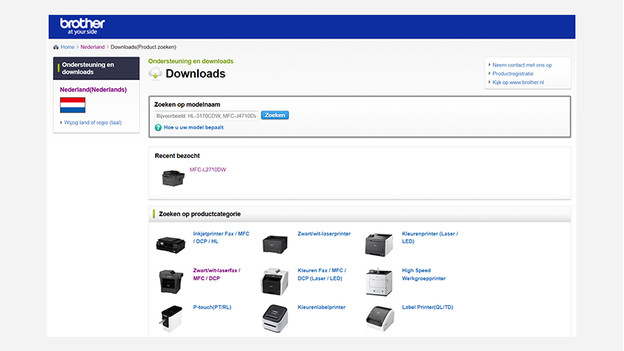
You've now connected your printer. In this step, we'll install the Brother software. This is required to control your printer via your PC or laptop. We install the Brother software for that. Click on the link below to go the support page of Brother.
- Click Downloads.
- Choose the right product category for your printer.
- Select the product series of your printer.
- Select the operating system of your laptop or PC.
- Download the 'Complete package of drivers & software' and accept the agreement.
Step 3: install software
- Open the installation program.
- Select the language in which you want to run the installation software.
- Follow the steps of the installation wizard.
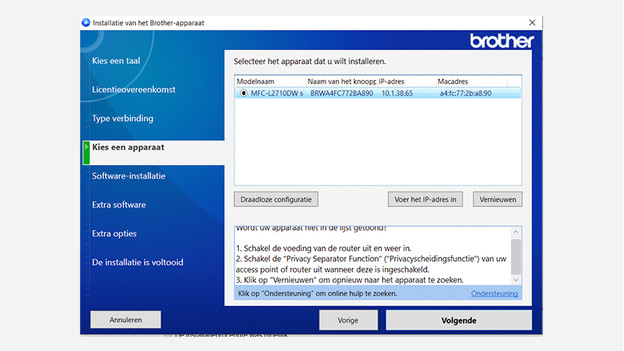
Step 4: choose a connection method
4.1: connect to the software
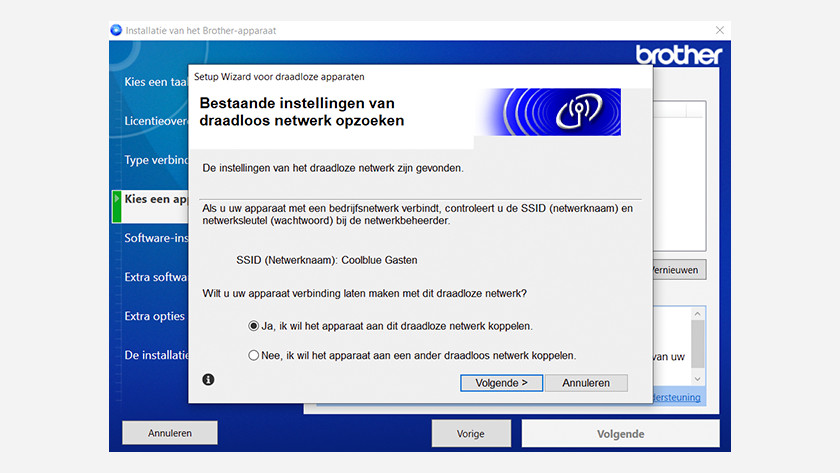
The easiest way is to connect your printer to WiFi using the Brother software that you've installed on your PC. In the Brother software you just installed, select WiFi Connection. Follow the instructions in the following steps. The software sets up the connection automatically, after which your printer is connected to your WiFi network.
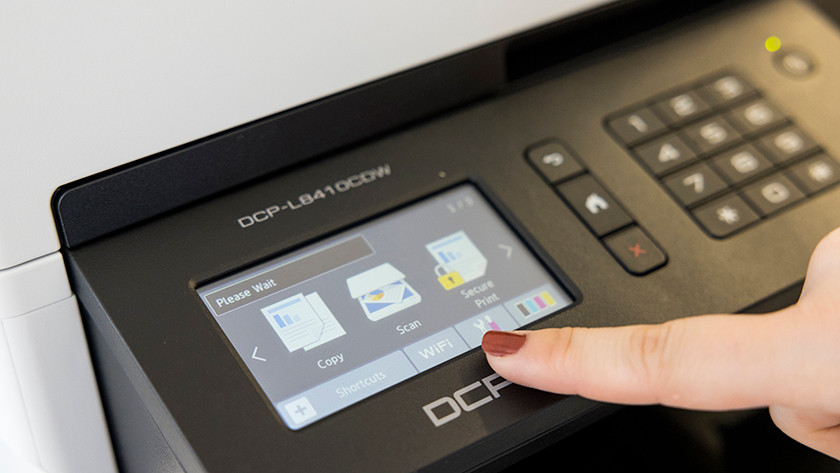
Step 4.2: connect via your printer
The menu is slightly different per Brother printer, but with most printers you choose the following terms in the menu:
- Press the button with the WiFi icon.
- Select the WiFi setup wizard by choosing Yes.
- Select the name of your network. This is also called SSID.
- Enter the password of your WiFi network.
- Press the OK button with the arrow.
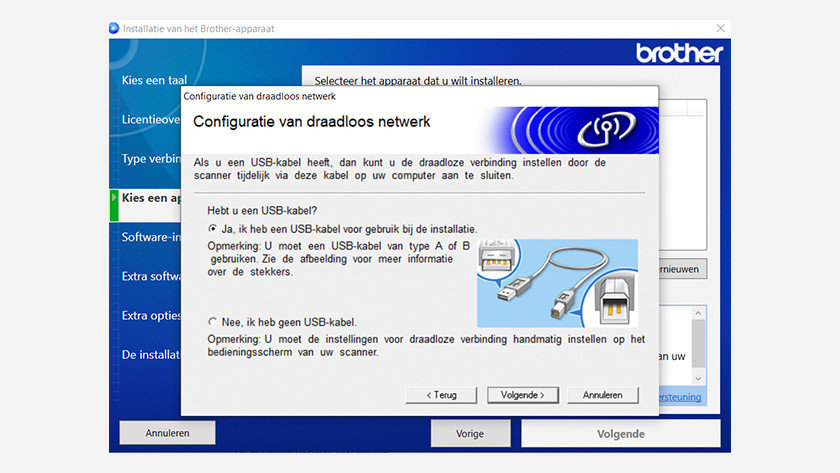
Step 4.3: connect with a USB-B cable
If you prefer to connect your printer with a printer cable instead of using WiFi, choose this option in the installation software. Plug the standard, flat USB connector (USB-A) in your laptop or PC and plug the square USB connector (USB-B) in your printer. You have a connection now. The rest of the installation is the same as in the previous steps, except you don't connect via WiFi.
Start printing
Your printer connects to WiFi and the installation is ready. You can start printing with the app you've installed. This app is called Brother iPrint&Scan.