How do you prevent steaks during printing?
Different ways to prevent streaks

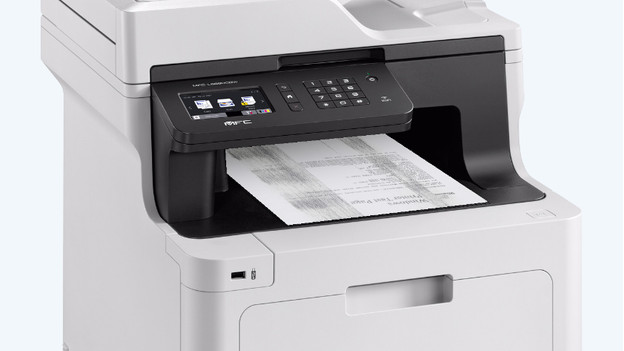
There are several possible causes of the streaks on your paper. In this article, we'll discuss 4 tips that might solve the problem.
- Tip 1. Replace the cartridges or toner cartridges.
- Tip 2. Use the maintenance program.
- Tip 3. Check for toner powder residue in the printer.
- Tip 4. check the print settings
Tip 1: replace the cartridge or toner cartridge

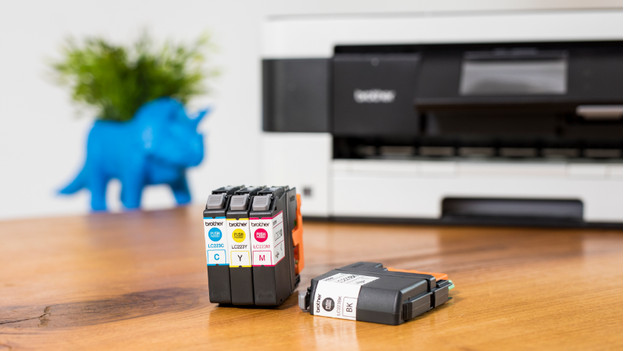
Ink cartridges and toner cartridge have an expiration date. Has it been a while since you used the printer? The ink might have dried out. You can't use the cartridge or toner cartridge anymore. Your only option is to replace your cartridge or toner cartridge.
Tip 2: use the maintenance program

The most common cause of streaks on the paper are clogged print head nozzles. Due to the clogged nozzles, the ink can't be transferred to the paper correctly. You can unclog the nozzles by going through these steps.
- Put paper in the paper tray.
- Select Setup on the screen of your printer. If this option isn't available, continue to the next step right away.
- Select the option Settings.
- Depending on the brand and the type of printer, go to Utilities or Maintenance.
- Choose Clean print head or Print head nozzle check. The printer will make some noise and start to clean the print head or nozzles.
- After the cleaning process, the printer will automatically print a test page. The problem may be solved now. Repeat the previous steps up to 3 times if the page is still streaked.
- Did your attempts fail to solve the problem? Go to tip 4.
Does your printer not have a display? Check in the app or manual of your printer how you can perform the steps above.
Tip 3: check for toner powder residue in the printer

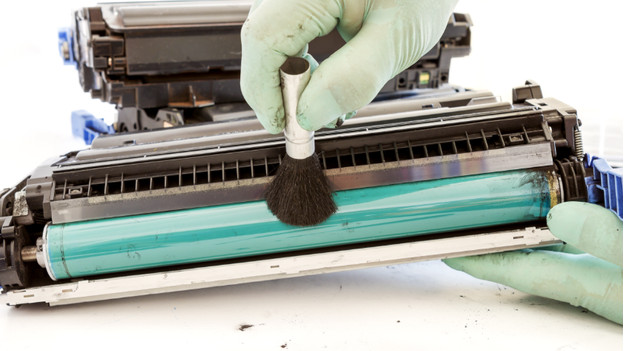
There are streaks and stains on the prints of your laser printer. Check if there's toner powder residue on the inside of the printer. If this is the case, there are 2 common causes:
- The toner cartridge is broken.
- The printer can't get warm enough.
If the printer can't get warm enough, go through these steps.
- Store the paper in a warm, dry location.
- Use thinner paper.
If this doesn't solve the problem, the fuser is broken. In that case, it's best to submit the printer for repairs.
Tip 4: check the print settings
Windows
- Open the print window. To do this, start a print job or press Crtl + P.
- You can find the button that lets you adjust the print quality in one of various places. Look for Printer properties (Office) or More settings (Edge and Chrome).
- Adjust the option Print quality to Best or 1200DPI and click Ok to save the settings. Print a test page and check if the streaks are gone.
macOS
- Open the print window. To do this, you start a print job or press Command + P.
- Click the bar that displays the program you're working in.
- Select Media and quality in the drop-down menu and increase the quality.
- Print a test page and check if the streaks are gone.

