Written by Kayleigh
Edited on
21 March 2025
·
16:32
How do you connect your Brother printer to WiFi?
You can connect your Brother printer to WiFi in 3 different ways. You can do this via the display, via the WPS button or your router, or via WiFi Direct. Which way you use depends on your printer. We'll give a step-by-step explanation hot to connect your Brother printer to WiFi.

Connect to WiFi in 3 ways
You can connect your Brother printer to WiFi in 3 ways. Does your printer have display? You can easily use that to adjust your network preferences. If your printer doesn't have a display, use the WPS button of your router. Some printers have WiFi Direct. You don't need your own WiFi network for that.
- Connect your printer via the display
- Connect your printer with the WPS button
- Connec via WiFi Direct

Connect via display
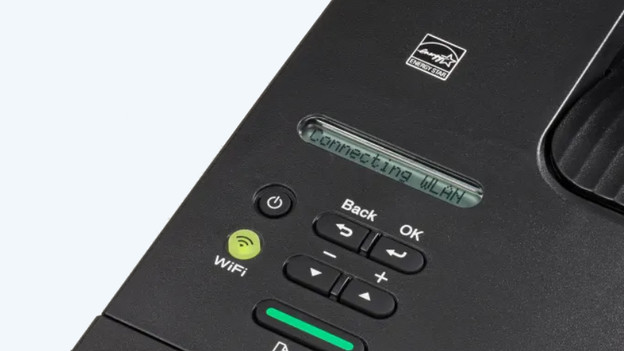
You can easily connect a Brother printer with a display to WiFi via the menu. The menu differs per Brother printer, but you can choose for the following options for most printers:
- Click on WiFi on your printer.
- Press Infrastructure mode and then Network settings.
- Click Setup wizard.
- Choose the name of your network. This is also called SSID.
- Enter the password of your WiFi network.
- Press OK.
- Your printer is now connected to your WiFi network.

Connect via WiFi Direct
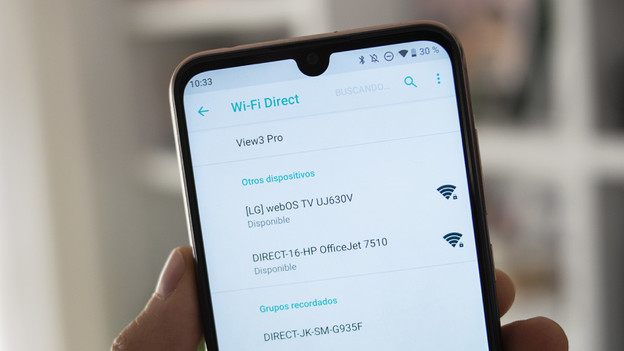
Some Brother printers have WiFi Direct. This means the printer has its own WiFi netword and you can connect directly from your computer or smartphone. You don't need a WiFi router.
- Press WiFi on the display of your printer.
- Click Direct mode and choose Network settings.
- You now see the network name of your printer (SSID). If you click it, you'll see the password.
- Go to the WiFi connections on your smartphone or computer and click on your printer (DIRECT-MFC-series, for example).
- Enter the password.
- Your device is now connected to the WiFi network of the printer.

