
How do you print from a smartphone with a Brother printer?
Summary steps
You're going to set up the printer until a print comes out. With the following steps, you'll certainly succeed.
- Step 1: connect your printer to the WiFi network
- Step 2: download the app
- Step 3: connect to the printer
- Step 4: print files and photos
- Step 5: scan files and photos
Prepare the printer
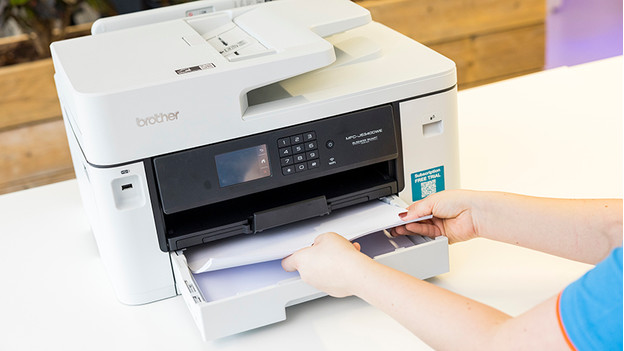
Follow these instructions to prepare the printer for the setup.
- Remove the printer from its packaging and remove all tape and protective material. Make sure you also remove any protective material from the inside of the printer, if necessary. It's often there to ensure the printer doesn't get damaged during transport. You can check the manual to be sure, so you don't forget any material.
- Plug the connector into the socket to power the printer and turn it on.
- Select the right language on the screen.
- Turn on the printer.
- Put some paper in the paper tray.
- The printer is now ready for use. Now all you need is to set up your computer.
Step 1: connect your printer to the WiFi network
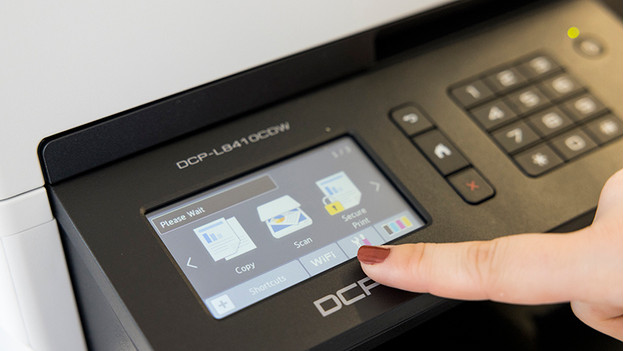
Press the network icon. This is usually located on the left of the screen. The printer now automatically connects to your WiFi network. Isn't it working or do you have a secure network? Press the button 'Menu' and go to 'Network'. Now, choose 'WLAN'. You then enter your password and the printer connects to the WiFi network. In the following article, we'll explain exactly how to connect your printer to your network.
Step 2: download the app
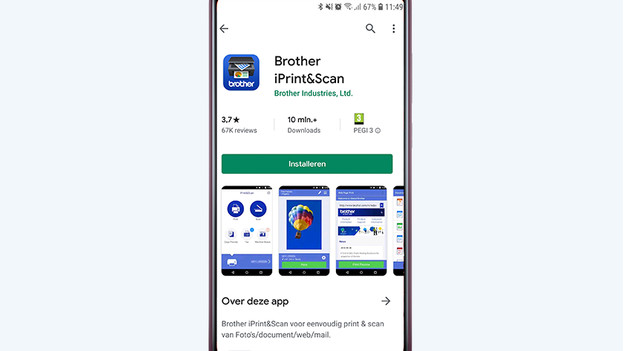
You don't need to download drivers or operating systems to print from from your smartphone. Just download the Brother iPrint&Scan or the Brother Mobile Connect app in the Google Play store or the Apple App store. The difference between these apps is that you can also keep an eye on the ink level of your printer with the Mobile Connect app. When the app is downloaded, you open it. Make sure you're on the same WiFi network as your printer, otherwise the app can't find your printer.
Step 3: connect to the printer
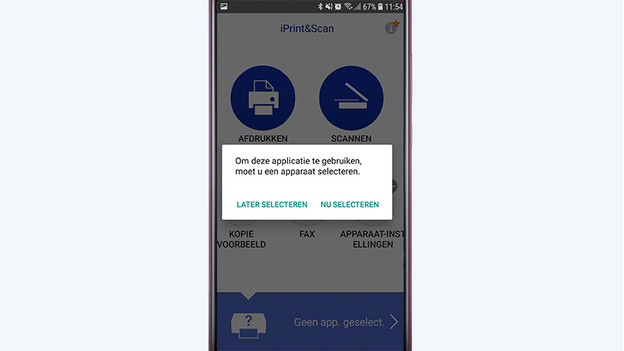
When you open the app, it'll ask you if you want to select your printer now or later. Tap 'Select now' and the app searches for your printer. Select the right printer and the app connects to it. You can now scan, print photos, print document, check the ink status, and order new cartridges or toner cartridges.
Step 4: print files and photos
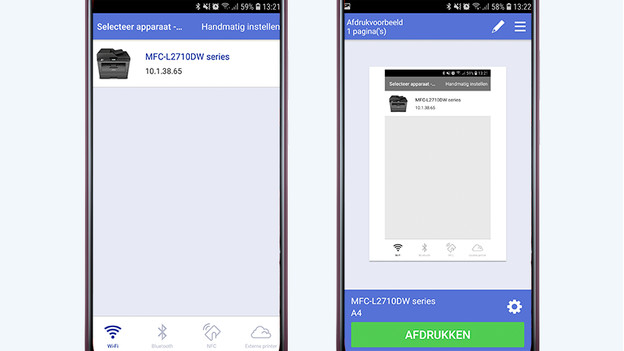
Printing goes as follows. On the home screen, tap 'Print'. Then you choose whether you want to print a photo, document, web page, email, or want to make use of the cloud services. Choose file and tap 'Done'. The app shows you an example of your document in black and white and you now tap 'Print'. The printer now automatically starts printing your print job.
Step 5: scan files and photos
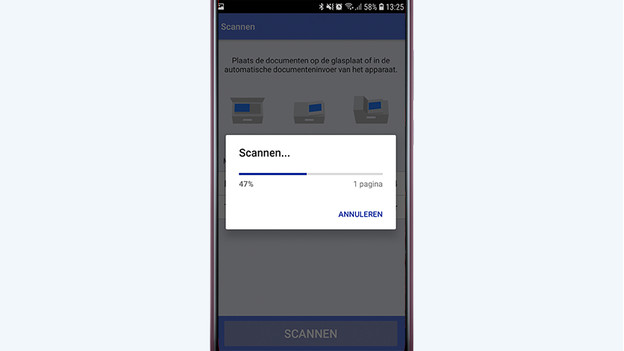
With the Brother iPrint&Scan, you can also easily scan files. Tap 'Scan' in the app to start the scanning function. Place your document or photo in the scanner on the printer and tap 'Scan' in the app. You'll now see an example of the scan on your smartphone. You can still edit this scan, if necessary. After that, you can save it or directly share it as a document with others.


