How do you install the Wacom driver update on macOS?
What do I need?
- Your Wacom tablet
- A MacBook or iMac
- Access to the Internet
Step 1 - download the driver
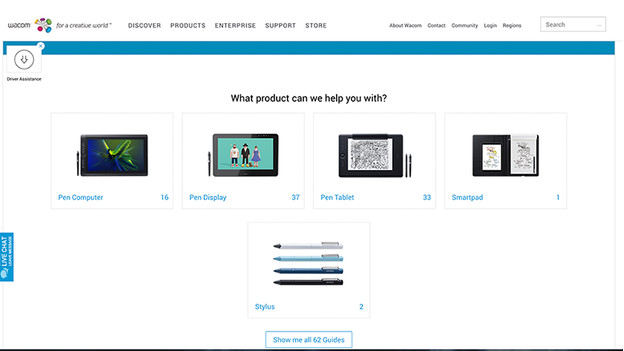
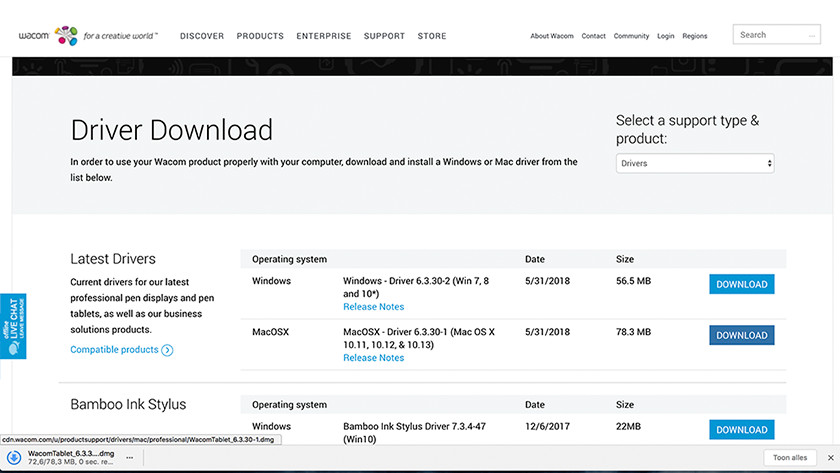
For starters, you'll need to download the correct driver via the Wacom support page. Before you start downloading the driver, make sure to check whether it's compatible with your Wacom drawing tablet. You can do this by clicking 'compatible products' and going through the list to see if your tablet is listed. Found yours? Go ahead and download the macOS driver by clicking on 'download.' Don't forget to connect your Wacom tablet to your MacBook or iMac.
Step 2 - Follow the steps on the screen
-
downloading drivers
-
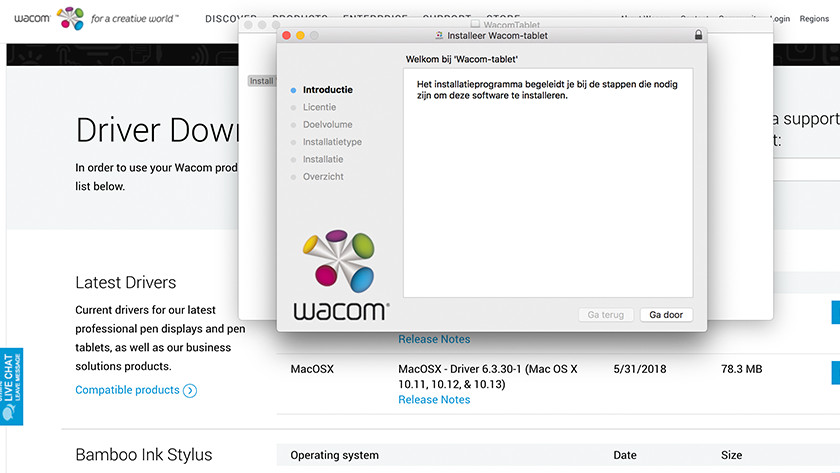
Starting the driver installation
-
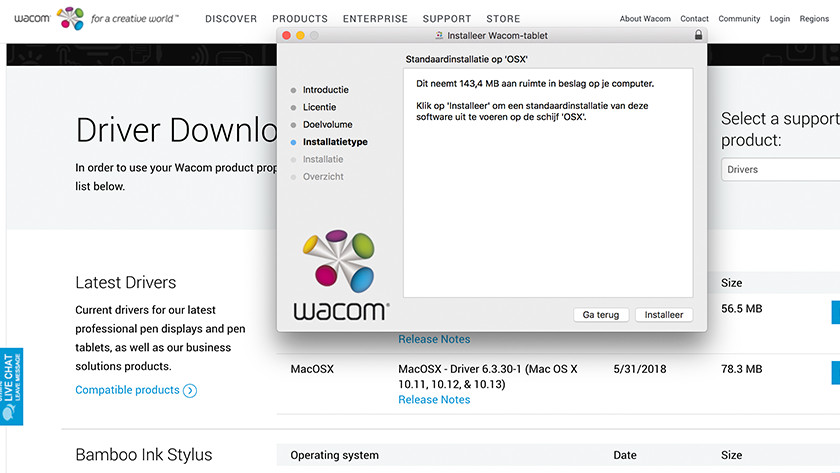
Follow the steps
-
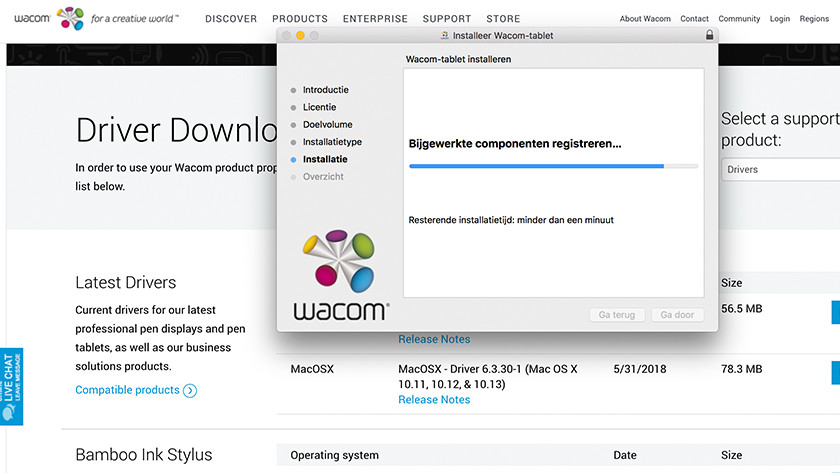
A little more patience, please
After downloading the driver and opening it your MacBook or iMac, you'll be shown the next screen. Double click the icon and start the driver installation. Follow the steps that appear on the screen to run through the installation process. We advise you to install the driver in a folder that can be easily relocated. You can name the folder 'Wacom driver,' for example, for if you ever need to find it again.
Step 3 - Completing the process
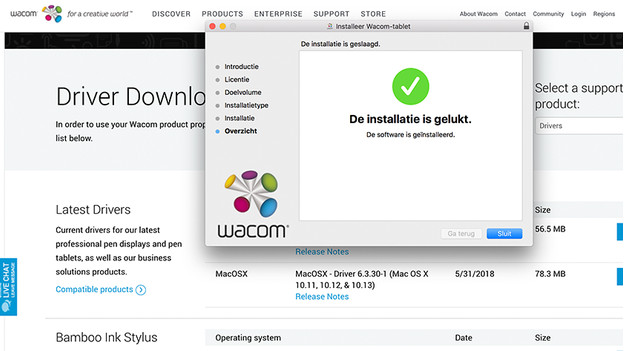
After completing the steps, your Wacom will be up and running again on your macOS device. From now on, it's also possible to update macOS version, without ever having to deal with an unresponsive Wacom tablet again.


