Tips for the best images using your drone
Tip 1: change the settings before you take off

You can change all sorts of settings in the app for your drone, including the image settings. For example, you can select the right ISO value, white balance, and image size. Don't choose automatic ISO for video recordings. The camera will switch between the different ISO too frequently. If you want the best video quality, choose 4K. Choose RAW for photos. That way, you have a lot of freedom during post-editing.
Tip 2: choose the right camera direction

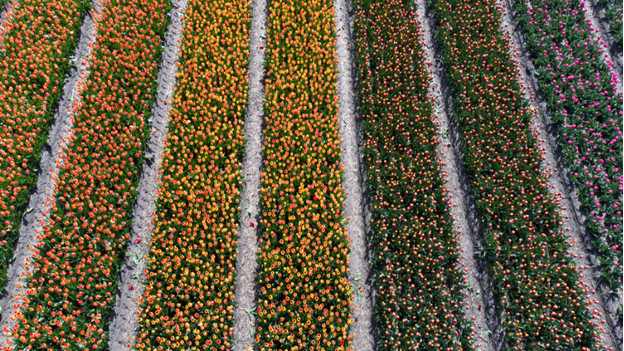
Most drones aim their camera forwards, but you can try a different camera direction. For example, you can turn the lens all the way down. This way, you can record some unique footage, because this angle often makes some very special patterns visible. Once you've chosen a camera direction, you have to stick with it. It's not a good idea to turn the camera while the drone is in the air. This will likely make your footage blurry and messy.
Tip 3: choose a departure point

A lot of videographers already know this trick. It's choosing a specific departure point. Focus on a specific subject when you start recording your footage. From this point, you fly upwards, forwards, or backwards. This usually looks really awesome. It also makes for steady footage. Circling around a specific subject works well too. Choose a tree and fly around it calmly, for example. Make sure you control the drone smoothly, otherwise the footage will still look messy.
Tip 4: variety

You can make the video interesting by recording a variety of different footage. You can do so by using different flying modes. This way, the drone will make certain moves and you don't have to do anything. You can also record close-up footage and record high up in the sky for some variety. Fly the drone from right to left and the other way around. You can make your video more dynamic that way.


