
How do you install a BlueBuilt radiator fan?
Installing a BlueBuilt radiator fan in 6 steps
You can install the radiator fan quickly and easily without any tools. With these 6 steps, you can install your radiator fan within a couple of minutes.
- Step 1. Clean the radiator
- Step 2. Connect the temperature sensor and power cord
- Step 3. Place the radiator fan
- Step 5. Set up the thermostat
- Step 6. Connect the expansion set
Step 1: clean the radiator

Before you place the radiator fan, it's important to clean your radiator. That's because the radiator fan works less well if your heater is dusty. You can clean the radiator with water and soap or a radiator brush, for example.
Step 2: connect the temperature sensor and thermostat cord
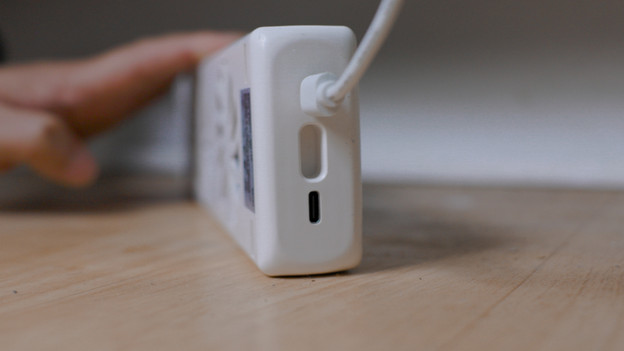
The radiator fan has 2 USB-C ports on both sides. It doesn't matter on which side you connect the thermostat, as long as you place both on the same side. Then, connect the thermostat cable to the power adapter and plug it into the socket.
Step 3: place the radiator fan in the radiator

Now that you've connected the cables, place the radiator fan under your radiator. Make sure the BlueBuilt logo faces downwards, so the fan blows hot air upwards. Do you have a wide heater? Slide the magnet bars a bit until the radiator fan is attached to your radiator.
Step 4: place the temperature sensor
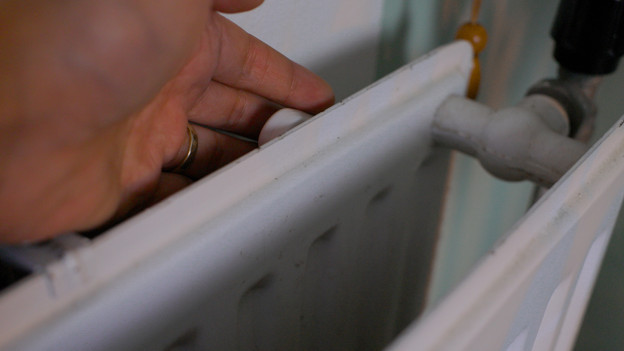
You can attach the temperature sensor to your heater with the magnet. The best spot is near the radiator valve. That's because your heater heats up the fastest here. Attach the temperature sensor to the back of your radiator so you don't see the sensor and cable.
Step 5: set the thermostat
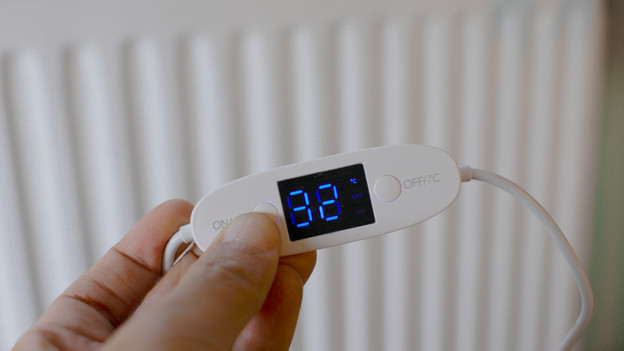
The thermostat is set to 30°C by default. This means that the radiator fan switches on when the radiator reaches 30°C. Want to adjust the thermostat? Press and hold the on button for a few seconds until 'ON' flashes on the display. With the on button, you can increase the temperature by 1°C. And with the off button, you can decrease the temperature.
Step 5: connect your expansion set
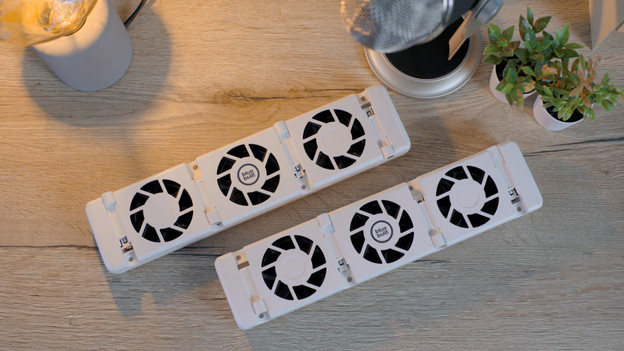
Do you want to connect an extension set to your radiator fan? Connect the included USB-C cable first. You have to plug this into a free port on your installed radiator fan. Once you've connected the fans to each other, place the expansion set with the magnetic bars under your radiator.


