Written by Giovanni
Edited on
29 June 2023
·
14:15
How do you arrange cable management in your computer case?
You have a new computer case and now you are going install your components. When building your PC, it's important to properly arrange the cables so they don't touch any moving parts. In this article, we'll explain how to ensure good cable management in your computer case.

Arrange cable management in 3 steps
By properly concealing the cables in your computer case, you prevent damage to your components. Follow these 3 steps to ensure good cable management in your PC:
Step 1. Arrange the cables in the shortest possible route
Step 2a. Form a cable bundle with velcro
Step 2b. Form a cable bundle with zip ties
Step 3. Check that the cables aren't blocking any moving part

Step 1: arrange the cables in the shortest possible route
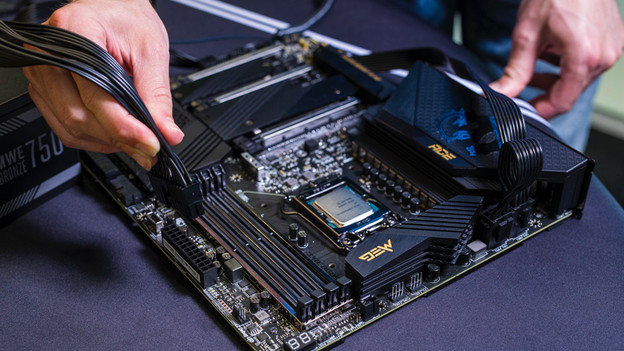
First, install your components on the motherboard in the case. Then arrange your cables in the shortest possible route. Avoid having cables from components to the power supply all over your motherboard. Run as many cables as possible in the same route to the computer power supply. Does your motherboard have a cable duct? Use that to hide the cables.

Step 2a: form a cable bundle with velcro
Didn't your motherboard, components, or computer case come with velcro? Go to step 2b.
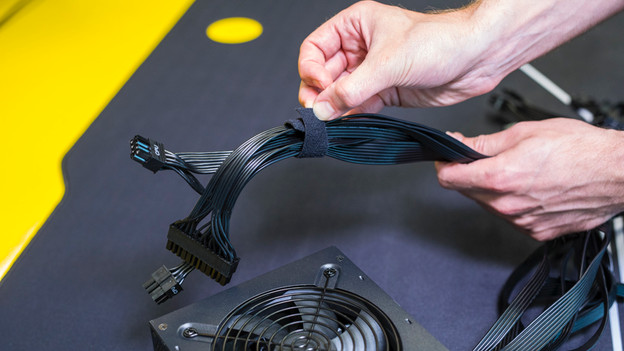
After you've arranged all your cables in a route, tie the cables together with velcro. Form a cable bundle with no cables sticking out from the bundle. Apply velcro in several places to create a sturdy cable bundle.

Step 2b: form a cable bundle with zip ties
Did your motherboard, components, or computer case come with velcro? Go to step 3.
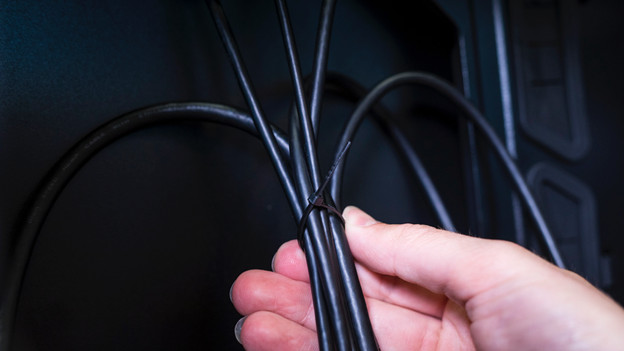
After you've arranged all your cables in a route, tie the cables together with zip ties. You can get zip-ties at any DIY store. Form a cable bundle with no cables sticking out from the bundle. Apply zip ties in several places to create a sturdy cable bundle.

Step 3: check the cables
Once your cable bundle is arranged in the shortest possible route along your components, assemble the computer case. Place the PC upright, in the same position you'll be using it. Check that the cables aren't blocking any moving parts. Doesn't your cable bundle obstruct a fan or other moving part? You've arranged your cable management properly.
Article by Giovanni
Gaming Expert.
