
Written by Uhro
Edited on
14 September 2022
·
07:35
How do you build a processor in your computer?
You want to make your computer faster and you've purchased a new processor for that. But how do you actually install that CPU on your current or new motherboard? In this article I'll explain that to you.
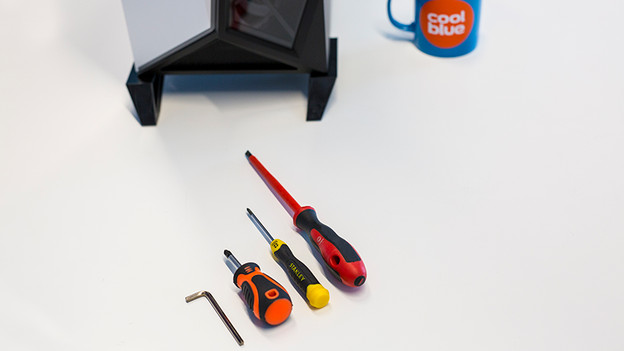
What do you need?
- Tools to open the computer case
- An antistatic wrist strap
- A desktop computer
- A new processor
- A suitable motherboard (note the socket and chipset)
- Thermal paste
- A cup of coffee
Tip: leave the new processor in the package for as long as possible. This minimizes the chance of damage from static discharge or dust.

1. The basics
Shut down your computer completely and don't put it on standby. Then remove all cables, starting with the power cable. Are all cables out of your PC? Press the power button once more so that all the power remaining in the circuit also disappears.
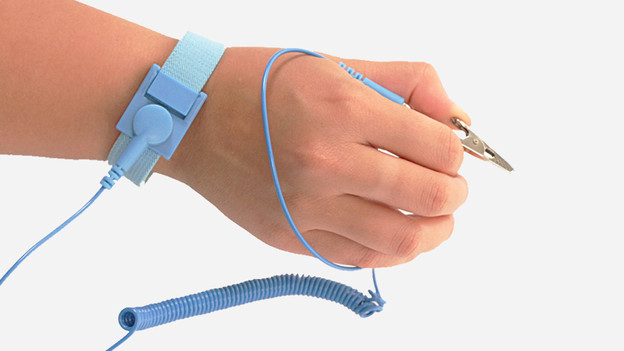
2. Avoid a static shock
When replacing a computer part, it's important not to be statically charged. Such an electrostatic shock, no matter how small, can be disastrous for the components in your PC. That's why it's best to always wear an antistatic wrist strap. Although you can also discharge yourself by regularly holding your hands against the radiator, for example.

3. Open your computer case
Place the computer case on a table with the right side down. If necessary, use a cotton towel to protect the side and make the surface a bit stiffer. Turn the back of the computer case towards you. You can see 2 or 3 large screws there. Remove them and slide the side of your PC backwards. You'll now see the motherboard and the components of your PC.
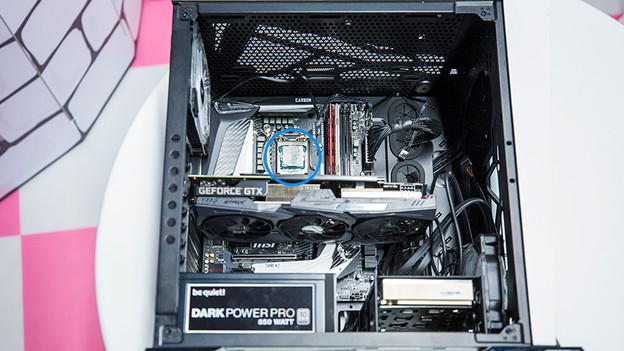
4. Locate the processor
You can usually find the processor in the middle of the upper part of your motherboard. Are you going to replace your current CPU? Then it's probably hidden under a processor cooler. If you're building a new PC, you place the processor on the black or white part with a lot of holes.
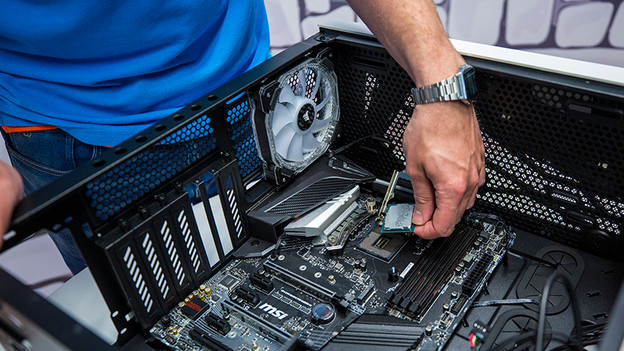
5. Remove your current processor
Skip this step if you're building a new computer
Before installing a new processor, remove the old one first. You do this by opening the lever next to the 'socket' on which the processor is installed. This way you push the processor up slightly so that you can easily remove it. With a simple processor cooler, you can now easily remove the processor from the connector. With a more advanced cooler you may have to detach it first. You can read how to do this in the manual for your cooler.
6. Install the processor.
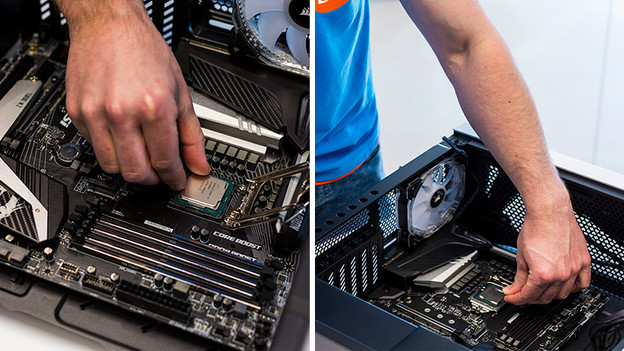
Now that all preparations are ready, you can start installing your processor. This is not the most difficult job, but make sure you properly put the CPU in place. Otherwise you might bend the connection points. You can often see how to place it by the corner or arrow on the socket and the processor. Loosely place the processor in the socket in this way and close the lever again. Your CPU is now correctly installed.
7. Place the processor cooler in your new CPU.
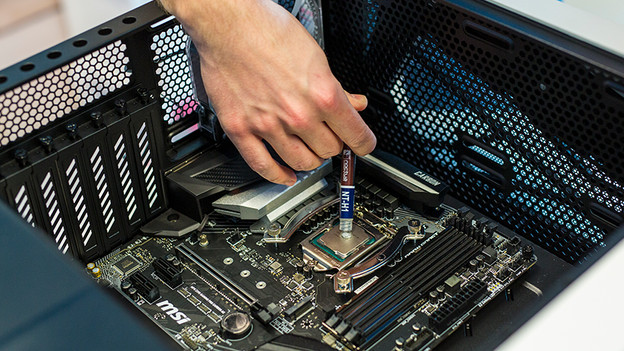
The processor cooler ensures that your CPU doesn't become too hot. This way, it'll continue to do its job even under heavy load. Placing a processor cooler isn't too difficult, but there's no general explanation. You should therefore consult the manual of your cooler. I do advise that you use thermal paste. Put a drop the size of a pea on your processor and spread it out. Thanks to the thermal paste, your CPU and your cooler make better contact which benefits the performance.

8. Use it
Slide the side back onto your computer case and reconnect it immediately. Your computer should now start normally. If that's the case, then your processor is working correctly. The CPU is the heart of your computer and without the processor it won't start. However, you may have to install new graphic drivers. Especially if your new CPU has a different integrated graphics chip than your previous processor. You do this when your operating system is started.
Article by Uhro
Components Expert.
