How do you connect a printer with Windows 10 or 11?
Installing your printer

You can set up the printer in 2 ways with Windows 10 or Windows 11. It all depends on which method you prefer. You can choose from:
- Setup from Windows 10.
- Setup from Windows 11.
- Setup with the included installation software.
Installing from Windows 10

- Connect the printer with the data cable. When you install wirelessly, you need the installation software.
- Click Start in Windows 10. You'll find this at the bottom left of the screen.
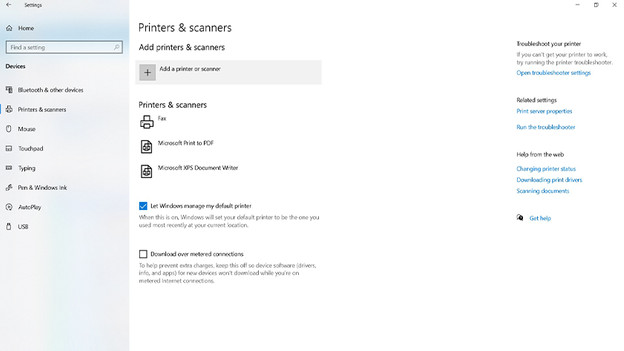
- Go to Settings, Devices, and choose Printers and scanners in the left menu.
- Click Add a printer or scanner at the + icon.
- Windows 10 will now search for your printer, this may take a while.
- Select the printer you're installing by clicking Add. If you can see the printer in the list of devices, the installation is successful.
Setup from Windows 11

- Connect the printer with the data cable. If you want to set it up wirelessly, you need the installation software.
- Click Start in Windows 11.
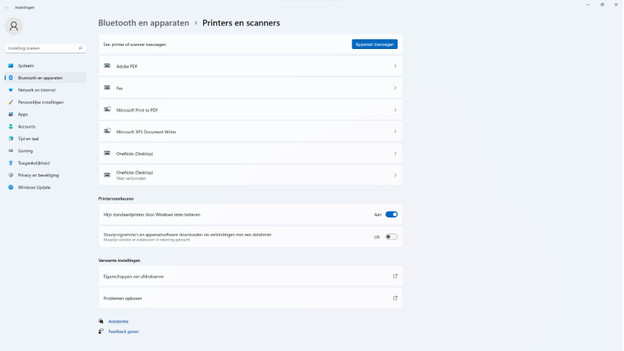
- Go to Settings, Bluetooth & devices, and choose Printers and scanners.
- Click Add device next to Add a printer or scanner.
- Wait until Windows 11 finds your printer.
- Select the printer and click Add device.
Set it up with the installation software

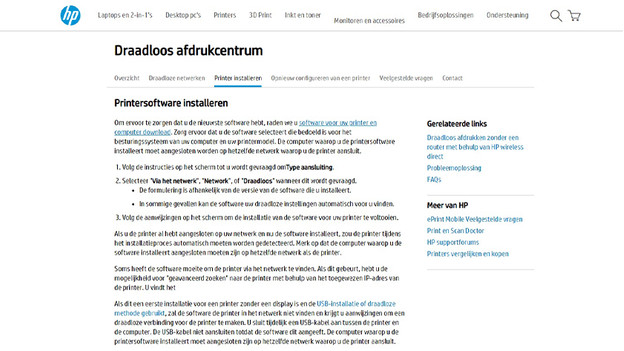
The manufacturer often includes a CD with installation software with your printer. If this isn't the case, you can find the installation software on the website of the manufacturer. In many cases, the software offers possibilities to to edit photos or make use of advanced features and options of your printer.


