4 tips for the best aerial photo with your drone
Get started with aerial photography

If you use your drone as a camera, you can easily take photos with a unique perspective. We'll give you 4 tips in this article, so you can soon take the most beautiful aerial photos with your drone.
- Tip 1: set up your drone properly
- Tip 2: point your camera downwards
- Tip 3: ensure enough dynamic range
- Tip 4: be creative
Tip 1: set up your drone properly

For a properly exposed aerial photo, it's important to set up your drone well. The image sensor of a drone is small, which makes it susceptible to blur. We recommend to set the ISO to 100 to prevent blur. Take photos with a fast shutter speed, for example 1/500 seconds. This prevents motion blur. Set the white balance to one fixed value, so all your photos have the same color temperature. And put the image quality on RAW. This gives you more options while post editing.
Tip 2: point your camera downwards

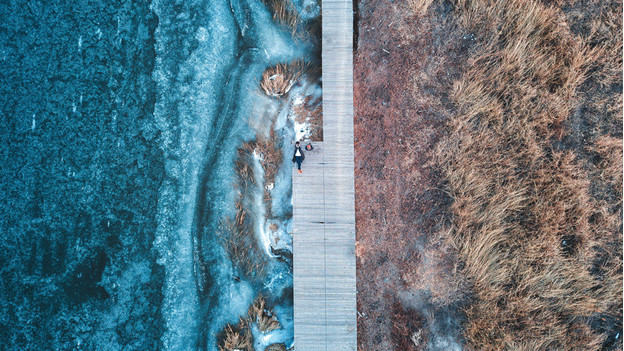
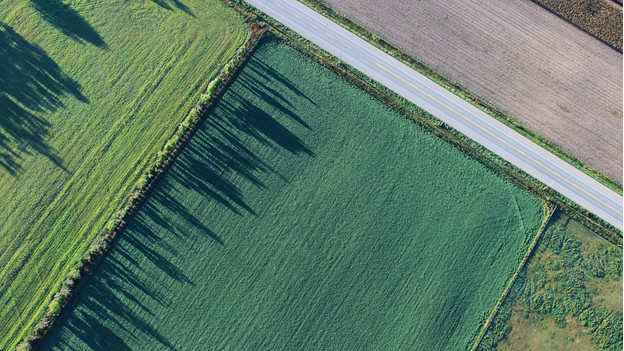
When you fly your drone, the camera is usually pointed forwards or slanting downwards. This allows you to see where you're flying, but doesn't provide you with an exciting perspective. Point the camera completely downwards. This gives you a bird perspective, looking straight at the earth. Thanks to this perspective, you'll easily discover patterns or interesting lines you can use in your photo.
Tip 3: ensure enough dynamic range

Due to its compact size, the image sensor of a drone doesn't have much dynamic range. That means that the sensor can't store enough data to expose light and dark parts in your photo. You can prevent this if you use the Automatic Exposure Bracketing function. The drone will then automatically take 3 photos, each with a different exposure. One photo will be overexposed, one underexposed, and the third one will be just right. If you combine these photos when you're post editing, you have enough data to expose all parts properly.
Tip 4: be creative

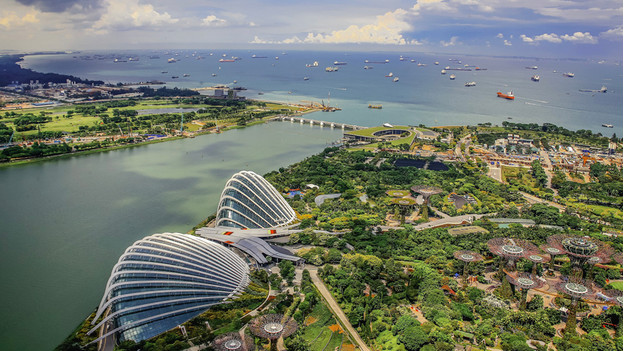
Aerial photography is a free form of photography. You determine what you capture and in which way you do so. Let your creativity run freely. Play with the perspective and exposure. Marvel over the beautify of the world from above. Or zoom out completely by flying your drone to a 120m height to find out what you'll see. The possibilities are endless, but make sure to keep it safe.


