
Tips for recording video in the snow with an action camera
Which action camera mount?
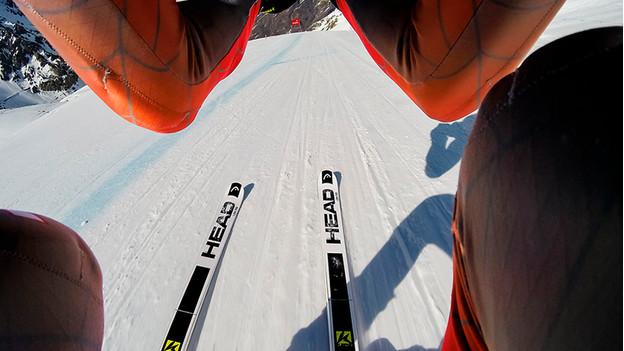
The different action camera mounts make an action camera versatile in use. You can record from various perspectives and angles. It's important to know what kind of video you want to make when choosing a mount.
By changing perspective, you create variation in your video. With a mounting set on your helmet, you can record nice point-of-view footage. This can be a little boring though, as speed is less noticeable. A monopod creates more variation in your footage, because you record the environment, others, and yourself.
Tip 1: be creative
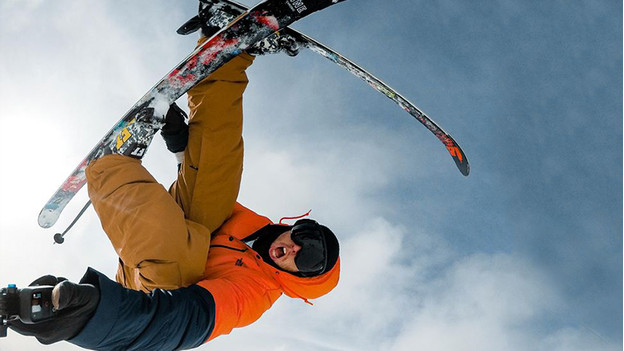
Try different mounting sets to see what kind of footage you like. For example, mount your camera to a snowboard for awesome footage when you're sliding down that mountain. Or attach it to your ski pole with a handlebar mount. Don't worry about landing on your action camera during a stunt, because they can take a beating.
Tip 2: variation in your footage
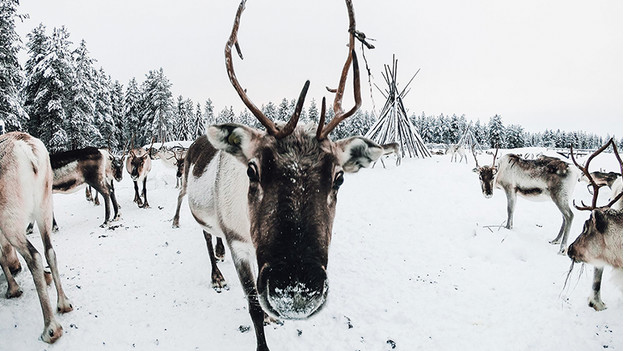
For variation, you can also make some nice shots of the excitement in the bus ride, the white surroundings, and that nice après ski bar. And vary between slow motion footage (starting from 120 frames per second) and normal speed (25 to 30 frames per second). That way, your video gets more interesting to watch.
Tip 3: what resolution do you need?
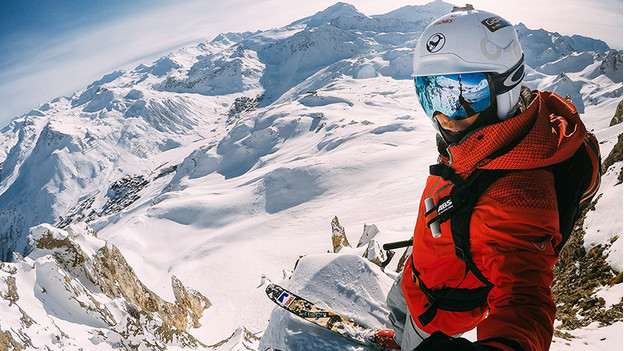
Most action cameras record in Full HD (1080p) and HD Ready (720p). The difference in quality between these resolutions is only noticeable on a large TV. If you mainly want to play videos on a laptop, a lower resolution is fine. So consider whether there's any point recording in 1080p. Some action cameras can record in 4K quality, which is four times sharper than Full HD. You can only play these videos on a TV which supports this resolution.
Tip 4: take advantage of the wide-angle lens
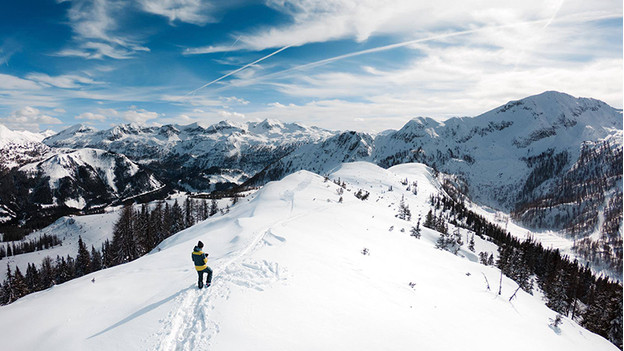
Action cameras have a wide-angle lens to record sweeping landscapes. If you record from a point-of-view perspective, it's smart to stay close to others. That way, the image is filled and you get the most out of the wide-angle lens.
Tip 5: take your snowboard or skis into account
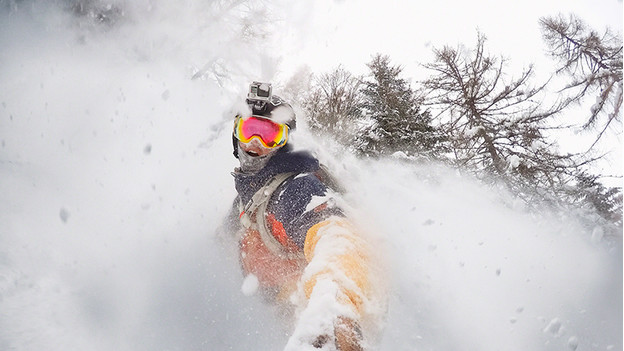
Are you a snowboarder or a skier? The chest mount creates nice and steady footage when you're on skis, since your torso is the most stable part of your body. This mount is less useful when you're on a snowboard, because you just record the people next to you. So in that case, it's better to opt for a mounting kit on your helmet or board.
Tip 6: make short clips
You usually have a lot of footage when you return from winter sports. There's no point using all the material. Keep your video short, because most people lose their attention after 2 to 3 minutes. Don't record continuously, but switch on your action camera during nice and special moments. That way, your battery lasts longer and it takes less time to edit your footage.
Tip 7: use music when editing
Use short clips to hold the attention of your viewers. Switch between normal frame rate and slow motion footage. That awesome jump looks better in slow motion, but you can play that long descent a littler faster. And vary your action moments with atmospheric footage for a personal touch. Put some matching music under your video. A good soundtrack gives your video that little extra and holds the attention of your viewers.


