Written by Sanne
Edited on
30 December 2022
·
09:55
How do you adjust the ISO value of your SLR camera?
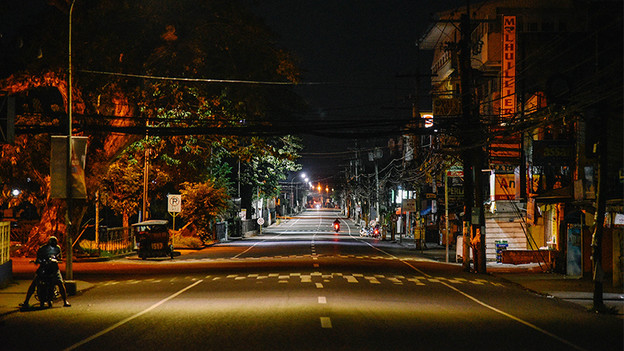
To make a good photo in dark situations, choose a high ISO value. In the step-by-step plan below I will explain how to set the ISO on your SLR camera. In this way you learn to use the right value independently while shooting.

Step 1: select the correct camera mode
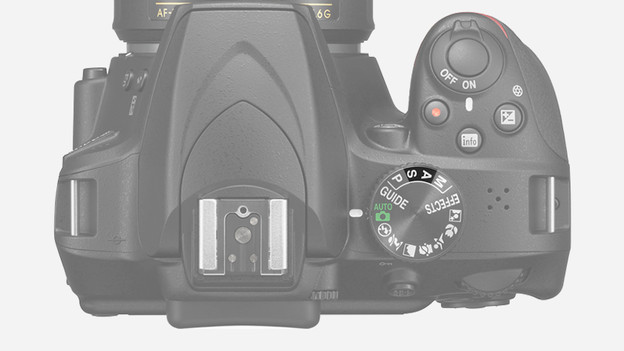
In the fully automatic mode, it's not possible to adjust the ISO on your SLR camera manually. In the P mode, that is possible. That also applies to the other semi-automatic modes, like the Av and Tv mode on Canon SLR cameras. On Nikon and Sony cameras, this are the S and A mode. In the P mode, the camera adjusts the other settings automatically to your chosen ISO value.

Step 2: determine which ISO value you need
If you take outdoor photos by daylight, there's enough light for your camera. You can use a higher ISO value indoors, like 200 or 400. If you look through the viewfinder, you can see a light meter at the bottom. Make sure the meter is in the middle. The higher the ISO, the bigger the risk of noise in the image. Try to avoid values of 800 and up as much as possible.

Step 3: set the ISO value
The setting button with which you set the ISO is somewhere else with every camera. On Canon cameras there is often an ISO button on top of the device. If you have a Nikon camera, you usually set the ISO via the menu. Once you are in the ISO menu, use the navigation buttons to go through the various values. In this way you select the ISO value that you need to make your recording.

Step 4: take the photo
After selecting the correct ISO value, the camera automatically adjusts the other settings in P mode. That way you don't have to set the shutter speed and aperture yourself. You take the photo by first looking at your subject through the viewfinder or screen. Once you have a good view of everything, press the shutter button halfway to focus. You press the button more firmly to take the photo.
Article by Sanne
Camera Expert.
