
How do you set up the Google Nest Hello Video doorbell?
Required for installation
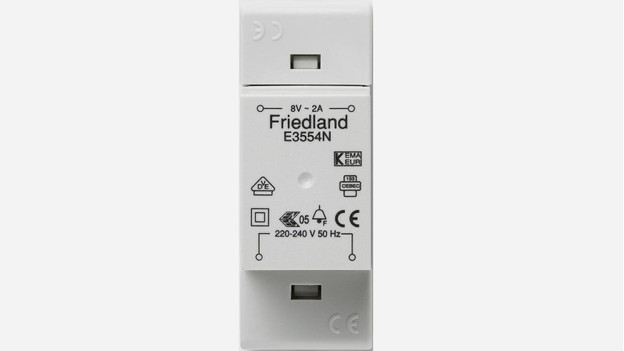
You need a couple of things for the Google Nest Hello setup:
- Your smartphone or tablet
- Screwdriver
- Drill
- If necessary: a transformer to set the voltage of the connector
- A good internet connection at the front door
Set up the Google Nest Hello in 6 steps

When installing the Google Nest Hello Video Doorbell, you go through a number of steps.
- Step 1: install the Google Nest app
- Step 2: disconnect the power from your current doorbell
- Step 3: install the Nest connector
- Step 4: disassemble your current doorbell
- Step 5: mount the Google Nest Hello
- Step 6: test if the Nest Hello works
Step 1: install the Google Nest app
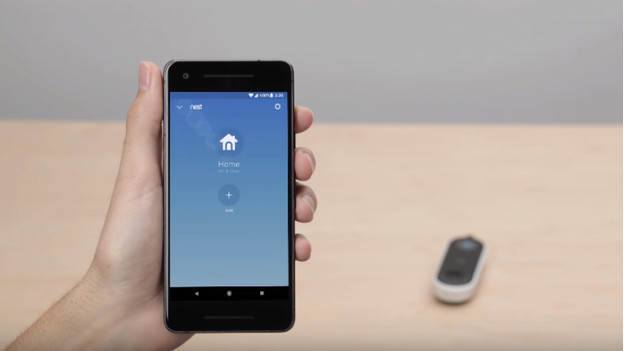
Download the Google Nest app on your smartphone or tablet. If you don't have a Nest account yet, make one. After activating your account, add the doorbell in the app. You can do this by scanning the QR code on the back of the doorbell. If scanning doesn't work, enter the code manually. After this, the app guides you through the other steps setup.
Step 2: disconnect the power from your current doorbell
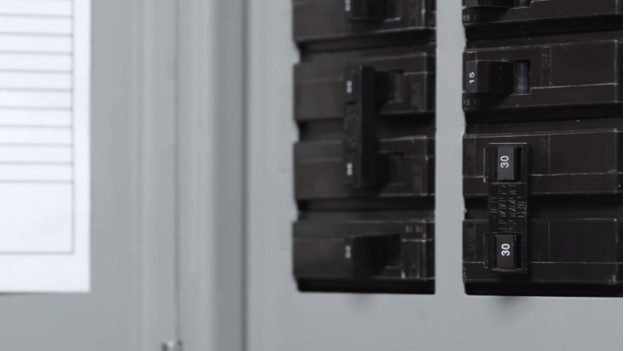
It's important that you first turn off the power of the doorbell in the fuse box. After turning it off, check whether this was successful by pressing the doorbell. Then take the current doorbell (chime) off the wall without taking out the existing wiring. Meanwhile, follow the steps via the app.
- Tip: take a photo of the current wiring. You can then see the current wiring during the setup of your new wiring.
Step 3:install the Nest connector
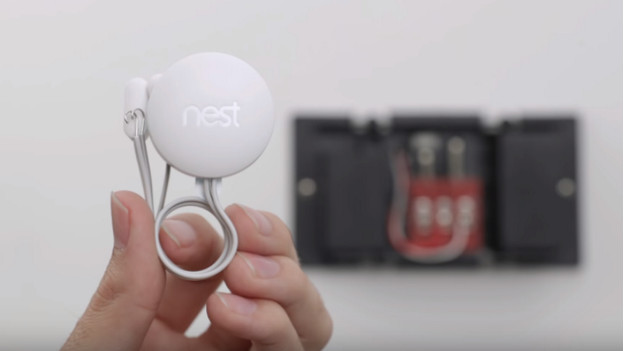
Install the Nest connector while making sure the colors of the cables are on the right side. Use the screwdriver to unscrew your current wiring. After this, place every cable in the accompanying casing of the Nest connector. Place the cable of the connector on the same place as the current cables. Use the photo you made before to see where they go. Once all cables are connected, choose where to place the connector. You can only use the Nest Connector with the Nest Hello, not with the Next doorbell on battery.
Step 4: disassemble your current doorbell
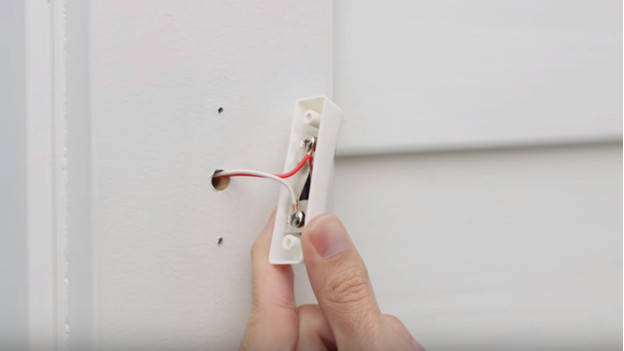
Take your current doorbell from the door frame or wall, While making sure the cabling keeps sticking out. You can connect your new doorbell to this later. Want to place the new doorbell in a certain viewing angle? Use the included wedge. Mark on the frame where you want to place the Nest Hello. Make sure the hole in the doorframe (where the cables come out) is at the bottom of the center opening in the mounting plate.
Step 5: mount the Google Nest Hello
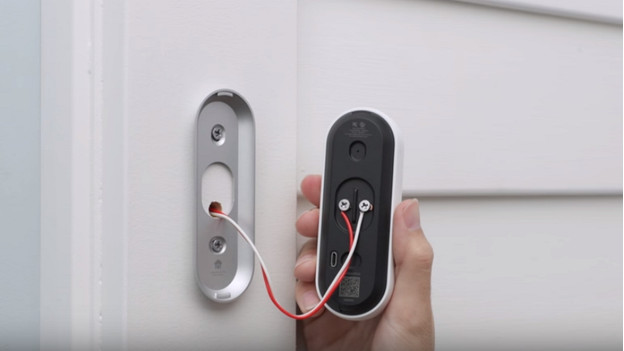
Drill holes in the right place in your door frame or wall. Put the included plugs in these and screw the backplate to the doorbell. Then screw the wiring of the doorbell to the back of the Nest Hello. It doesn't matter where you place each color, but do make sure the cables hang down. Carefully put the cabling back in the cable hole and secure the Nest Hello. You'll hear a click. You can now only remove the doorbell with the included removal pin.
Step 6: test if the Nest Hello works
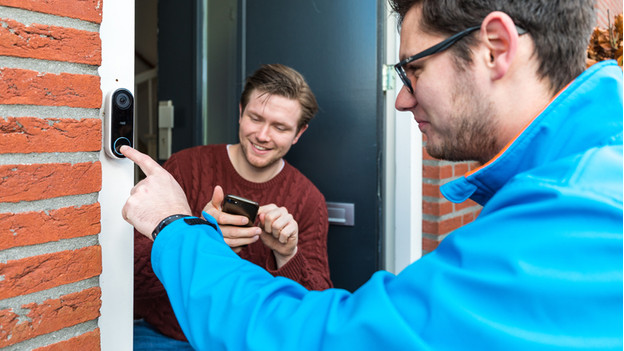
Turn on the power of the fuse box. The Nest Hello turns on and the blue circle around the button lights up. You can read usage tips and connect the Nest Hello to your home network via the app. When the doorbell has an internet connection, test it by pressing the button. You'll receive a notification on your smartphone when the setup was successful. You can also set up the noise level when the receiver is indoors in the app.


