
How do you set the sound of your gaming headset on the PC?
Set up the sound of your gaming headset in 4 steps
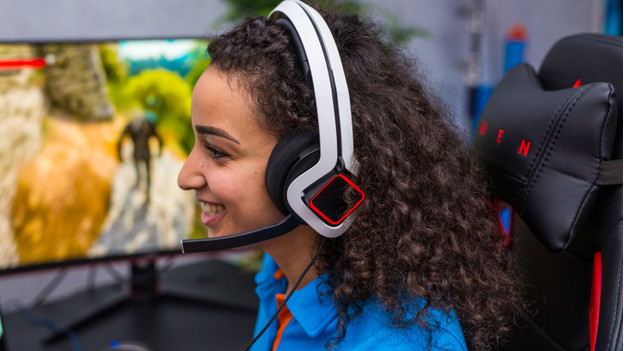
You can set up the sound of your gaming headsets by going through the following 4 steps:
- Select the sound output.
- Test the sound.
- Download the drivers.
- Optimize the sound.
Stap 1: set the sound output
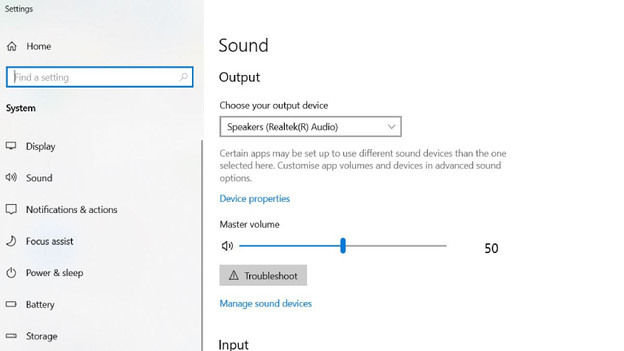
You can set the sound output by selecting your gaming headset as the output device. You do this via:
- Press the Windows button.
- Go to 'Settings'.
- Click 'Sound'.
- Click the dropdown menu.
- Select your gaming headset.
Step 2: test the sound
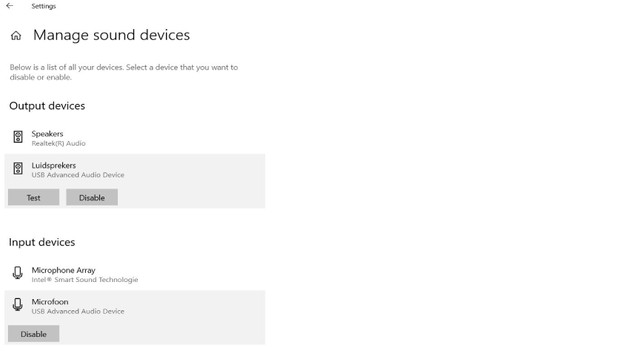
After you've selected the gaming headset as the output device, you're going to test the sound. You do this as follows:
- Click 'Manage sound devices'.
- Click the gaming headset below 'Output devices'.
- Click 'Test'.
- You'll now hear a sound via the gaming headset.
Step 3: download the drivers
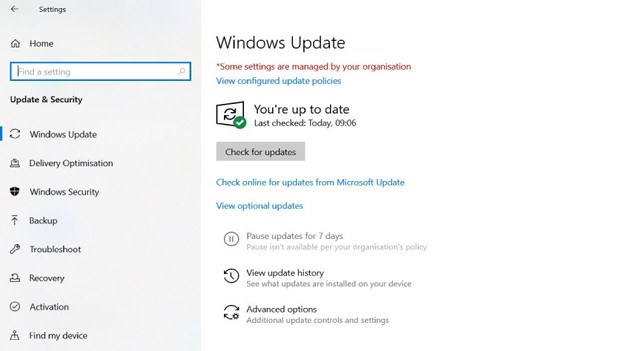
Download the drivers to ensure that the PC completely supports the software of the gaming headset. You do this as follows:
- Press the Windows button.
- Go to 'Settings'.
- Click 'Update & Security'
- Click 'Check for updates'
- The computer will now search for driver updates and download them automatically.
Step 4: optimize the sound
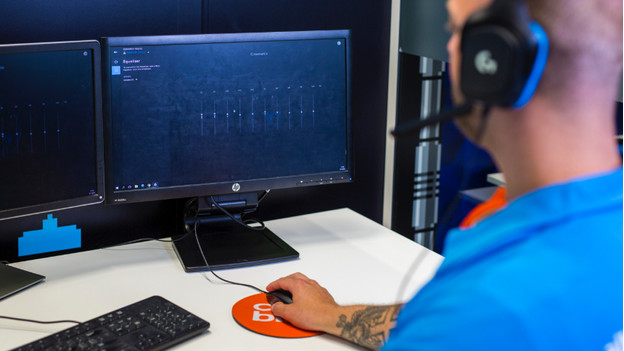
Many gaming headsets are made by a manufacturer that has their own software that lets you adjust the sound settings. For example, you can adjust the bass with an equalizer. Or you can set up RGB lighting on your headset. You can download the software on the website of the manufacturer.


