How do you sign up for the Brother warranty upgrade?
Register warranty
You can get the warranty upgrade for the Brother printer via the official Brother promotion page. Register your Brother account and follow these steps, so you can get the upgrade:
- Register on the promotion page.
- Click 'Productregistratie' via the home page.
- Find the sticker with the serial number and enter it.
- Check the purchase date on your invoice and enter it.
- Check your mail to see if the warranty upgrade worked.
Step 1: go to the promotion page
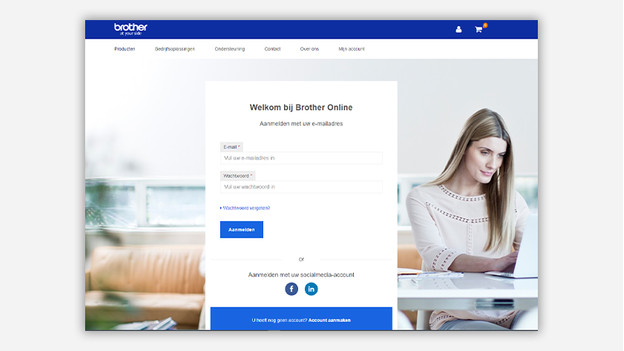
On the Brother promotions page, you can arrange the upgrade. This way, you can directly go to the login screen, where you can log in with your Brother account. Don't you have one yet? Click 'Account aanmaken' next to 'U heeft nog geen account?'. After this, you'll see a new window where you can create your account. Did you enter everything, and did you accept the Terms and Conditions? Verify your Brother account via the link in your inbox.
Step 2: register
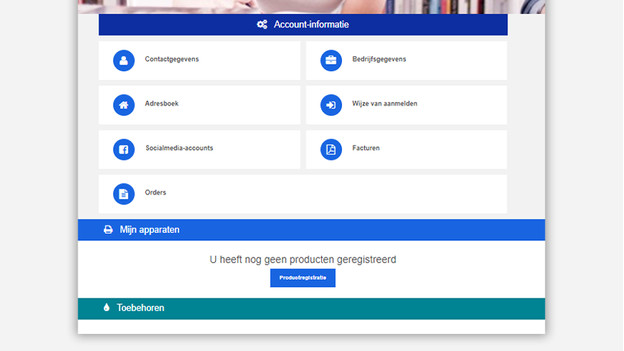
After verification, you can log in with your login information. You'll end up on the Brother homepage. Go to the icon of your account in the top. Click where it says 'Productregistratie'.
Step 3: serial number
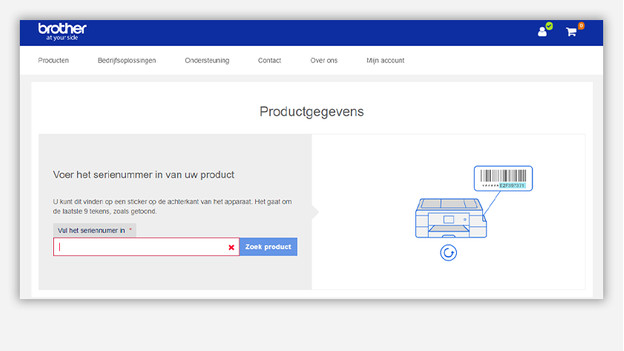
The first step of the registration process is to enter the serial number. In the texts, it says where to find the number and how many digits it has. In the image next to the text, you can see that it's about the last 9 digits of the number. Enter those and click 'Zoek product'.
Step 4: purchase date
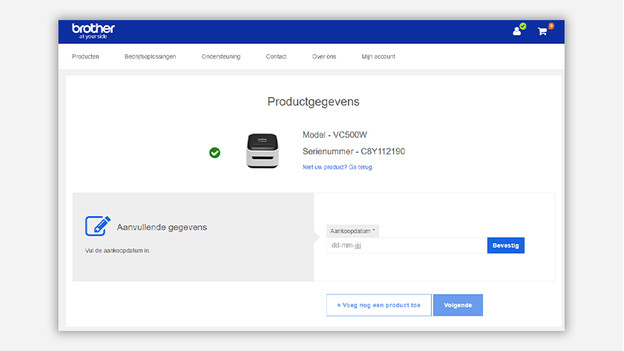
After you enter the serial number, Brother recognizes to which printer it belongs right away. You can also see this on the screen with the product data. Enter the purchase dat in this window. That's the date on which you bought the printer online or at the store. Click 'Bevestig'.
Step 5: finish up
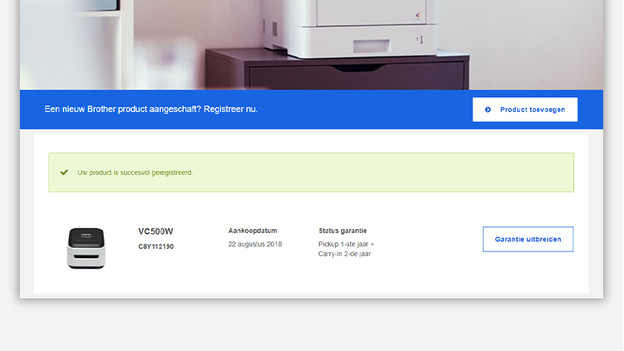
After this step, you'll see a windows with green text that says that your product was registered successfully. Afterwards, you'll receive a confirmation via email. This will contain the serial number and the matching model of the printer. Save these well. You can now benefit from a free warranty upgrade.