
How do you set up RAM in a NAS?
Installing RAM in a NAS
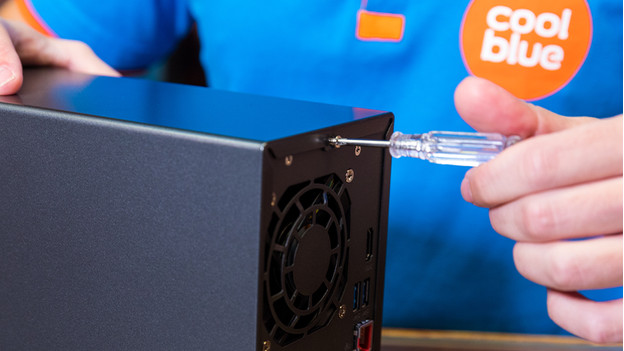
It's not difficult to install a RAM in a NAS, you just have to know how to do it. Follow the 6 steps to replace or expand the internal memory.
- Check if you have the right memory.
- Locate the RAM of your NAS.
- Prepare the NAS.
- Remove and/or place the RAM.
- Connect the NAS again.
- Test if your NAS recognized the RAM.
Step 1: check if you have the right memory
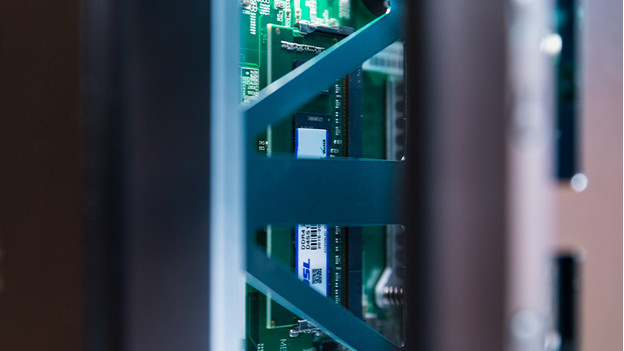
RAM is a complex computer component and a lot can go wrong while making a decision. So check...:
- ...if the memory of your NAS is expandable, instead of soldered. You can find this in the manual or on the product page of the supplier.
- ...the amount of memory slots of the NAS, before you have too many RAM modules.
- ...the maximum amount of RAM the processor of the NAS can handle.
- ...if you have the right type of memory (DIMM or SODIMM), because only one of the two fits.
- ...if you have the right RAM version (DDR4, DDR3, or DDR3L), because only 1 type of RAM fits.
- ...if the speed and voltage are the same as the RAM that you replace or expand.
- ...if the RAM you bought is from the same brand as your NAS, otherwise your warranty will expire.
Step 2: locate the RAM in your NAS
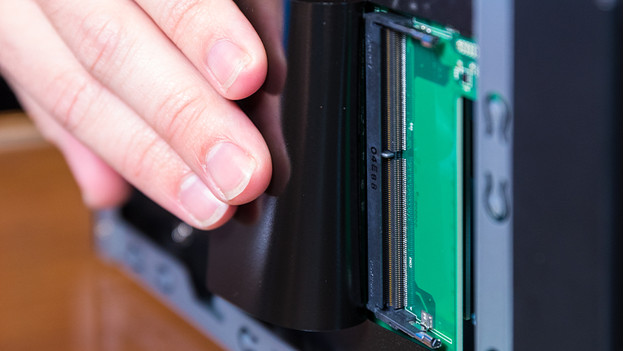
Each NAS is different. That's why it's sometimes difficult to locate the memory of your appliance. If you don't want to search yourself, you can check the manual. Often, you can find the RAM in the following spot:
- Synology: with recent Synology models, the RAM is on the inside where the hard drives are normally located. This is easy to reach. With older models, the RAM is sometimes covered or located at the side or bottom. If this is the case, you have to open the NAS.
- QNAP: with some expandable QNAP NAS models, you can reach the internal memory via the inside of the NAS, but this isn't the case for most models. If it is, you can open the appliance and look for the memory slot on the motherboard.
- Asustor: Often, you can get to the RAM via the exterior of the appliances. For this, you need to unscrew a couple of screws and remove the cover. If not, take apart the entire NAS until you reach the motherboard.
- WD: the WD My Cloud Home and EX2 don't have an expandable memory.
Step 3: prepare the NAS
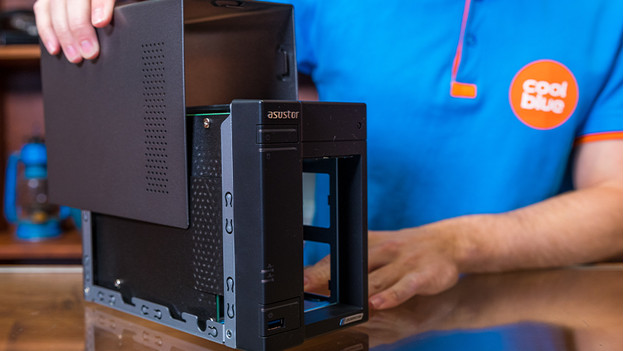
- Make sure your files are saved properly and all software is closed. Possible make a backup.
- Turn off the NAS and remove all cables.
- Place a towel on a flat surface and place the NAS on it.
- Carefully remove the hard drive bays from the NAS and put them aside. Remember the way the drives were in the NAS, because they need to be placed back in the same order.
- Remove possible covers that cover the memory slot.
Step 4: remove or place the RAM
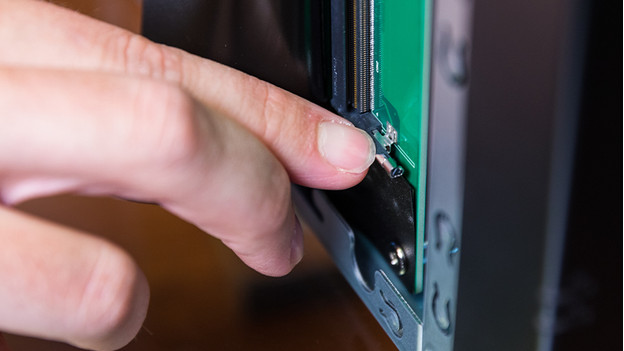
- Are you going to replace the RAM? Remove the old bar by pressing the handle on on the side to the side.
- Store the old RAM properly, in case the new RAM doesn't work.
- Remove the packaging from the new RAM. Only touch the sides of the RAM modules.
- Do you see the cutout in the RAM module? Make sure it matches to the sticking out tip of the memory slot.
- Slide the bar in the slot to 45 degrees and carefully press till you hear a click. Do you feel resistance? Try inserting the bar the other way.
- Cover the internal memory again en/or reassemble your NAS.
Step 5: connect the NAS again
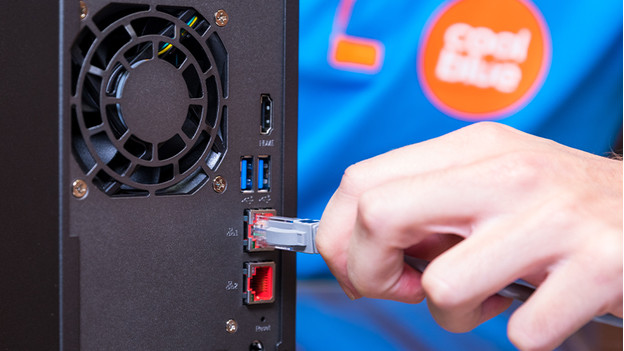
- Place the hard drives back in the NAS in the exact same way as before.
- Reconnect the LAN cable(s).
- Put the connector of the power cable in the socket and connect the power supply.
- Check if all the right lights are on, like they did before.
- Turn the NAS back on and open the NAS interface on your laptop, PC, tablet, or smartphone.
Step 6: test if your NAS recognizes the RAM
- Synology: go to Control panel (DSM- configuration screen) -> Info center -> General -> Total Physical memory.
- QNAP: Go to Control Panel -> System Status -> System information -> Total memory.
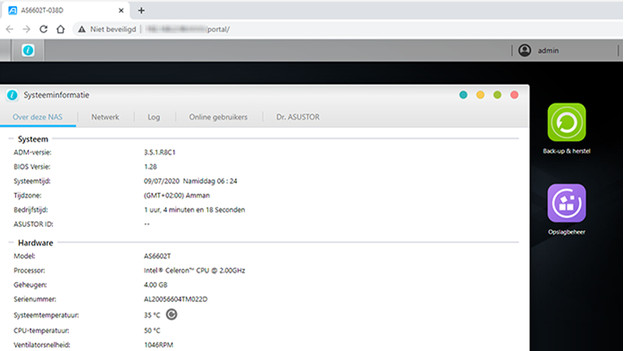
- Asustor: Go to System information -> About this NAS -> Memory.
Congratulations! Your NAS is now a lot faster, so you can start multitasking.


