How do you solve microphone problems with your Logitech G935?
Solve microphone problems with your G935

Go through these 4 steps to solve microphone problems with your Logitech G935.
Step 1. Update your drivers
Step 2. Check your microphone settings
Step 3. Activate your microphone
Step 4. Deactivate noise removal in the Logitech G Hub
Step 1: update your audio drivers
It's important that the audio drivers of your PC are up to date. Go through the following steps to update your drivers.
-
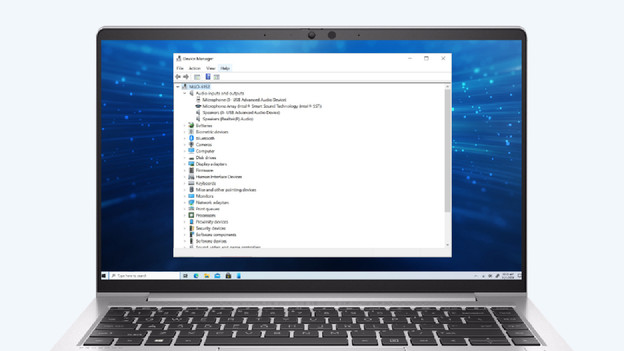
Click the search bar at the bottom left next to the 'Windows' logo and type 'Device Manager'.
-
Click 'Audio inputs and outputs' and select the Logitech G935.
-
Click the 'Driver' tab and select 'Update driver'.
-
Choose 'Search automatically for updated driver software'.
Step 2: check your microphone settings
The microphone settings have to be set properly. Go through the following steps to check your microphone settings.
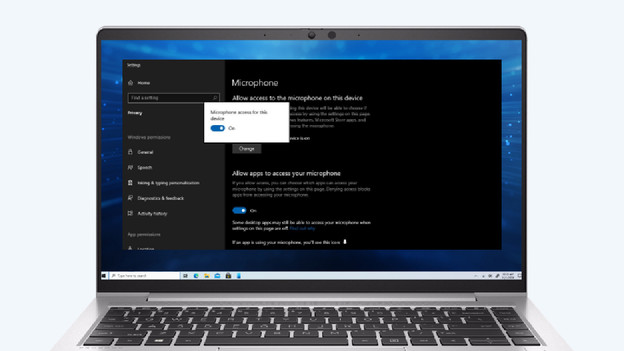
- Click the search bar at the bottom left next to the 'Windows' logo and search for 'Microphone privacy settings'.
- Click 'Change' and enable the microphone.
- Scroll down and enable 'Allow apps to access your microphone'.
Your programs now have access to the microphone of your headset.
Step 3: activate your microphone

Go through the steps below to activate your microphone on your PC.
- Click the search bar at the bottom left next to the 'Windows' logo and search for 'Control Panel'.
- Click 'Hardware and Sound' followed by 'Sound'.
- Click the tab 'Recording' in the window that appears.
- Check if there's a green check next to your Logitech headset. If not, right-mouse click and select 'Enable'.
- Click 'Ok' followed by 'Apply'.
The microphone of your headset has now been activated.
Step 4: deactivate noise removal in G Hub

Go through the following steps to deactivate noise removal in the Logitech G Hub.
- Open the Logitech G Hub. Don't have this software? You can install it via the link below.
- Click the Logitech G935 in the hub.
- Click the speaker icon on the left.
- Disable 'noise removal'.
You're now ready and your microphone problems have been solved.