How do you adjust the lenses of your Meta Quest VR headset?
Adjust your lenses

If you want to get the most out of your VR experience, it's important that your image is in focus. You can focus the image of your Meta Quest VR headset in 2 steps:
- Step 1. Measure your pupil distance
- Step 2. Adjust the lenses
Step 1: measure your pupil distance

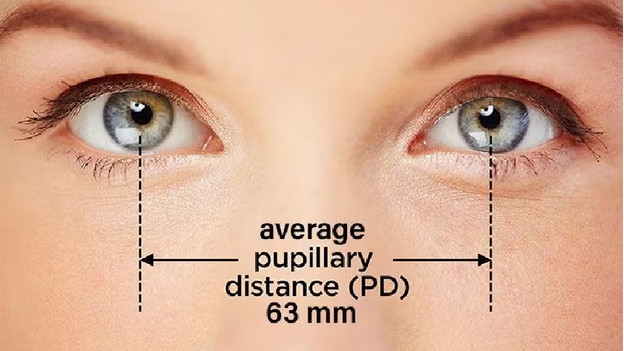
Before you focus the lenses, you can measure your pupil distance. You can do this yourself with a millimeter ruler and a mirror or with a friend.
- Stand in front of the mirror and hold the ruler above your eyes.
- Close 1 eye and line the end of the ruler up with the pupil of your opened eye.
- Hold the ruler and open your eye.
- Place your finger on the ruler where your other pupil is.
- Read the millimeter measurement and determine your pupil distance.
Step 2: adjust the lenses

Meta Quest 3
You can shift the lenses of the Meta Quest 3 with the dial on the bottom of the VR headset. The Quest 3 doesn't have fixed settings, but a range between 53 and 70mm.
- Put on and switch on the Meta Quest 3.
- Turn the dial. You'll see the distance of the lenses on your screen.
- Choose the distance you measured in the previous step.
If the image is still blurry after adjusting, slightly shift the lenses until the image is sharper.

Meta Quest 2 and Quest 3S
You can shift the lenses of the Meta Quest 2 and Quest 3S towards each other or away from each other. There are 3 different settings. You can choose one of the 3 depending on your pupil distance.
- Setting 1: distance of 61mm or smaller
- Setting 2: between 61 and 66mm
- Setting 3: 66mm or larger
If the image is still blurry after adjusting, slide the lenses until the image is sharp.


