
How do you measure the niche dimensions of a built-in freezer?
Measure niche dimensions in 5 steps
It's best to measure the niche dimensions when the freezer is already out of the niche. Doesn't this work? Look up the niche dimensions in the manual.
- Step 1: measure the niche height
- Step 2: measure the niche depth
- Step 3: measure the niche width
- Step 4: check the hinge system
- Step 5: check the installation drawing
Step 1: measure the niche height
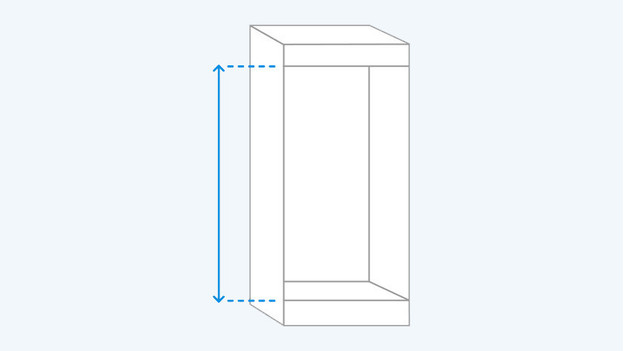
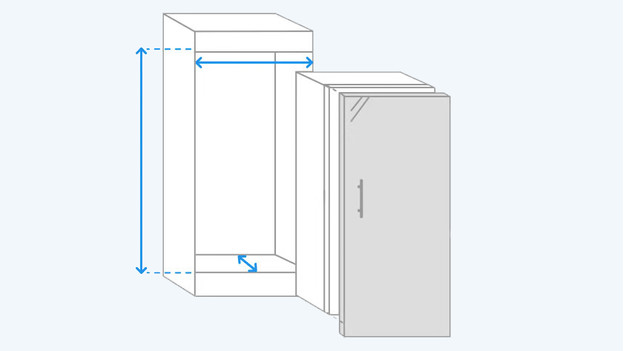
First, measure the height of the niche. Grab a tape measure and pull it from the top to the bottom of the niche. Make sure to keep the tape measure straight. Your new freezer can't be higher than this.
Step 2: measure the niche depth
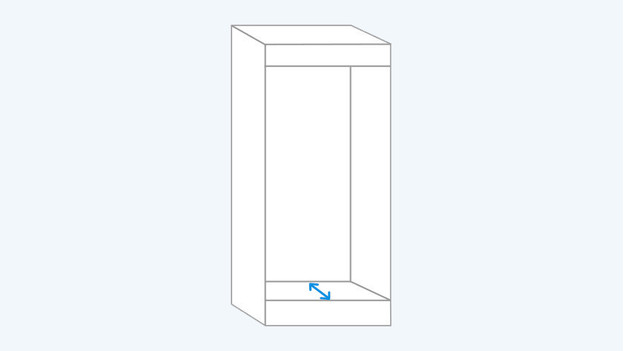
Most built-in freezers have a niche depth of 55cm, but some models have different dimensions. That's why you should always measure the niche depth carefully. Hold the tape measure all the way in the back of the niche and pull it towards you.
Step 3: measure the niche width
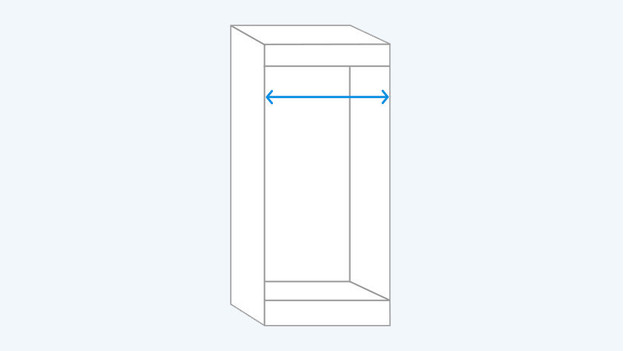
Stretch the tape measure between the left and right side of the niche. It's important to properly tighten the tape measure again. The standard niche width is about 56cm.
Step 4: check the hinge system
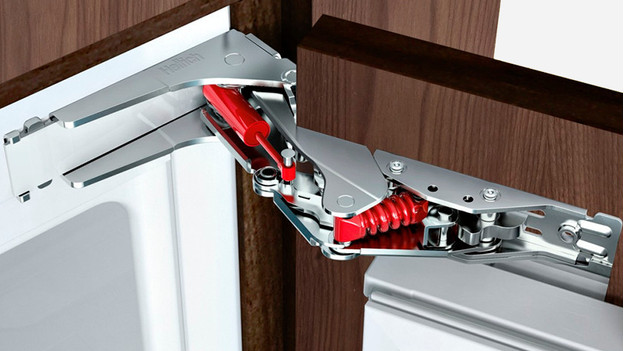
There are 2 types of hinge systems, the sliding door system and the door-on-door system. The door-on-door system is directly attached to the fridge door, while the sliding door system is attached with a guider. We recommend you to choose the door system that you currently have in your kitchen
Step 5: check the installation drawing
Now you know all the niche dimensions. Every built-in freezer has an installation drawing on the product page. Here, you can find the minimum and maximum niche dimensions of the appliance. Do your measurements fall within the range? The freezer will fit in your kitchen. When you enter your niche heights in the product filter, you'll directly see all the models that fit will in your kitchen.


