How do you install your BlueBuilt Monitor Arm for 2 monitors?
Installing a BlueBuilt monitor arm
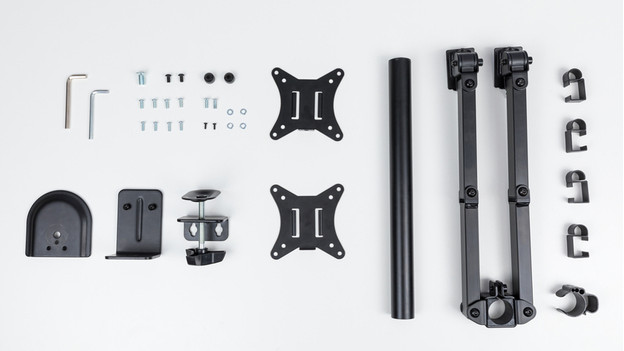
You can install your new BlueBuilt monitor arm in 10 steps.
- Step 1. Screw the monitor base onto the pole.
- Step 2. Determine whether to use a clamp or drill a hole.
- Step 3a. Attach the clamp and tighten the base.
- Step 3b. Drill a hole in your desk and screw the base in place.
- Step 4. Place the monitor arms on the rod and tighten them.
- Step 5. Click the cable clips into place.
- Step 6. Place screws in the back of the monitor.
- Step 7. Screw the monitor to the VESA plate.
- Step 8. Screw on the caps.
- Step 9. Neatly hide your cables via the cable clips.
- Step 10. Determine the flexibility of your monitor arm.
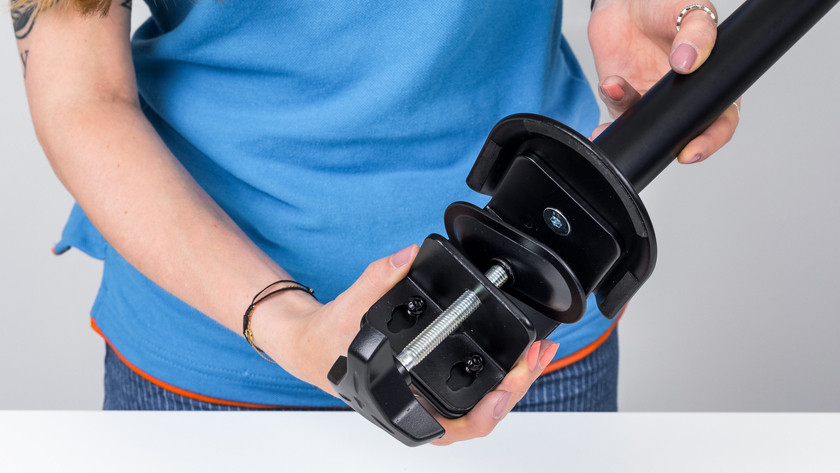
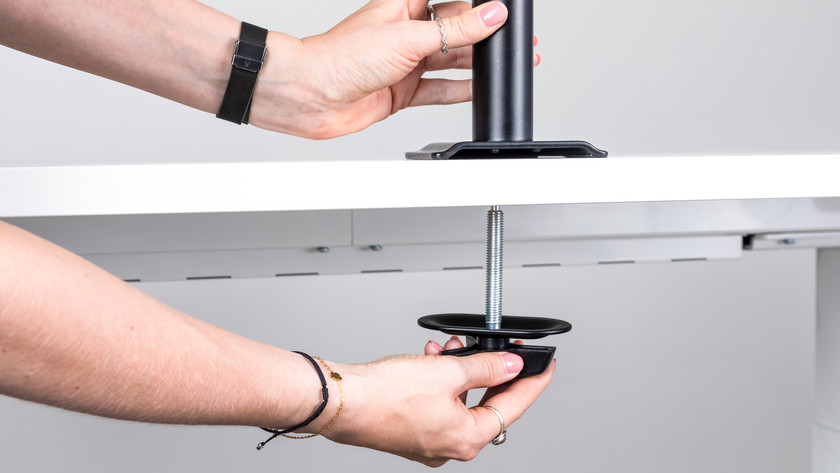
Step 1: screw the monitor base onto the pole
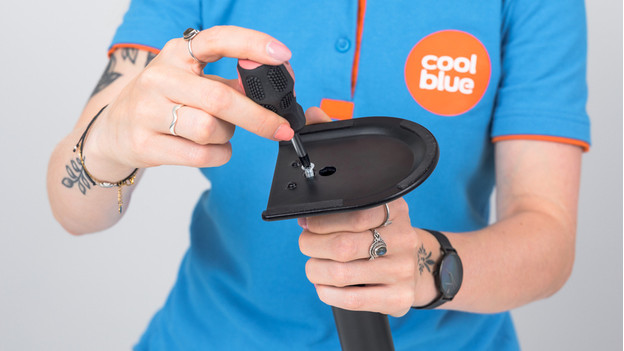
Place the monitor base on the pole and tighten it firmly with the large screw.
Step 2: choose one of the 2 installation options
There are 2 possible ways to install your monitor arm. With a clamp mount, you attach the base firmly with a clamp. This is possible with desks between 10 and 85mm thick. If you choose feed-through mount, you have to drill a hole in your desk and screw the base into place. This is only suitable for desks with a thickness between 10 and 40mm. Did you choose a method? Check the VESA size of your monitor. This way, you can be sure that it fits on the monitor arm.
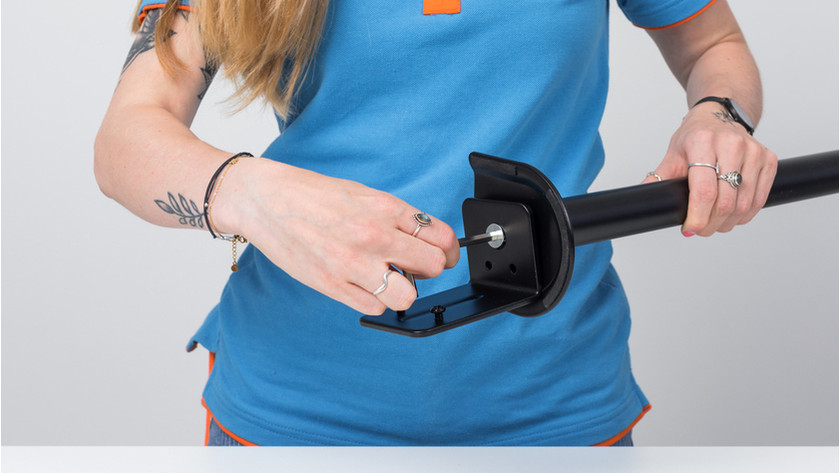
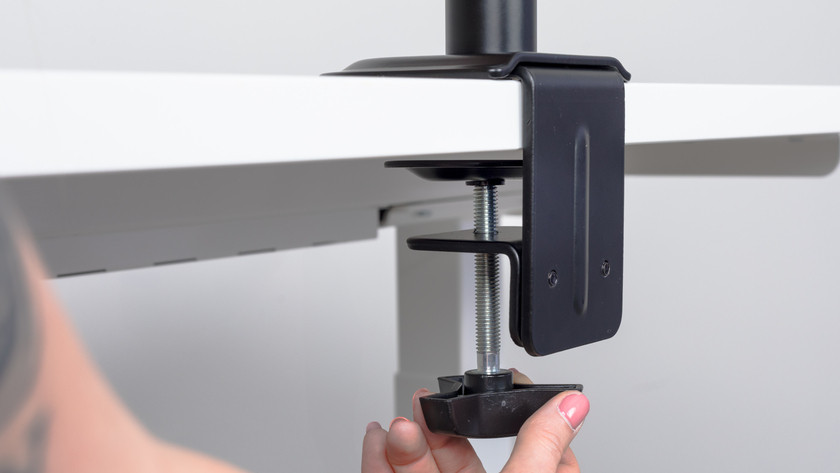
Step 3a: attach the clamp and tighten the base
-
1. Place the clamp attachment on the base.
-
2. Determine the position of the clamp.
-
3. Tighten the base.
-
Remove the cover from the base. Place the clamp attachment on the base and tighten the bolts.
-
Measure the precise thickness of your desk. Depending on how thick the desktop is, place your desk clamp in the top or bottom holes. Then, tighten the bolts.
-
Place the clamp on the desk and turn the screw upwards to secure the base.
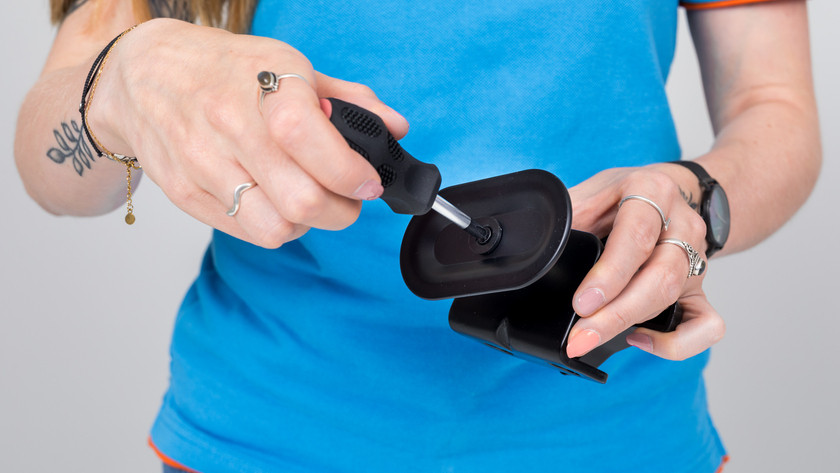
Step 3b: drill a hole in your desk
-
1. Unscrew the disc from the clamp.
-
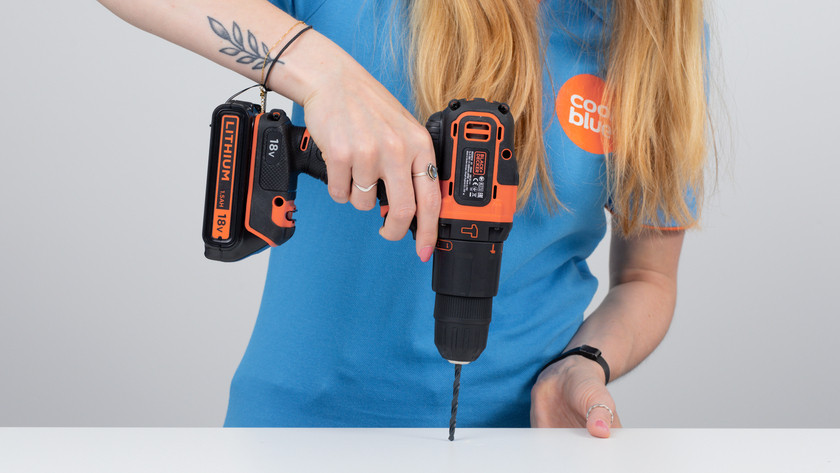
2. Drill a hole in your desk.
-
3. Install the base.
-
Unscrew the disc from the clamp and unscrew the clamp attachment
-
Drill a 10mm hole in your desk where you want to place your monitor arm.
-
Place the mounting plate around the feed-through mount. Then, screw it into the base through the hole until it's firmly secured.
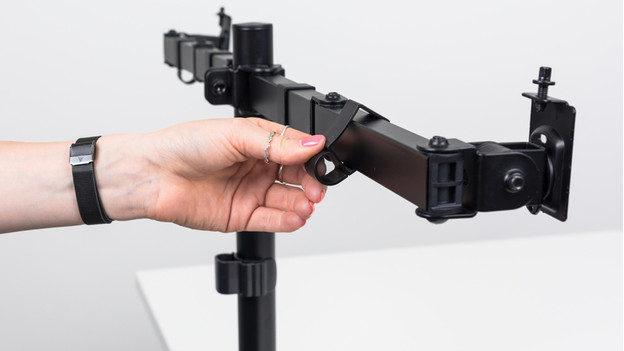
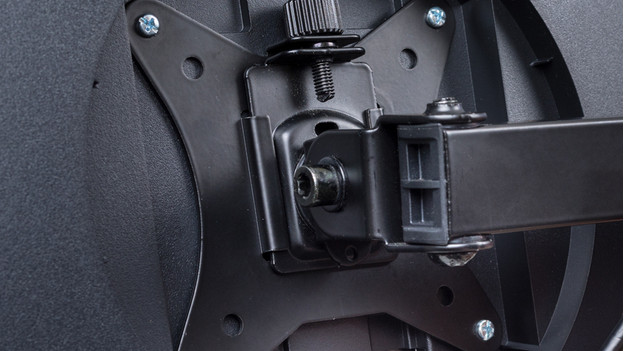
Step 4: place the monitor arms on the pole

Place the monitor arms on the tube and fasten it tightly with the hex key. Make sure that the VESA mounts are upright.
Step 5: attach the cable clips
Attach the cable clips to the arms and the rod. This allows you to neatly hide the cables later.
Step 6: place the screws on the back of the monitor
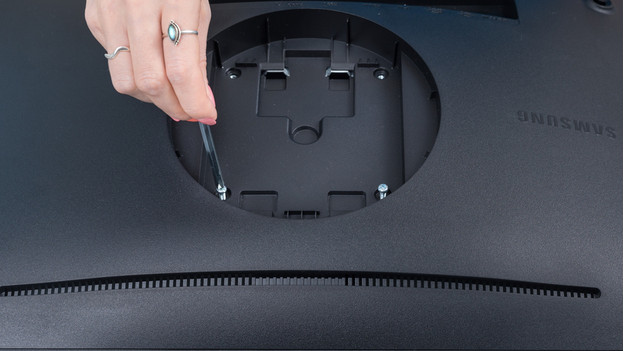
Carefully place your monitor on a rug and insert the top screws into the the back of the monitor. You can use the washers to make it sturdier.
Step 7: screw the monitor onto the VESA plate
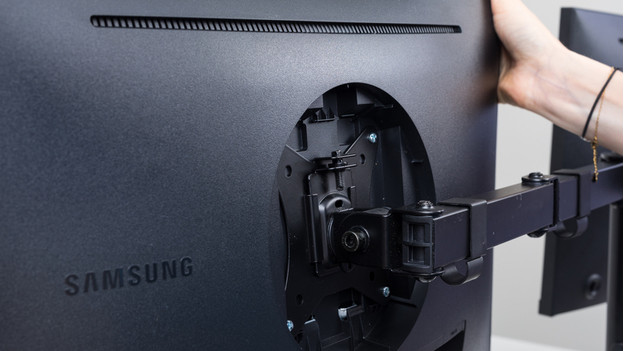
Slide the monitor onto the VESA plate and screw the bottom screws into the monitor.
Step 8: screw on the caps
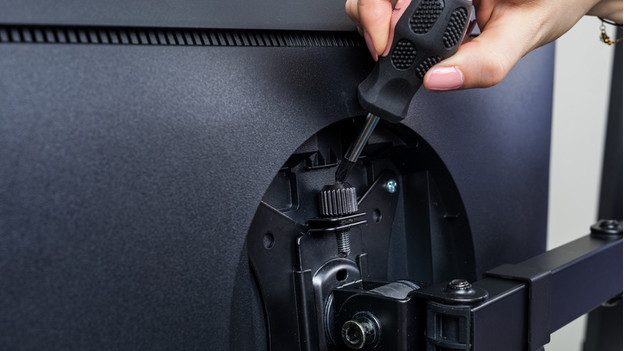
Tighten the caps with screws and the screwdriver.
Step 9: neatly hide your cables with the cable clips
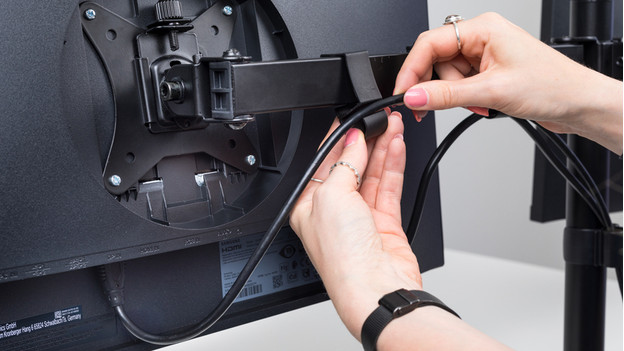
Run the cables through the cable clips from step 5 and neatly hide your cables.
Step 10: determine the flexibility of your monitor arm
Adjust the torque of the monitor arm with the included Allen key to determine the flexibility of the arm.
Your new BlueBuilt monitor arm is now completely installed.