How do you install the Ring Intercom?
Set up the Ring Intercom in 4 steps
You can easily install the Ring Intercom by following these 4 steps:
- Step 1: charge the battery
- Step 2: connect the Ring Intercom to the app
- Step 3: set up your intercom
- Step 4: mount your Ring intercom
Step 1: charge the battery

Before you start the setup of the Ring Intercom, fully charge the battery. You can do this with the included USB cable. The battery is full when only the green light is burning. This takes about 5 to 10 hours. After that, place the battery in the Ring Intercom with the flat metal lock to the front. When you hear a click, the battery is in the right place.
Step 2: connect the Ring Intercom to the app

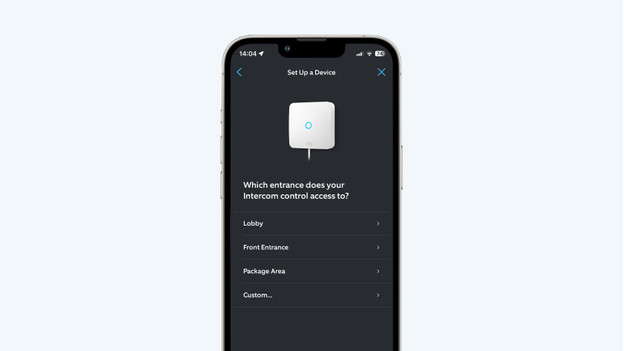
Is this the first time you're setting up a Ring device? Download the Ring app in the App Store or Google Play Store. Create an account, select 'Set Up a Device', and choose the intercom. Scan the QR code on the box. You can now read how to install the Ring Intercom step by step.
Step 3: set up your intercom

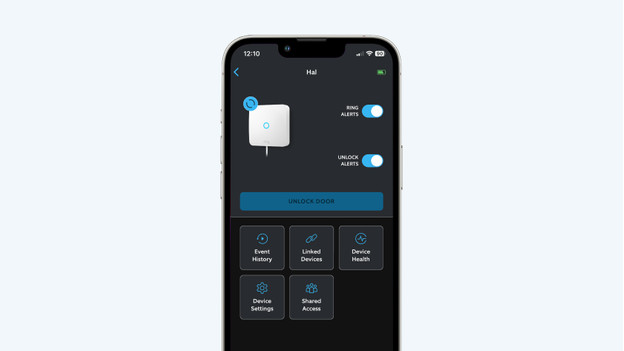
First, fill out your address in the Ring app. When you don't fill this out, some functions won't work. After that, give your Ring Intercom a name. That way, you can easily find it in the app. If the light on the intercom flashes blue, connect it to your WiFi network. Lastly, set up the extra functions. Give others access to the intercom or connect it to a Ring IP camera or smart doorbell, for example.
Step 4: mount your Ring intercom
Take off the front panel of your intercom. How to do this differs per intercom. After that, look up the brand and model of your intercom. You can often find these on the device itself or on the control panel. In the Ring app, you can see which cable you need and how to connect it. Place the front panel back on and mount the Ring Intercom to the wall. You can screw it down or stick it on with the adhesive strips on the back.


