How do you install Philips Hue outdoor lighting on low voltage?
Before you start: do your lights have medium or low voltage?

Not all Philips Hue outdoor lighting is medium voltage. Some lights work on 12V instead of 230V, which is low voltage. The power that comes in is high voltage. Do you want to connect the light directly to the socket or to the ground cables? You should choose medium voltage. To install low voltage lights, install a transformer between the cables or socket and the light. A transformer is often included with Philips Hue low voltage lights. This will transform the voltage from 230V to 12V. Installing low voltage is less invasive, because the cables don't have to go far into the ground. For the installation of medium voltage lights, you can read the article on this page.
Install low voltage outdoor lighting in 3 steps

Follow the steps below, so you can go through the installation safely. When in doubt, it's best to ask an expert. Check this video for extra help.
- Step 1. Create a lighting plan and determine the power
- Step 2. Install the lights
- Step 3. Connect the lights to the Hue Bridge
Step 1: create a lighting plan and determine the power
You can provide Philips Hue low voltage outdoor lights with power in 2 ways. You can directly connect the cables to your current wires with a transformer in between. The easiest and safest way is to do this with a power adapter. You simply plug it into the socket. That's what we focus on in this article. In that case, you won't have to turn off the power. Create a light plan beforehand. That way, you're sure where you want to place the lights and if you don't exceed the maximum capacity and length of the power cord. The maximum length and capacity are indicated on the packaging.
Step 2: connect the lights

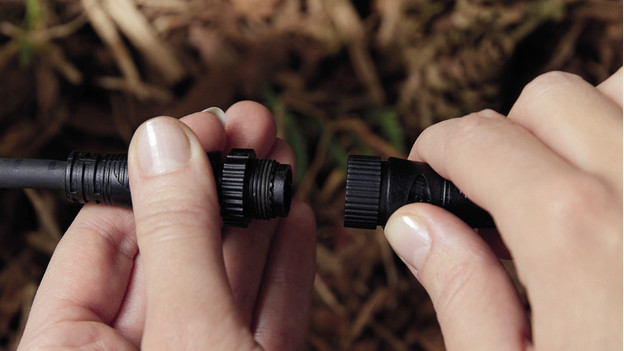
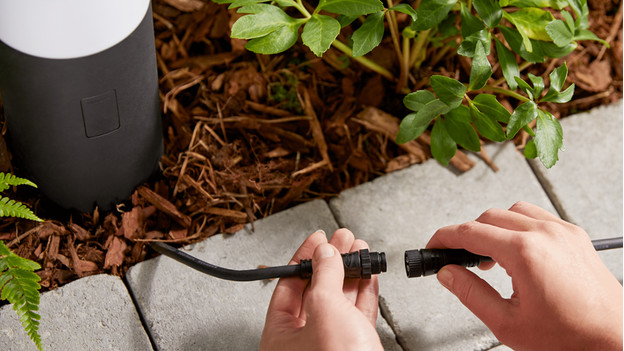
First, install the low voltage garden lights where you want them to be. Connect a T-split adapter to the cable of the light. You can easily screw them onto each other. Connect the power cord to this T-split adapter. Connect an extension cord to the other end of the T-split adapter. Repeat this with your other lights. Check the voltage of the light. On a 40W power source, you can connect up to 5 Hue Lily spike lights that are placed up to 35m away from each other. With lights with a higher wattage, this will be fewer lights. Are you just connecting 1 light? You won't need a Hue T-split adapter for outdoors.
Step 3: connect the lights to the Hue Bridge

You can connect your Hue outdoor lights to your WiFi network via the bridge. Connect the Hue Bridge to your router with an Ethernet cable and connect it to the socket. Make sure that the lights have power and are switched on. Follow the steps in the Philips Hue app on your smartphone. After you press the button of the bridge, you'll see the bridge appear in the app. The lights will appear in the app after, where you can set them entirely to your liking. Don't you see the lights? Go to 'Settings' followed by 'My lights', and add a light manually.


