How do you install Philips Hue outdoor lighting on AC power?
Before you start: are your lights low voltage or AC power?
Not all Philips Hue outdoor lighting works on AC power. Some lights work on 12V instead of 230V, which is low voltage. The power that comes in is AC power. Do you want to connect the light directly to the socket or to the ground cables? You should choose AC power. To install low voltage lights, you should install a transformer between the cables and the light. This will transform the voltage from 230V to 12V. With many Hue products, this is included. Installing low voltage is less invasive, because the cables don't have to go far into the ground. For the installation of low voltage lights, you can read the article on this page.
Install AC power outdoor lighting in 5 steps
Follow the steps below, so you can go through the installation safely. When in doubt, it's best to ask an expert.
- Step 1. Create a lighting plan and switch off the power
- Step 2. Strip the right cables with a stripping tool
- Step 3. Connect the cables with a terminal block
- Step 4. Test and attach the light
- Step 5. Connect the light to the Hue bridge
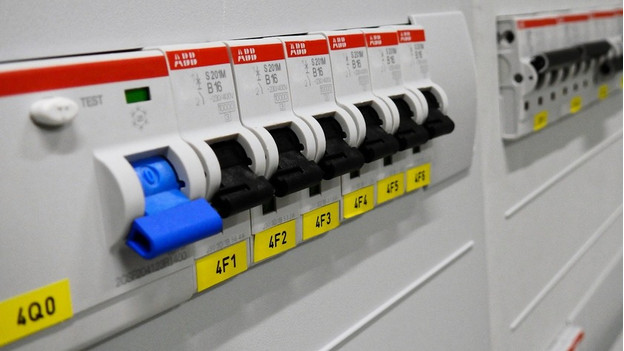
Step 1: create a lighting plan and switch off the power
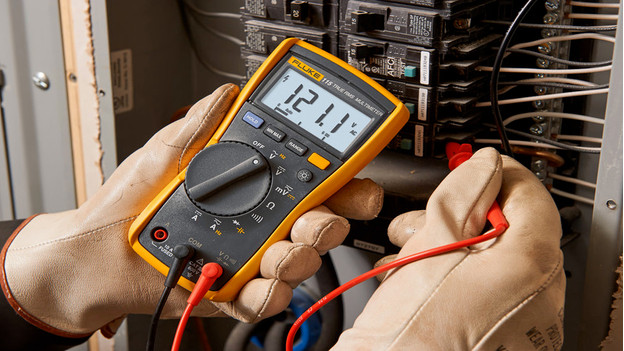
In terms of the installation, AC power Philips Hue outdoor lights don't differ from usual outdoor lighting. It might be quite challenging to connect an AC power light, which is why you should create a lighting plan in advance. Draw your garden and indicate where you want to mount the lights and where the cables will be. Don't you have cables yet, but do you want to install AC power lights? You should first connect the YMvK-AS cables. Are you not familiar with this? Have a technician do this for you. This is quite invasive for your garden, because these cables have to go at least 60cm deep. Tip: do this along the edges of your lawn. The cables will get their power from an existing socket on the facade. Make sure to switch off all the power beforehand, and check this with a volt meter or multimeter.
Step 2: strip the right cables with a stripping tool
When your cables are in the right spot, you can install the light connectors. To connect the cables to each other, you should strip them first with a stripping tool. Don't you have a stripping tool? You can cut the sleeve with a sharp knife. You should cut off enough of the sleeve to have half a centimeter of the blue, brown or black, and yellow/green wires free. That way, you'll have enough room to connect the lights. It's important that you don't cut off too far. You don't want the inside of the cable to be exposed to the elements. That way, you can prevent a short circuit later on. Only use materials that are made for outdoors.
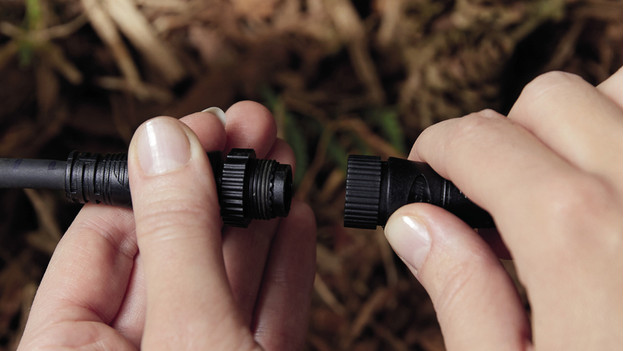
Step 3: connect the cables with a terminal block
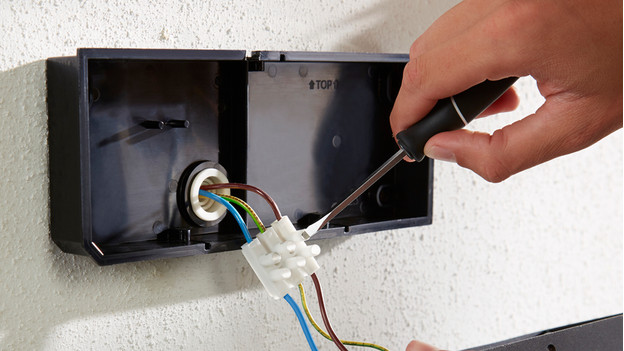
Some lights have a connector clamp to directly connect the light to. Check the manual to see which wires you connect to the clamp. The yellow and green wire is always the ground wire. The brown or black one is the + and the blue one is the - wire. Doesn't your light have a direct connector? You can connect the cables of the light to the power wires with a terminal block. You should always connect the same colors to each other. This means that you should never connect blue to brown or black. If you want to extend cables underground, you should use a special, waterproof cable box. This will ensure no water can get to the wires.
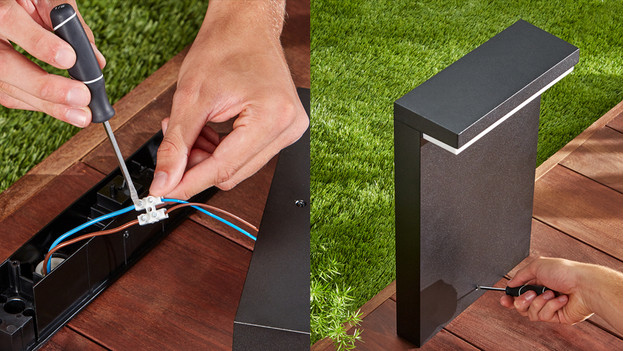
Step 4: test and attach the light
Check the first steps and see if the inside of the cables aren't touching. Is the outdoor light connected? You can switch on the power again. Is the light on? You've connected everything correctly. If it doesn't work right away, you should try to find the light in the Hue app and to switch it on that way. You can read how to do this in step 5. If you assume you connected something incorrectly, you can check the other steps. Make sure to switch off the power again.
Step 5: connect the light to the Hue bridge

You can connect your Hue outdoor lights to your WiFi network via the bridge. Connect the Hue bridge to your router with an Ethernet cable and connect it to the socket. Make sure that the lights have power and are switched on. Follow the steps in the Hue app on your smartphone. After you press the button of the bridge, you'll see the bridge appear in the app. The lights will appear in the app after, where you can set them entirely to your liking. Don't you see the lights? Go to 'Settings' followed by 'My lights', and add a light manually.