
How do you install Ledger Live on your hardware wallet?
Install Ledger Live in 6 steps
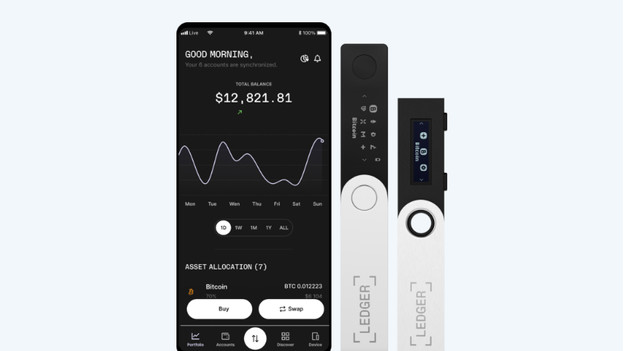
Note: buying, selling, and trading in other crypto services is provided by third parties. Ledger doesn't advice or make recommendations about the use of these third parties.**
It's easy to install Ledger Live on your hardware wallet. To help you get started, we'll explain how to install the app and how to get started in 6 steps.
- Step 1. Download the Ledger Live app on your device
- Step 2. Create a PIN code
- Step 3. Write down a recovery phrase
- Step 4. Connect the hardware wallet to your device
- Step 5. Install apps in Ledger Live
- Step 6. Add an account for your crypto currencies
Step 1: download the Ledger Live app on your device
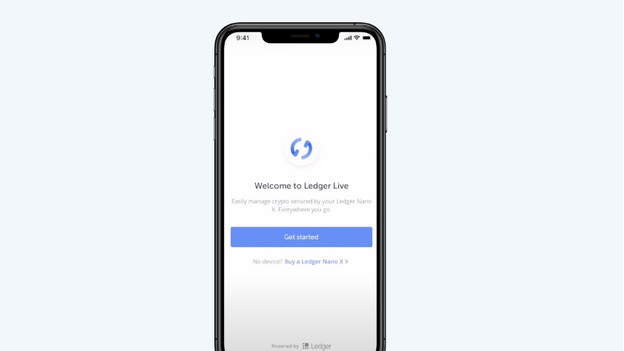
You can download the app via the app store of your smartphone or the download page of Ledger Live. Your desktop or laptop has to support at least Windows 8.1 or macOS 10.14 for both Ledger Nano X and Nano S. There's a small difference for your smartphone:
- Ledger Nano X: at least Android 8.1 or iOS 9 with Bluetooth connection.
- Ledger Nano S: at least Android 8.1 via USB cable. Do you have iOS9? You have to import data from your desktop app to your iPhone.
Step 2: create a PIN code
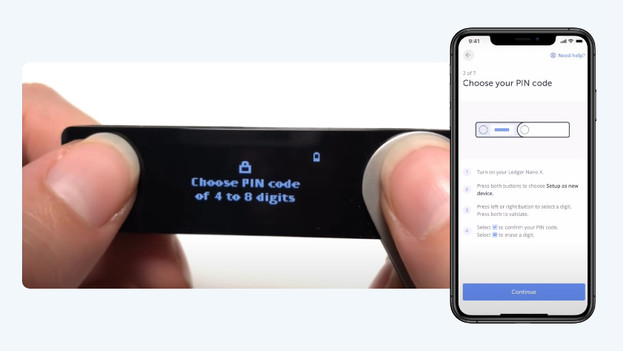
Open the Ledger Live app and select 'Initialize as a new device'. Click the Ledger model you have. Turn on your hardware wallet and press both buttons to select 'Set up as new device'. Afterwards, press both buttons to go to 'Choose your PIN code'. Click left or right to choose a new number, and press both buttons to select a number. Happy? Press both buttons again when you see the checkmark to confirm your PIN code.
Step 3: write down your recovery phrase
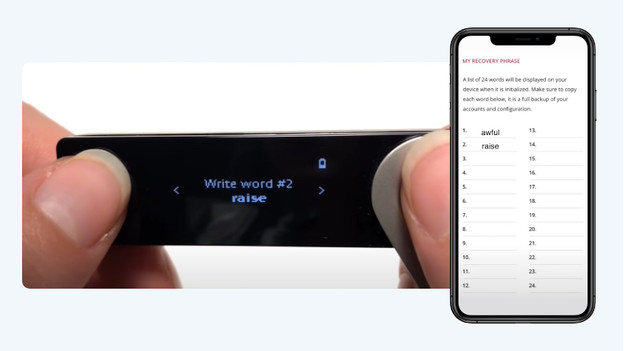
Right after you create your PIN code, your hardware wallet asks you to write down a recovery phrase. Keep in mind that this is only possible when you set up the wallet for the first time. Open the tab in the Ledger Live app and write down the 24 words your Ledger display. Afterwards, press both buttons on your wallet to confirm your recovery phrase. Do this separately for all 24 words, so take your time.
Step 4: connect the hardware wallet to your device
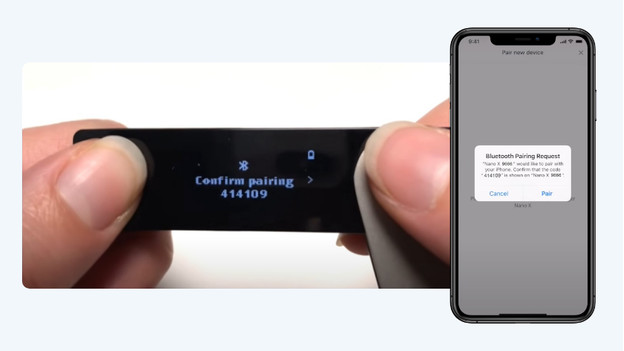
Next, connect your hardware wallet to the device you want to use. Always use a USB cable to connect a computer. For smartphones, there's a difference between the Nano X and S:
- Ledger Nano X: Bluetooth for both Android and iOS
- Ledger Nano S: USB cable for Android, import your data via the desktop app for iOS.
Step 5: install apps in Ledger Live
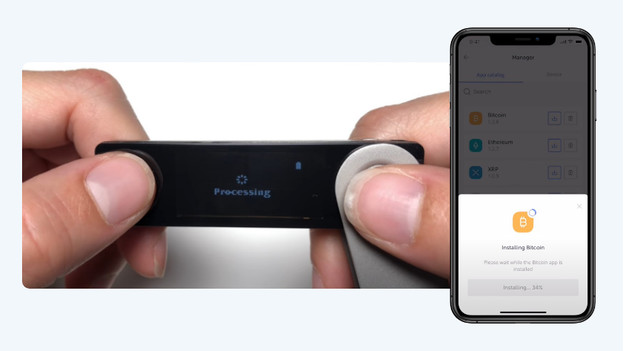
Open the Ledger Live app and go to the 'Manager' tab. Because cryptocurrencies work with different apps and wallets, there isn't one general wallet. In this tab, you'll find all compatible wallets per crypto currency. Select the app or wallet you need, so it'll appear on your physical hardware wallet. You can recognize this by the currency icon and you can find in on the interface of your wallet.
Step 6: add an account for your crypto currencies
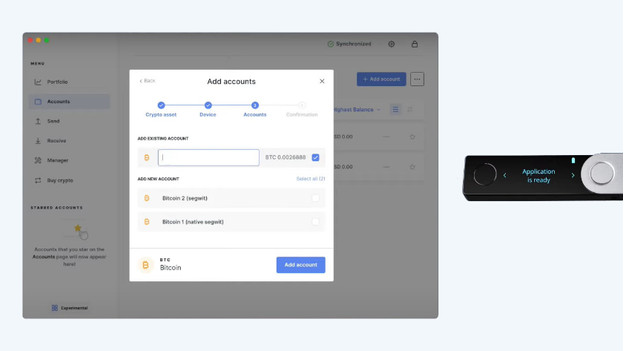
Click the Accounts tab in the Ledger Live app and select 'Add account'. Select the crypto currency you want to trade, like Ethereum. To create your account, you have to install the accompanying app. You can read how to do so in step 5. Click 'Continue' and click 'Connect and unlock your Ledger Device'. Open the app on your hardware wallet and click 'Continue'. You'll have the option to add an existing account or new account. Click 'Add accounts' and you're done.


