
How do you install a European side-by-side?
Install side by side in 5 steps

This is a general explanation. The number of steps or the order of the steps may be different for your situation. That's why you should always check the manual.
- Step 1. Check the place
- Step 2. Align the fridge
- Step 3. Remove the screws
- Step 4. Attach the mounts
- Step 5. Apply the trim strip
Step 1: check the place
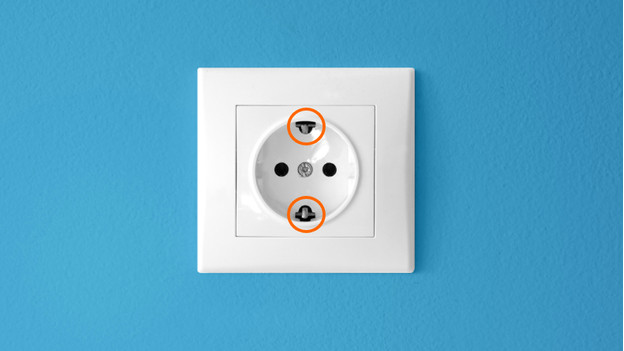
Make sure that you have a double grounded socket near the 2 devices. Check if the connector is long enough to reach this socket. You shouldn't use extension cords or power strips. These can't handle the constant supply of this type of power, which can cause a fire hazard. You should also make sure there's at least 5cm of room next to and behind both models for ventilation.
Step 2: align the fridge
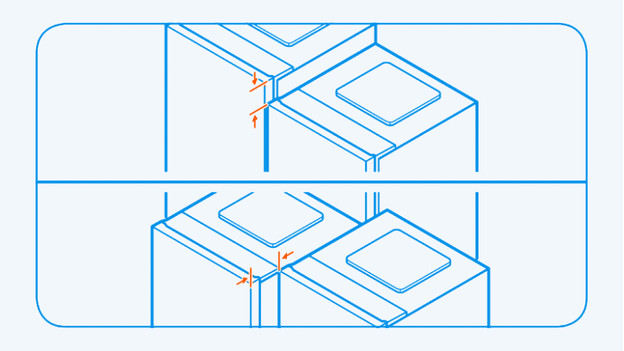
Place the fridge and freezer next to each other and align them. Make sure the top of the appliances is set to the same height. Adjust the door and the adjustable legs for this. Place them in the desired spot once you've done this. Do this with the help of someone else. Does your side by side have a back mount? Put them into place after step 5.
Step 3: remove the screws
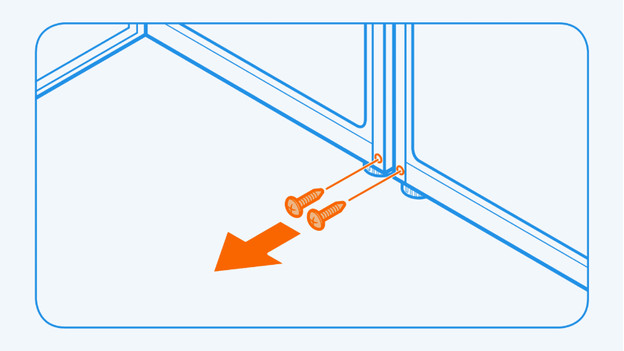
Remove the screws where the mount will come with a manual screwdriver. Check the manual to see which screws you should unscrew. Often, these are located at the bottom on the front and back of both appliances.
Step 4: attach the mounts
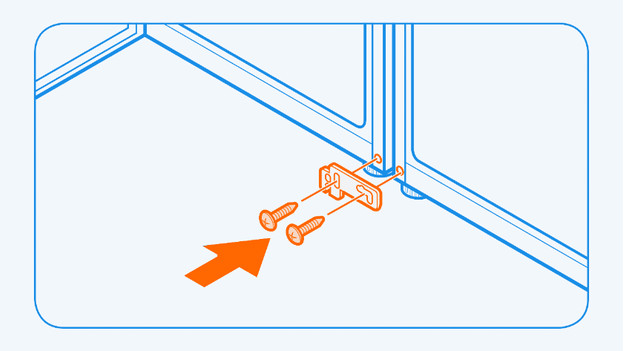
Tighten the screws at the bottom, top, and possibly the back mount with a manual screwdriver. Check the manual to see which screws you need for this. Keep 7mm of room between the 2 appliances, so you can still properly open both doors. Make sure to level the appliances too.
Step 5: apply the trim strip
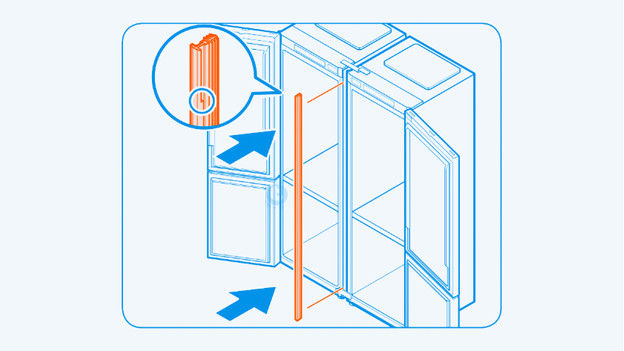
Lastly, you open the doors and apply the included trim strip at the front between the 2 appliances. With this strip, you'll no longer see the room between the models, so you can get a nice result. You've now installed the side by side.


