How do you connect the Logitech G435 to your Nintendo Switch?
Connect the Logitech G435 to your Nintendo Switch
Follow the steps below to connect you G435 to your Nintendo Switch.
Step 1: update your Logitech 435
Step 2: update your Nintendo Switch
Step 3: connect your Logitech G435
Update your G435

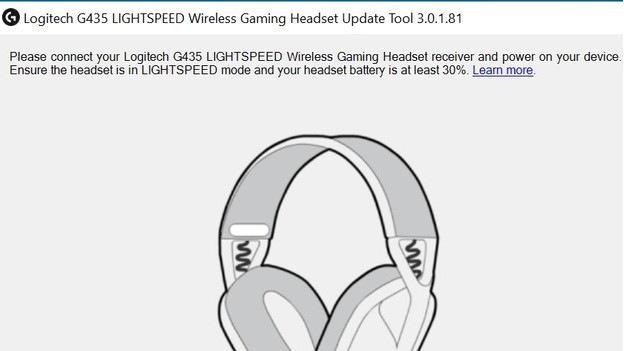
It's important to update the Logitech G435. You can do so via the link below. But first, it's important to follow the steps below.
- Connect the USB dongle to your PC or laptop.
- Connect your Logitech G435 to your PC or laptop with a USB-C cable.
- Turn on your Logitech G435.
Now, click the link below to download the software update. After that, follow the steps in the update tool.
Update your Nintendo Switch

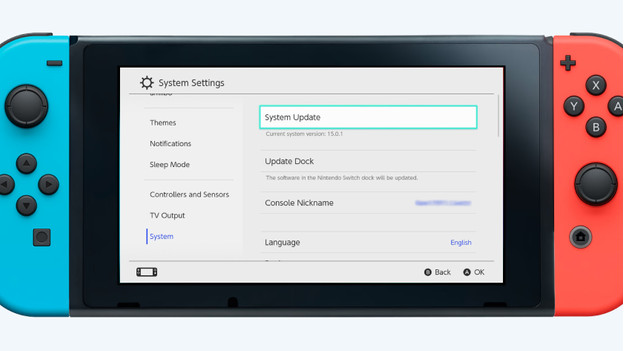
You also have to make sure that your Nintendo Switch has the latest system update. With the steps below, you can check whether you have the most recent update.
- Go to the system settings via the home screen.
- Scroll all the way down to 'System'.
- Click 'System update' and install the potential update.
If there's no update available, your console will indicate that and you can continue to step 3.
Connect your Logitech G435
It's time to connect your Logitech G435 to your Nintendo Switch. If you follow these steps, your G435 will be connected before you know it.
- On the Switch, go to 'Bluetooth audio' and select 'Add device'.
- Press and hold the microphone button on your G435 until you see a blue light.
- Press and hold the on button and microphone button until the light starts flashing.
- Your G435 is now connected to your Nintendo Switch.
If that went a little too fast, watch the video on this page.


