How do you balance a gimbal?
- Get started with balancing a gimbal
- Step 1: recognize the parts of your gimbal
- Step 2: mount your camera on the gimbal
- Step 3: get your camera ready to record
- Step 4: balance the tilt axis horizontally
- Step 5: balance the tilt axis vertically
- Step 6: balance the roll axis
- Step 7: balance the pan axis
- Step 8: calibrate the gimbal
Get started with balancing a gimbal
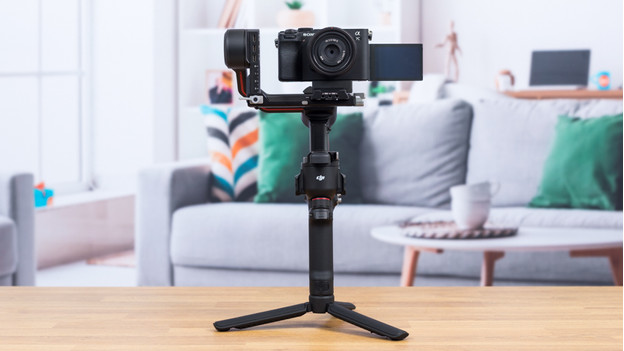
It may seem difficult to balance a gimbal, but it'll soon be a piece of cake with our steps.
Step 1: recognize the parts of your gimbal
Step 2: mount your camera on the gimbal
Step 3: get your camera ready to record
Step 4: balance the tilt axis horizontally
Step 5: balance the tilt axis vertically
Step 6: balance the roll axis
Step 7: balance the pan axis
Step 8: calibrate the gimbal
Step 1: recognize the parts of your gimbal
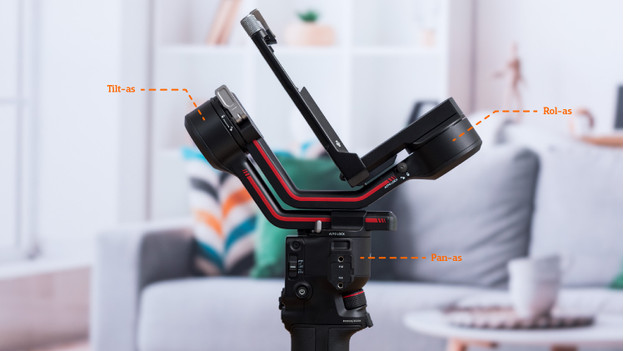
A gimbal has 3 different axes that you need to stabilize: the tilt axis, the roll axis, and the pan axis. On the image, you can see where the axis are located. All axes have a switch to lock them. We stabilize them step by step. The tilt axis is located closest to your camera. The roll axis is located in the center. The pan axis is located at the bottom, just above the tripod with control panel.
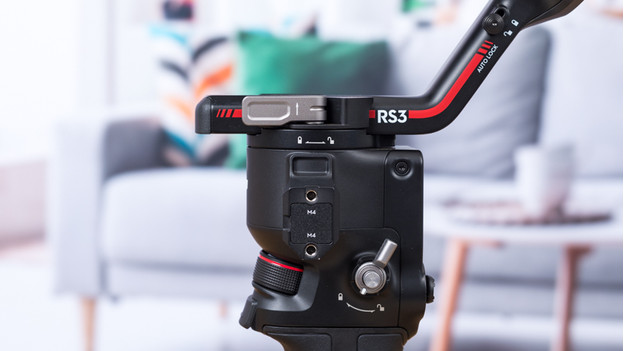
Step 2: mount your camera on the gimbal
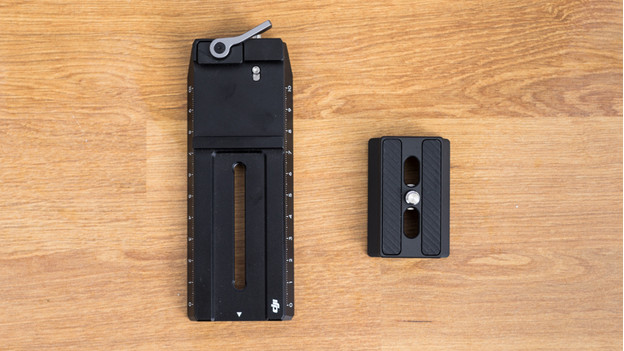
Before you balance the gimbal, you have to mount your camera. Place the gimbal on a flat surface with the tripod and slide the tilt and roll axes open. That way, it's easier to place your camera in the right position. Slide the base plate of the gimbal onto your gimbal until you hear it click into place. You can now move it around easily, but it's not falling off. Turn the lever to secure it. Now, screw the quick-release plate onto your camera. Slide the camera with the quick-release plate onto the gimbal. Make sure to point it forward. Use the lever to secure into place. Your camera is mounted properly when it no longer moves.
Step 3: get your camera ready to record
Choose the desired focal length of the zoom lens before you balance the gimbal. If you change the focal length later on, you'll have to balance the gimbal again. Skip this step if you use a prime lens. You can mount all other accessories onto the camera right away, like an external microphone or lens hood. Put the touchscreen in the desired position too, like completely open.
Step 4: balance the tilt axis horizontally

Lock all the axes except for the tilt axis. You have to balance this axis both horizontally and vertically. We start with horizontally. Your camera probably falls back or forward now. Open the lever of the base plate. Slide the base plate back and forth until the camera stays upright. Close the lever again.
Step 5: balance the tilt axis vertically
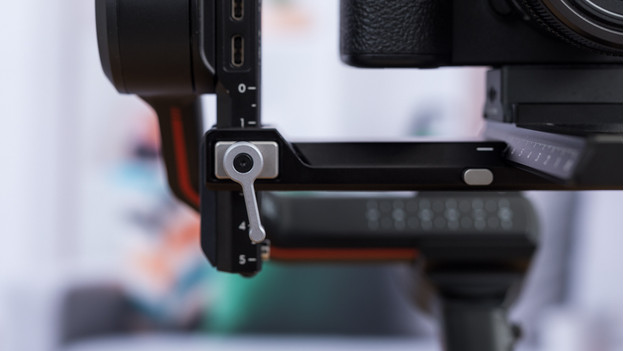
Turn the camera until it's in an upright position and the lens faces upwards. Your camera now tilts to the left or right. There's a small dial on the corner of the camera mount. Unscrew it all the way, so you can move the camera to the left and right. Be careful and make small movement. The tilt axis is balanced if the camera stays upright vertically. Secure the handle. When the camera no longer tilts, the tilt axes is balanced.
Step 6: balance the roll axis
Grab the camera and unlock the roll motor. It'll now fall to the left or right. There's a lever at the bottom of the camera. Open it and slide the camera from left to right. Make sure the camera stays in the center. Close the lever when the roll is balanced.
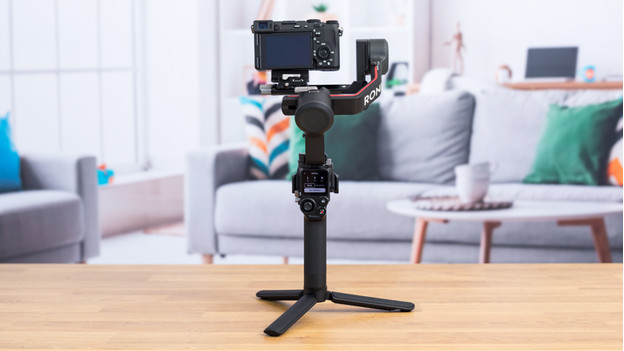
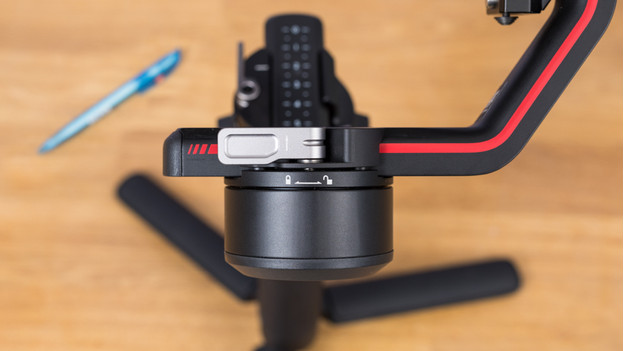
Step 7: balance the pan axis
Fold the tripod and lift the gimbal with the camera with the screen facing your body. Now, unlock the pan axis. The camera will tilt left or right automatically. Slide the axis to the front when you tilt the camera to the left. When you tilt your camera to the right, slide the axis backwards. Lock the axis. The pan axis is balanced when you tilt the gimbal and the camera stays in place.
Step 8: calibrate the gimbal
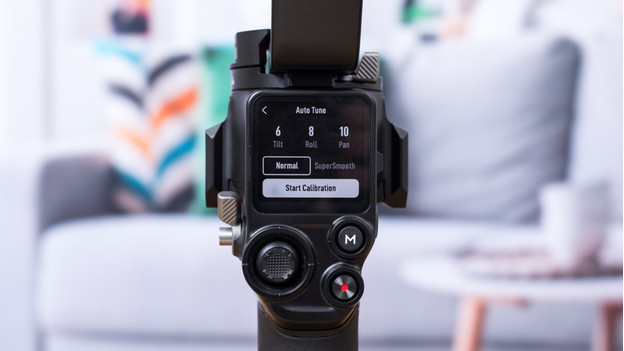
Your gimbal is now balanced. The last step is to calibrate the gimbal. Turn the gimbal on and look for 'calibrate' on the display. Put your gimbal down and start the calibration. The gimbal will start to vibrate. Once the gimbal is done, you can use it to record.