Written by Nina
Edited on
30 June 2025
·
09:39
Get started with a gimbal for your phone
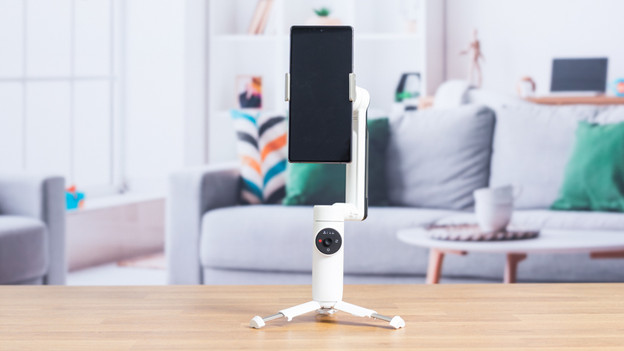
With a gimbal for your phone, you can easily capture stable footage. In this article, we'll explain how to install the gimbal and connect it to a phone. This way, you'll get the hang of it quickly.
Getting started with a gimbal
You can easily create cinematic videos with a gimbal, but the gimbal doesn't do all the work for you. That's why you need to practice recoding a lot. With these steps, you can get the most out of your gimbal.
Step 1: attach your phone to the gimbal
Step 2: download the app
Step 3: calibrate the gimbal
Step 4: control it via the buttons on the handle
Step 5: use the pre-programmed modes
Step 6: practice with the gimbal
Step 1: attach your phone to the gimbal
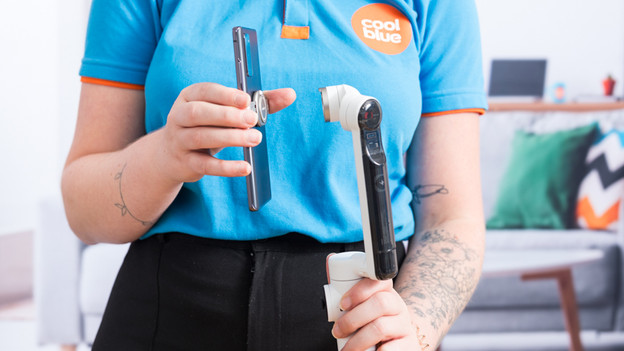
You'll receive your gimbal collapsed. First, open the gimbal arm. There is a telephone clamp on the gimbal. Click your phone into it. Make sure the clamp is exactly in the middle of your mobile. If the clamp isn't centered properly, the gimbal will be unbalanced. This'll cause your phone to tilt forward, for example. Gimbals from DJI and Insta360 have a magnetic, removable phone clamp. When you're not using the gimbal, leave the clamp on your phone. You can quickly attach it to the gimbal arm with the magnet when you want to record.
Step 2: download the app
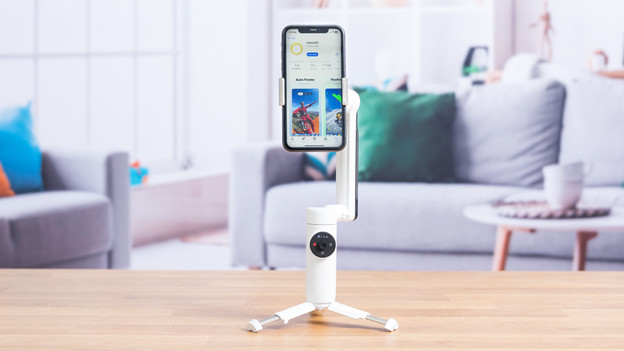
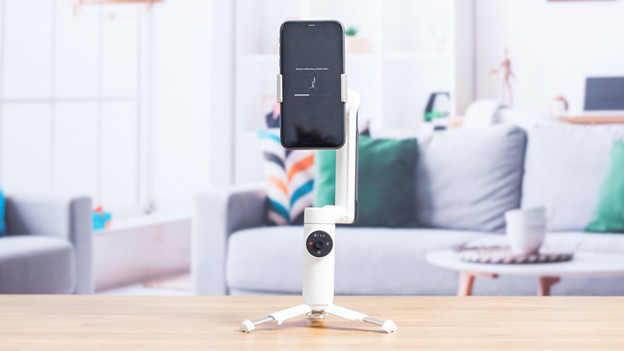
Start a recording with the gimbal in the accompanying app. You can choose from various recording modes, for example. Each brand uses a different app. For Zhiyun gimbals, download Zhiyun Cami. For DJI gimbals, use the DJI Mimo app. Open the app and connect your phone to the gimbal.
Step 3: calibrate the gimbal
You can calibrate the gimbal via the app. Here, the gimbal aligns its own axes. Fold out the tripod of your gimbal and place it on a flat surface. In the app, search for the calibration function. When you start the calibration, the gimbal will vibrate strongly. This will last a few seconds to a minute.
Step 5: use the pre-programmed modes
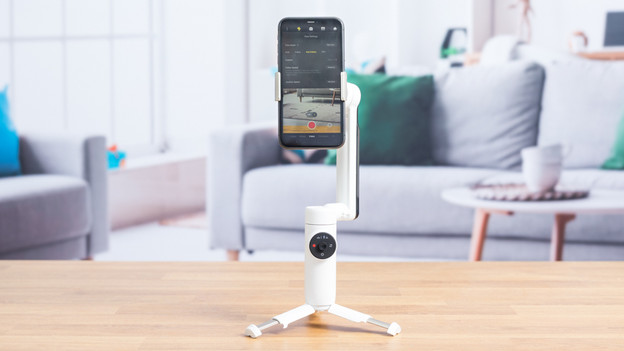
If you have little experience with gimbals, you can easily record beautiful images with the pre-programmed modes. For example, the Dolly Zoom effect ensures the camera automatically zooms in and out on your subject. If you're recording a moving subject, you can use the tracking function. DJI and Insta360 gimbals support tracking. The gimbal moves along with your subject and keeps it in the center of the frame.
Step 6: practice with the gimbal
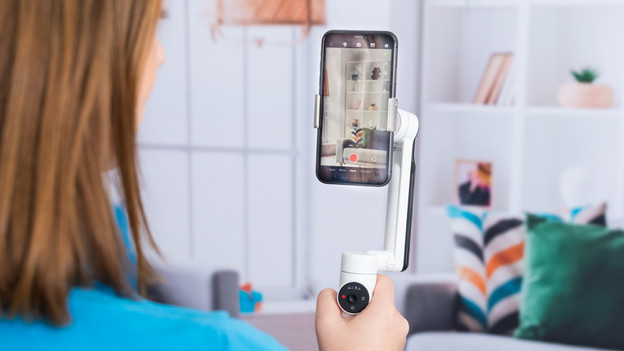
When you record with a gimbal, remember that practice makes perfect. You won't create professional-looking videos right away. Practice with different types of videos. For example, record close to the ground, follow a moving subject, or approach a subject slowly. The movement speed of the gimbal determines how smooth the result is. If you move slowly, your footage will look smoother.
Article by Nina
Camera Expert.

