
Written by Caitlin
Edited on
27 January 2025
·
13:10
How do you measure a Perilex socket with a multimeter?
With a multimeter, you can measure whether the Perilex socket in your kitchen is suitable for a 2 or 3-phase stove or cooktop. You do this by correctly inserting the red and black cable into the Perilex socket. You can read how to use a multimeter here, so that you know which type of stove or cooktop to choose.
Measure Perilex socket using a multimeter
You measure a Perilex socket with a multimeter as follows:
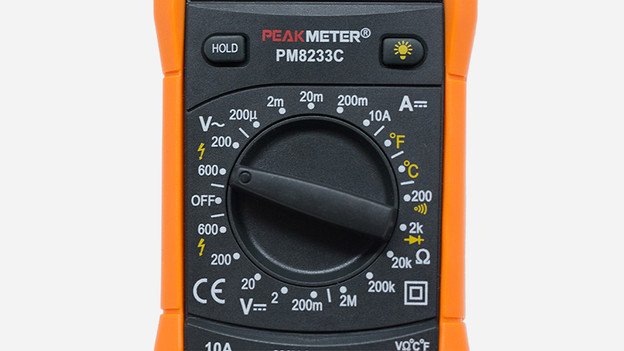
- Turn the multimeter to the correct AC voltage.
- Turn the meter to 400 volts or higher.
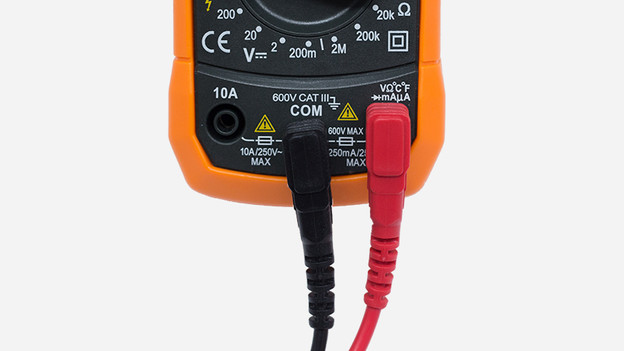
- Plug the black cable in under 'COM'.
- Plug the red cable in under 'V'.
- Insert the black cable in the middle opening of the Perilex socket.
- Insert the red cable into the opening at the bottom left and note what the meter indicates.
- Measure the other openings.
- Do you measure around 230 volts 2 times? You have a 2-phase connection.
- Do you measure around 230 volts 3 times? You have a 3-phase connection.
What do you need?
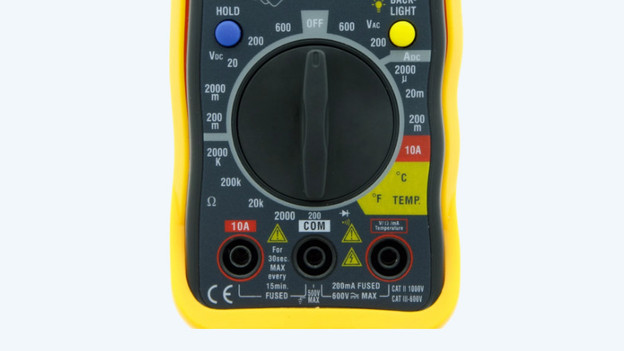
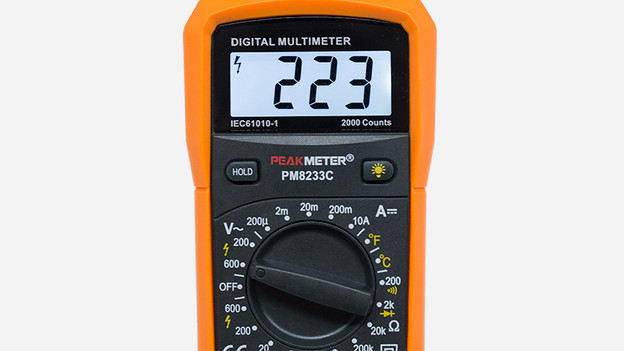
- A CAT III multimeter that measures at least up to 400 volts. Every multimeter looks different.
- A Perilex outlet in your kitchen. This is a socket with 5 openings.
Step 1. Plug the red and black cable into the multimeter
Plug the black cable into the connection that says COM and the red cable into the connection that says V. In addition to the V there is often also 'Ω' or 'mA'.
Step 2. Set alternating voltage on your multimeter
Turn the dial of the multimeter to alternating voltage. On your multimeter you can recognize this by the V with a circle. On some meters there is a V with a line and a circle. Next, you must first choose between direct current (DC) and alternating current (AC). Opt for alternating current AC. How you do this varies per multimeter. After this you turn the dial in line with the 400V or with the first higher number. The number you choose is the maximum value in volts that you can measure. Because we want to measure a maximum of 400V, a lower value means nothing. With some multimeters you don't have to set a value in volts. In this case. leave your multimeter on the AC voltage just set.
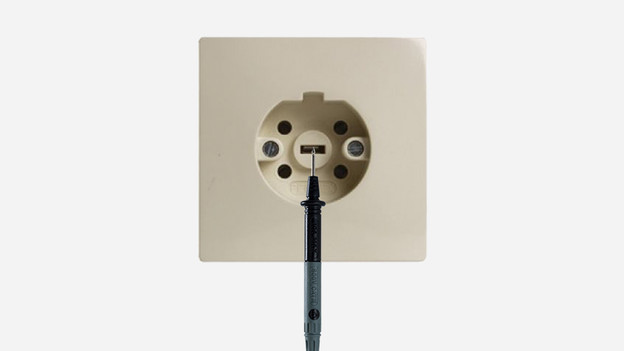
Step 3. Insert the black cable in the middle opening
Insert the black cable in the middle of the socket. This is the earth, so there is no power on here. Leave the black cable.
Please note: never change the settings during the measurement.
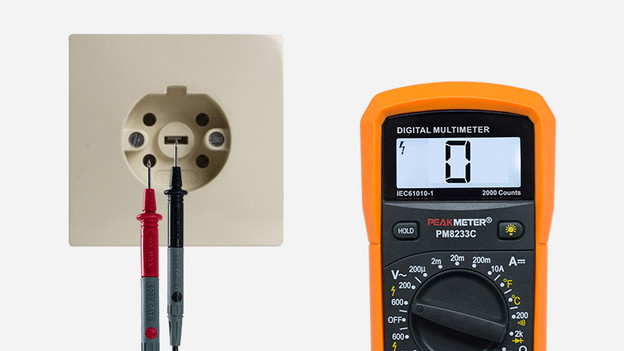
Step 4. Insert the red cable in the opening at the bottom left
Insert the red cable straight into the opening at the bottom left. Look at the display. Write down if you are measuring 0V or approximately 230V. The number of volts that a phase supplies is different in every home. So it is possible that you are measuring 228V or 234V.
Please note: never change the settings during the measurement.
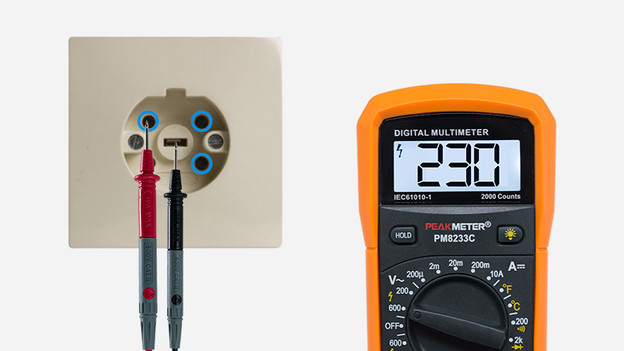
Step 5. Measure the other openings
Now put the red cable in the opening at the top left. Note again what the meter indicates: 0V or approximately 230V. Repeat this with the openings at the top right and bottom right.
Please note: never change the settings during the measurement.
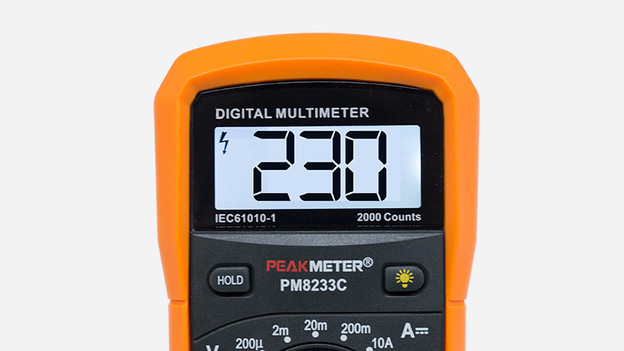
Step 6. Determine the number of phases
Now that you have measured all 4 openings, you can determine the number of phases. Every opening where you measure around 230V is a phase. What did you measure?
- 2 times ± 230V and 2 times 0V = 2 phase connection
- 3 times ± 230V and 1 time 0V = 3 phase connection
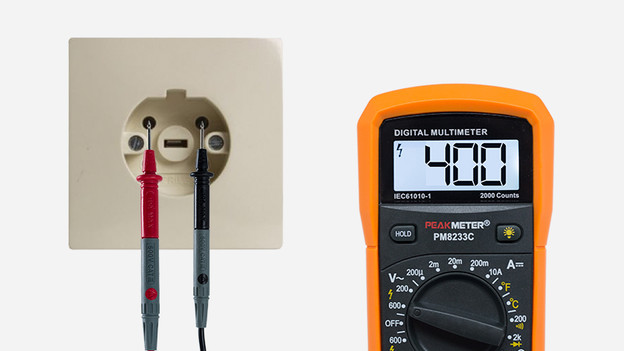
Step 7. Do you measure 3 phases?
Check this by plugging the black cable into an opening where you measured around 230V and the red cable into another opening where you measured around 230V. Does the display show 400V? Then you definitely have 3 phases.
Article by Caitlin
Stove Expert.
