
Written by Daniel
Edited on
8 April 2024
·
14:55
How do you set up your Netgear Orbi system?
With a Netgear Orbi Mesh WiFi system, you can set up a WiFi network with coverage throughout the entire house. In this article, I'll explain how to set up and connect the Orbi series from Netgear.
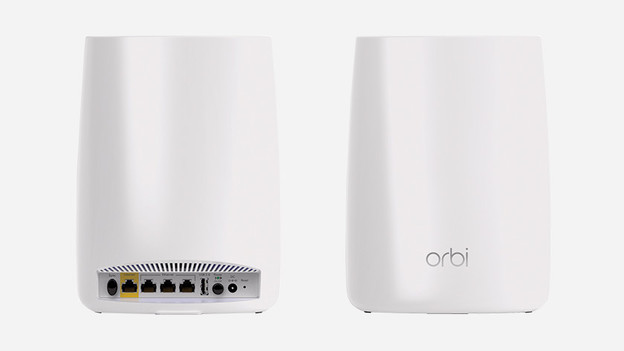
Setting up your Netgear Orbi
- Install the app
- Connect the base station
- Place the satellites
- Connect to Orbi
- Check the connection
- Set up the base station
- Connect your Orbi system
- Set up other options
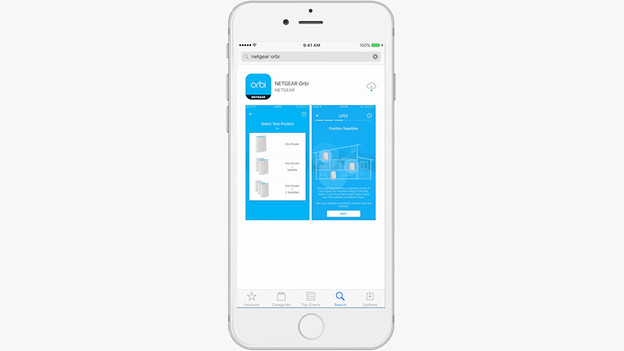
Step 1: install the app on your phone
You can manage your Netgear Orbi with the Orbi app on your smartphone or tablet. Install the app first. This way, you can easily set up your Netgear Orbi set in the following steps. When you open the app for the first time, choose setting up a new system. Then accept the terms and conditions.
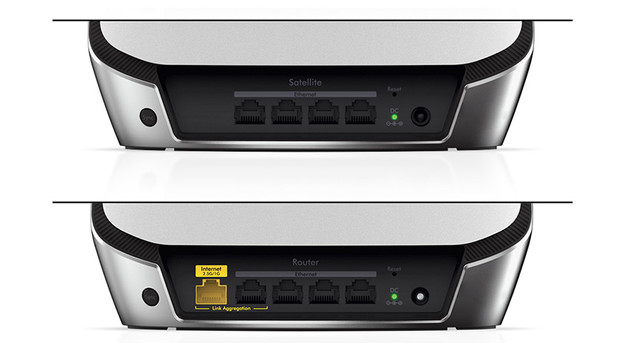
Step 2: connect the base station
Select the amount of stations your Netgear Orbi set has in total in the app. Afterwards, reset the modem of your provider. You can do this by taking the connector out of the socket for half a minute. Then, connect a network cable to one of the yellow connectors on your modem and the yellow connector on the Orbi base station. You'll recognize it by the name 'router' and the yellow network connector. See the last photo. Finally, put the power cable in the Orbi base station and connect the adapter to the socket.
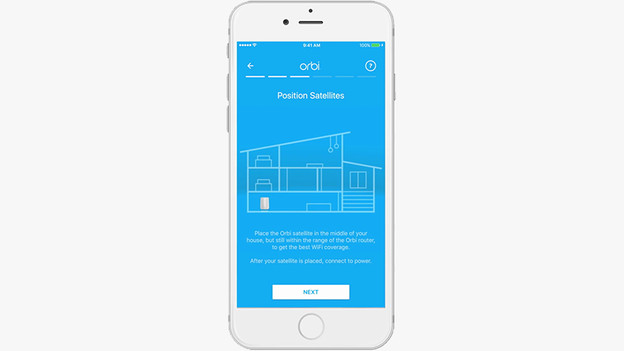
Step 3: place the other satellites
The Mesh WiFi systems are available with 2, 3, or more stations. In this step, you place the extra Orbi satellites where you need a fast and stable WiFi signal. The app can help determine the right place for these stations. Ideally, you shouldn't place them more than two rooms apart. This way, you ensure you maintain a strong connection with the other stations. Switch on the Orbi satellites by putting the connector in the socket. Then press the black button on the backside.
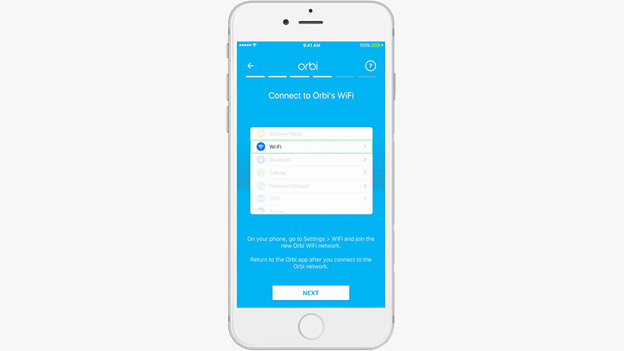
Step 4: connect to your Orbi system
To continue the setup, connect with the WiFi network of your Orbi. You can find the name and the password on the backside of the base station. Read the manual of your device to find out how to connect to the WiFi network. Made a connection? The app will automatically continue with the next step.
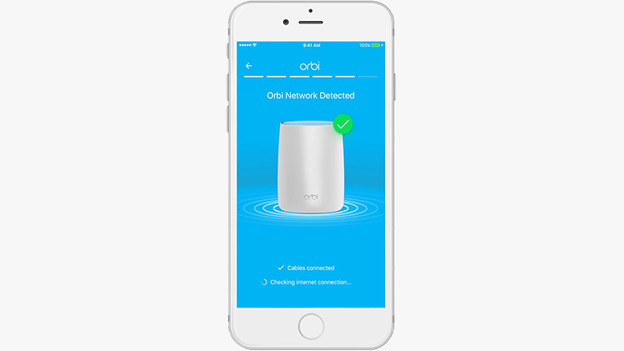
Step 5: check the connection of your Orbi
The Orbi now automatically checks the connection to the internet. Afterwards, the base station tests the connections with the satellites you've placed. You can see this by the pulsating blue light on top of the base stations. Does the light stay blue after that? All stations have been set up correctly. Does it stay purple? In that case, the connection between the base station and your satellite is too weak. You can fix this by placing the satellite closer to the base station.
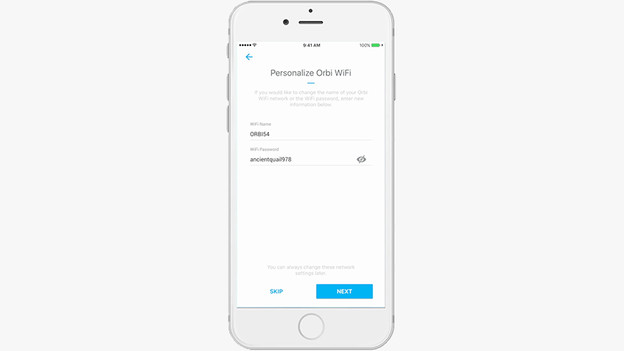
Step 6: set up the base station with the app
Provide a username and password in the app. You use these to log in and manage the settings of your Orbi. Choose a strong password, so no one else can get to these settings. Afterwards, use the app to give your new WiFi network a unique name. You should also set a safe but easy to remember password for your wireless network. Press 'next' and make a connection to the network you've just created.
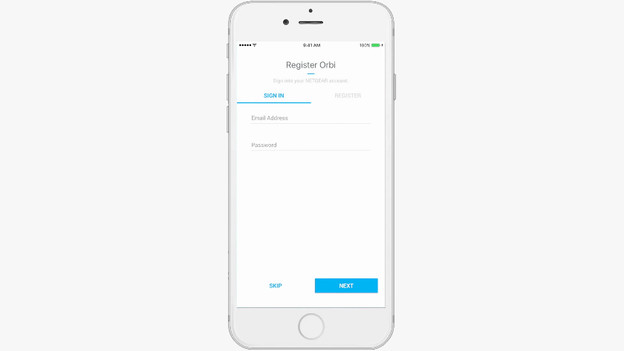
Step 7: link your Orbi system to your Netgear account
The Orbi app will now ask you to log in with your Netgear account. If you don't have this account yet, you can now create one via the app. This way, the settings of your Orbi are saved and you can always recover them if necessary. You can also manage your Multi-room WiFi system remotely this way. This is useful if your child is complaining the WiFi doesn't work while you're not at home.
Step 8: other options in the Orbi app
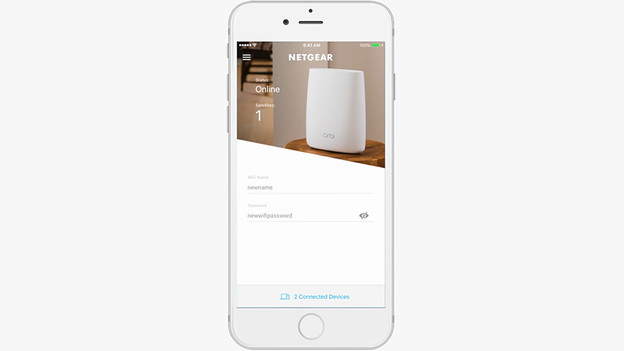
You can easily see which stations are online in the main screen of the Netgear Orbi App. The app also shows how many devices are connected. The app has a clear overview. Press the 3 stripes to set up additional options from the menu. You can turn on Circle, for example, so your children are protected against harmful websites. Or set up a guest network. You can give your friends and family access to your WiFi, without giving them access to your private network.
Article by Daniel
Router Expert.
