How do you connect a Windows laptop to a WiFi network?
Connect your laptop to WiFi in 3 steps

Connecting your laptop to the WiFi network doesn't take much time. We've listed all steps for you below:
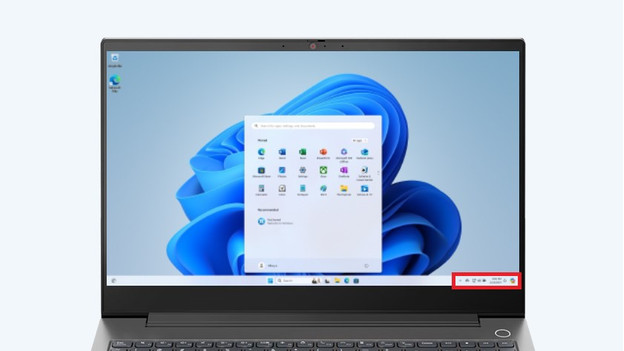
- Step 1. Open the WiFi menu
- Step 2. Select the network
- Step 3. Connect your laptop to the network
Step 2: select the network

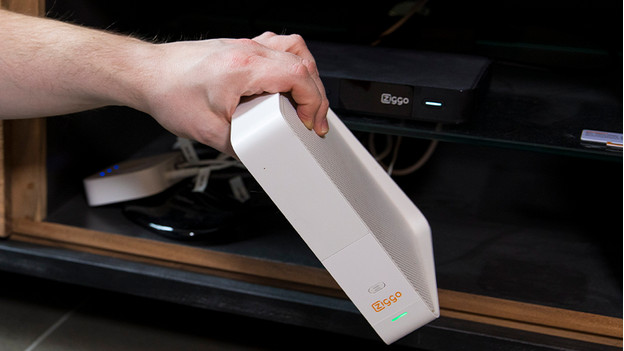
You now see a list of all available WiFi networks. The strongest network or the network you select by default will be at the top of the list. The lower the network is on the list, the weaker the signal. Click on the WiFi network you want to use. Don't know the name? Take a look on the modem. There, you'll also find the password for your WiFi network. Note: the password is case sensitive. Enter the password and click on 'Connect'.
Step 3: connect your laptop to the network

When you click 'Connect', the laptop connects to the WiFi network. Does the WiFi icon at the bottom right turn white? You're connected to the network. If this doesn't work, you'll see an error in your WiFi menu. One of the most common notifications is that you entered the wrong password. Because the capital O looked like a 0, for example. Type the password again and click 'Connect'.
**Note: the password is case sensitive. Are you getting an error? You maybe switched the number '0' and the letter 'O'.
Do you have problems with connecting?

Unfortunately, entering a password again after you filled in the wrong one isn't always the solution. It's also possible that your WiFi and modem aren't connecting or that your laptop is too far away from the router. In the following advice article, we'll give various tips to solve these problems.


