


How do you clone your hard drive (HDD) on a Mac?
Before you start
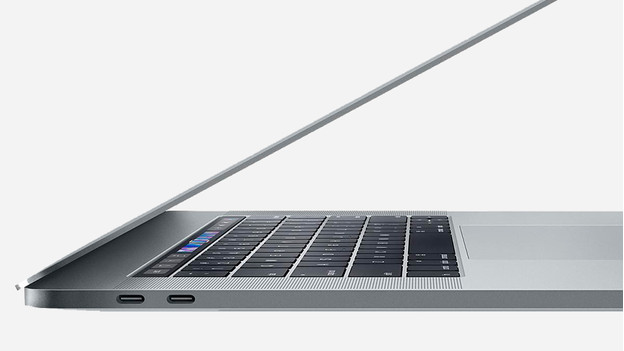
Not all Mac models allow you to expand the internal storage. The components have been soldered onto the motherboard. You'll loose your warranty if you start tinkering with it yourself. Do you have a MacBook Air from 2017 or a MacBook Pro from 2015 or older? You can set up your new drive by going through these steps. Do you have a newer model? Choose external store, such as an external SSD. That way, you can still expand the storage capacity of your Mac without installing anything.
You need:

In order to go through the steps in this step by step approach, you need the following products:
- A MacBook or iMac
- The free macOS program Carbon Copy Cloner
- A SATA/USB or SATA/USB-C adapter
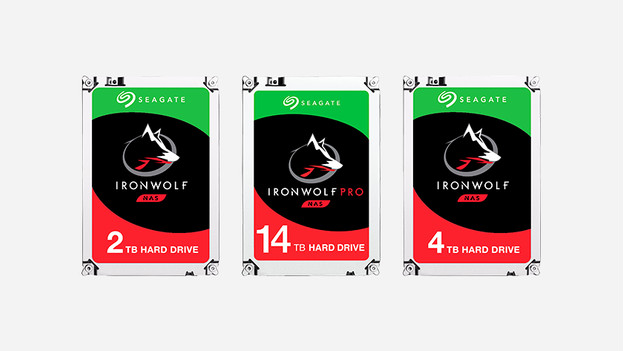
- A Solid State Drive (SSD) or hard drive (HDD)
- Time (the transfer can take up to 8 hours)
- Optional: a hard drive enclosure for your old drive
Step 1: make a connection
Before you start the transfer process, it's important that you first connect the new hard drive or SSD to your MacBook or Mac. You do this via the SATA/USB adapter, or via the SATA/USB-C adapter if you only have a USB-C port. This adapter has 2 USB cables. One of these provides power to the drive. The other transfers data. Plug both cables into the USB ports of your Mac. Attach the other end to the drive.
Step 2: start program

Start the program Carbon Copy Cloner. Click Evaluation to begin the 30-day trial period.
Step 3: select the old hard drive
On the left side of the screen, you select the hard drive you want to migrate (the source drive). In general, this is the drive that contains your macOS installer. When you hover over the drive with your mouse, you see information about the drive including the macOS installer. If you're not sure which drive contains your installer, this is how you find out which drive is the right one.
Step 4: start cloning

On the right, you choose the drive you want to migrate towards (the destination drive). Click Clone. A pop-up will appear, notifying you that the data on the destination drive (the new drive) will be deleted after you start the cloning process. Choose Continue. The cloning process begins. Now all you have to do is wait and you can get started with you cloned drive.
Step 5 (optional): put your old drive in an enclosure
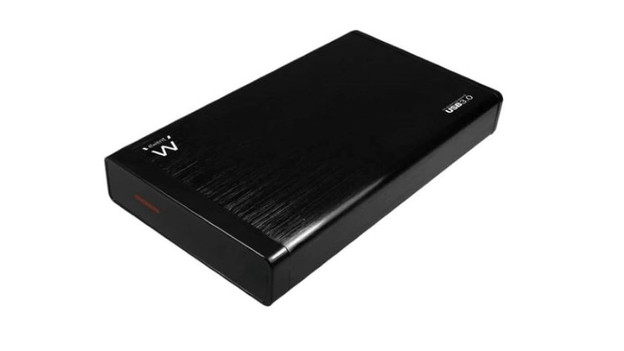
Now that you've replaced your drive, you don't immediately have to throw it away. Why not use an external hard drive enclosure. When you place your drive in the enclosure, you can connect it to your computer via a USB cable. That way, you can still make backups. Keep in mind that the transfer speed depends on the USB connection in this case and that it might be slower than you're used to from the drive.

