Get started with the Sony WF-1000XM5
Get started in 4 steps

Read how to get started with your Sony WF-1000XM5 as soon as possible in these 4 steps.
Step 1: connect to your phone
Step 2: put in your earbuds
Step 3: download the app
Step 4: ensure a good connection
Step 1: connect to your phone
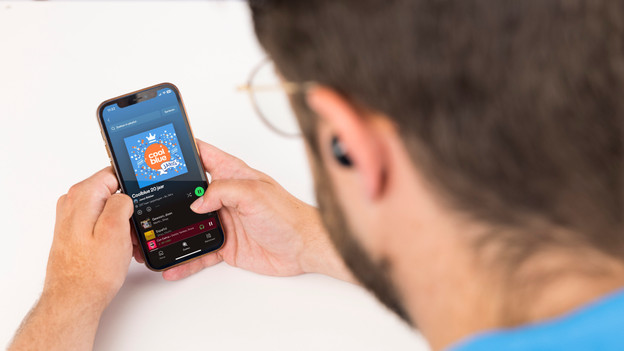
You need a connection with your phone if you want to play music. If you've already done that, you can skip this step. Haven't connected the earbuds yet? Read the article below. We'll explain step by step how to connect the earbuds to your phone via Bluetooth.
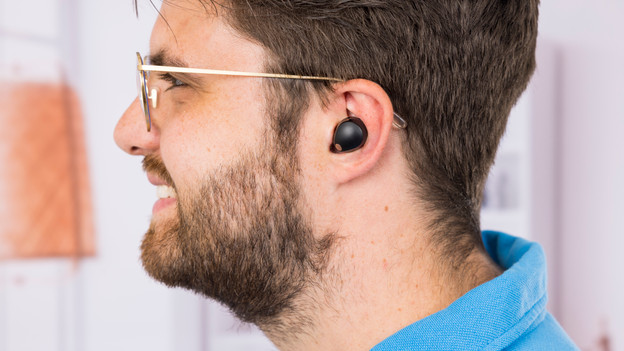
Step 2: put the earbuds in your ears

Every earbud has a different fit, so it's important to check what the best way is to put them in your ears. The Sony WF-1000XM5 are in-ear earbuds. You twist in-ear earbuds into your ear canal directly. Sony provides 4 silicone earbud tips, so there's always a size that fits your ear. Sony also provides 1 size of foam ear tips. These ear tips shape to your ears.
Step 3: adjust the sound and the noise canceling via the app
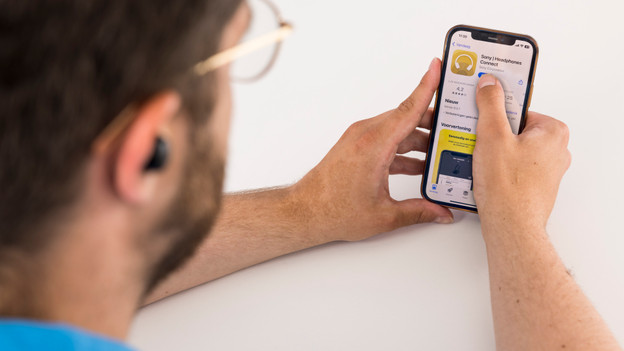
The Sony WF-1000XM5 earbuds have an accompanying app you can adjust the noise canceling and audio in. This way, you can choose the level of noise canceling. The highest level reduces the most. You can adjust the sound via the equalizer. Choose from the Sony presets or experiment with the equalizer yourself. You'll notice the difference right away.
Step 4: ensure a good connection
A good connection ensures you can listen to music for hours on end without any problems. The connection can make or break wireless earbuds. Read how to ensure a stable connection in the article below.