
Get started with the DJI Air 2S
Get started with the DJI Air 2S
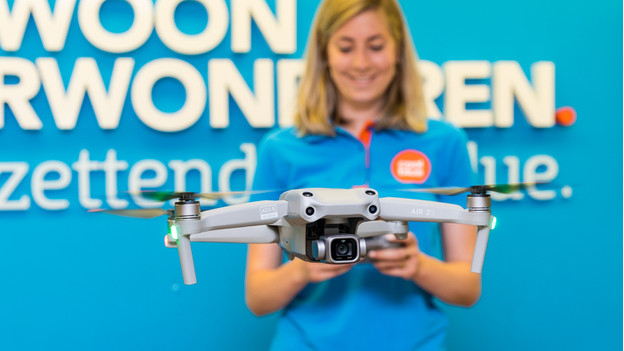
You can read how to get started with the DJI Air 2S here. We'll tell you how to connect, fly, and operate the drone.
Step 1: charge parts
Step 2: make the drone ready for use
Step 3: connect the smartphone to the remote
Step 4: select drone
Step 5: fly
Step 1: charge all batteries of the remote
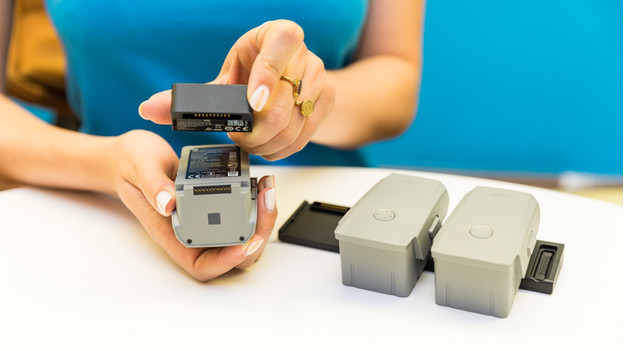
In the box, you can find several accessories, which you need to charge. With the separate drone, you get 1 battery. With the Fly More Combo, you'll get 3 batteries. You can charge the battery with a separate charger. If you have the Fly More Combo, you'll get a charger to charge 3 batteries at the same time. In addition, you'll get a remote. You can charge the remote with a USB-C cable.
Step 2: get the drone ready for use
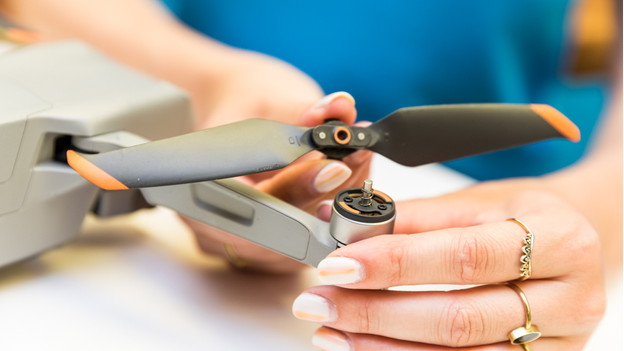
Fold out the legs, and attach the propellers to the drone. You can do so with the twist system. The propellers with the red markings go on the legs with the red markings. The same counts for the propellers and legs without markings. You can put the battery in the top of the drone. Before you start flying, remove the camera protector.
Step 3: open the DJI Fly app
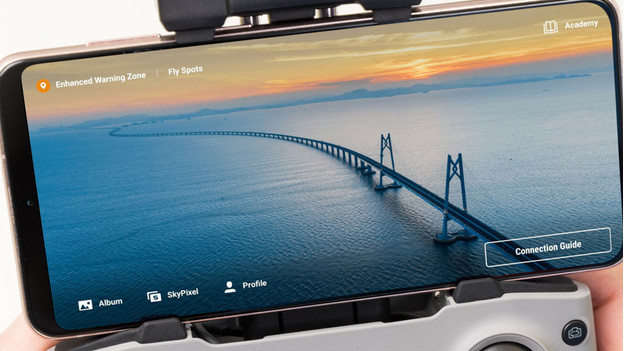
The remote has a clamp for your smartphone at the top. You connect it to your smartphone via an RC cable with a USB-C or Apple Lightning connector. One cable is already in the remote, the other one is part of the accessories. When you connect your phone and turn on the remote, the DJI Fly app opens automatically. Don't have this app on your phone yet? Download it first. After you've connected the remote and your phone, turn the drone on.
Note: Android users have to download the DJI Fly app via the DJI website. To open the download, you need an APK Installer app. You can download that in the Google Play Store. You'll recognize the installer by a box with the Android icon. After you've installed the APK installer, open the installer and go to "Install APKs". Here, you'll see the DJI Fly app. If you select it, your phone will install the DJI app.
Step 4: select DJI Air 2S
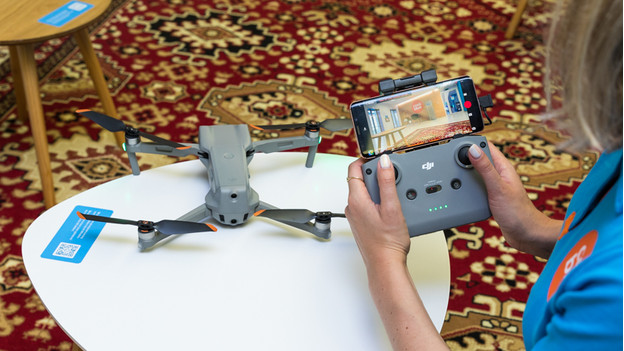
In the app, you can make a connection with the drone. You can select the right model, which is the DJI Air 2S in this case. The drone will now connect to the remote. If that's done, you can see the image of the camera on your phone screen. Let the drone take off now. You can do so by pushing the joysticks of the remote down and towards each other.
Step 5: control the drone
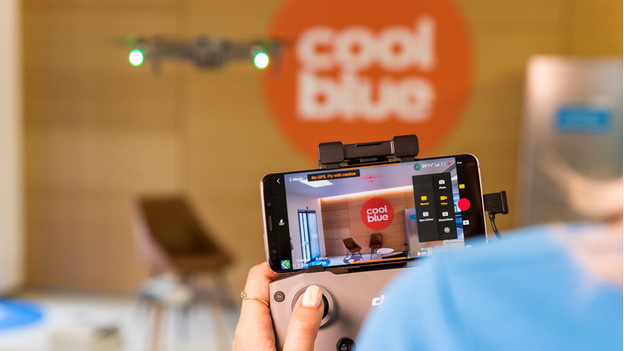
With the left joystick, you can rotate the drone around its axis, and you can fly it upwards or downwards. With the right joystick, you can move it forwards, backwards, left, and right. There's a dial close to your left index finger. You can use that to adjust the position of the camera. Choose between forward or downward. You can adjust the settings on the screen of your phone.
Step 6: Fly More Combo
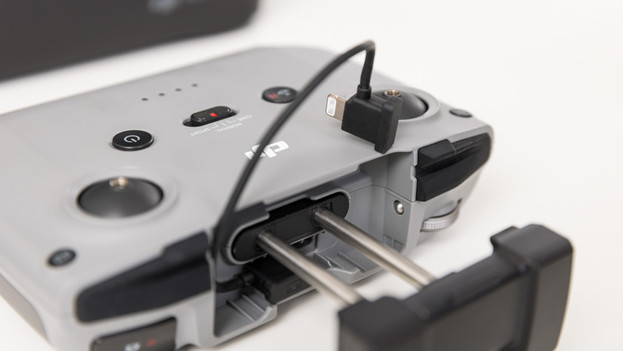
Did you buy the Fly More Combo and did you find out you're missing some accessories while going through these steps? It's likely that the accessories are still hidden in the included DJI storage bag. Open all the compartments to see if there's anything there. The extra propellers and spare joysticks are usually in the top compartment of the bag. You can find the standard joysticks on the bottom of the controller.


