How do you connect your printer to your Chromebook?
Connect your printer in 3 or 7 steps
You can connect a printer to your Chromebook by going through the following steps.
- Step 1: connect your printer and Chromebook to the same WiFi network.
- Step 2: open your printer settings.
- Step 3: add the printer to your Chromebook.
- Step 4: print the network configuration page.
- Step 5: add the printer manually.
- Step 6: select the printer model.
- Step 7: print a page.
Note: not every printer is suitable for Chromebook models. Make sure to carefully check this before you buy a printer.
Step 1: connect to the same WiFi network
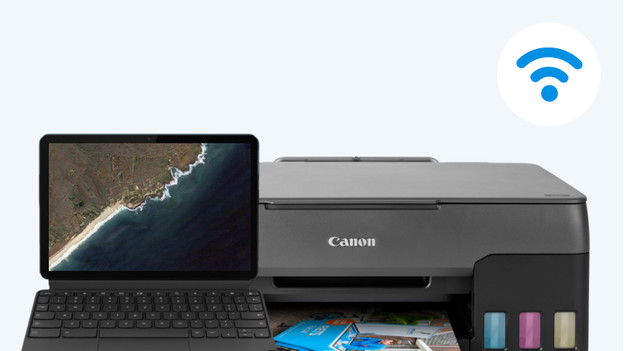
Before you connect your printer to your Chromebook, you have to connect both products to the same WiFi network. Check the manual of your printer to find out how to do that with your specific printer model. Not every printer can be connected to WiFi. In that unlikely case, you have to connect the printer to your Chromebook via a USB cable.
Step 2: open printer settings
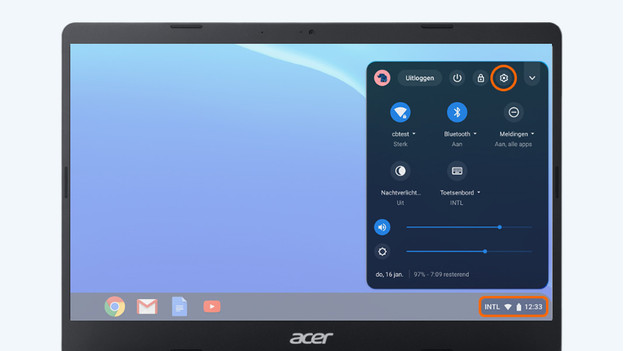
You're going to add the printer on your Chromebook now.
Click the time at the bottom right on the screen. Now, click the gearwheel icon you'll see in the screen that'll appear. You'll see the general settings menu. Type 'printer' in the search bar and click 'Add printers'.
Step 3: add the printer
Step 4: print the network configuration page
Because the printer doesn't appear automatically, you have to add it manually with the IP address of the printer. All the devices connected to your network have their own IP addresses. To find out what the IP address of your printer is, you have to print the network configuration page. Check the manual of your printer to find out how to do this.
Step 5: add the printer manually
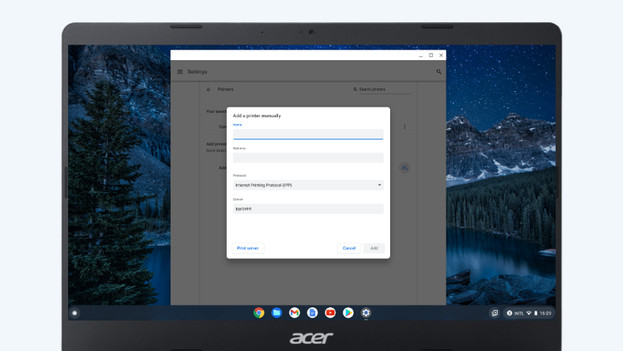
You didn't see your printer at step 3, but you did see the button 'Add printer'. Click the printer with a plus icon next to 'Add printer'. You'll see a new screen.
- Name: enter the name of the printer, such as the type number, the location of the printer, or something else.
- Address: enter the IP address you found by going through step 4. Select the 'Internet Printing Protocol (HTTP)'.
- Leave the other settings as they are and press 'Add'.
Step 6: select the printer model

After you've clicked 'Add', you'll see 'Advanced printer configuration' on the screen.
- Manufacturer: select the brand of your printer.
- Model: select the model of your printer. If your model number isn't listed, choose the model number that's the most similar. Leave the other settings as they are and click 'Add' again.
Your printer will appear in the next screen.
Step 7: print a page
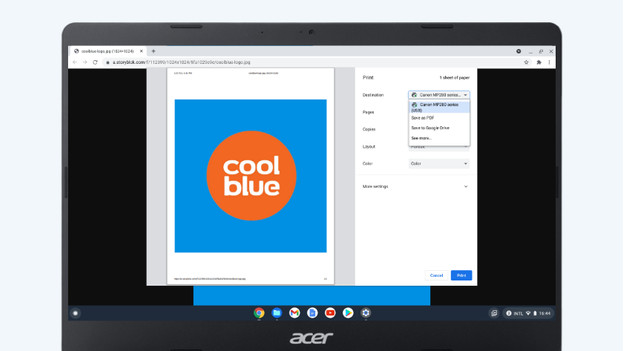
You're following these steps because you want to print something. Open that file and click CTRIL + P or use the print button. In the print menu that appears, choose your printer under 'Destination'. Isn't it listed? Click 'See more'. It could take a couple of seconds, but the printer you added should appear. Click on your printer and print your document.