
How do you build in a dishwasher?
Build in a dishwasher in 8 steps
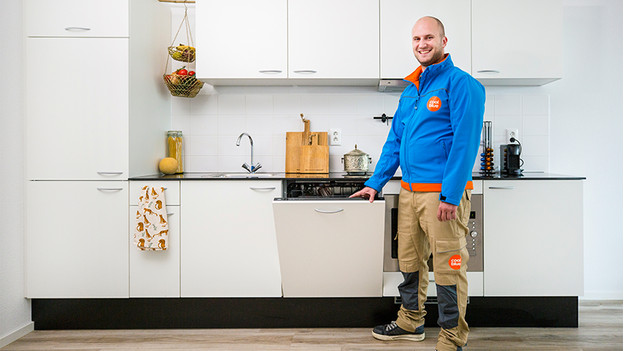
The explanation we give is general. The number of steps or the order can be different for your built-in dishwasher. That's why you should always use the included manual and use this article as a guideline.
- Step 1. Attach the moisture protection
- Step 2. Attach the mounting brackets
- Step 3. Put the dishwasher in its place
- Step 4. Level the dishwasher
- Step 5. Prepare the front panel
- Step 6. Attach the front panel
- Step 7. Secure the dishwasher
- Step 8. Replace the baseboard
You'll need
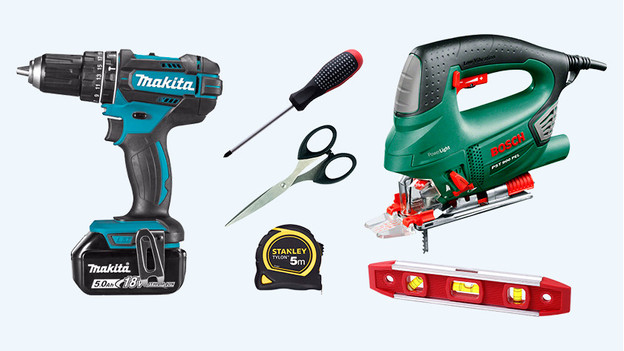
What you need depends on your dishwasher. Always check the manual.
- Drill
- Spirit level
- Screwdriver
- Measuring tape
- Scissors
- Wrench
- Saw
*Do you want saw a piece from the baseboard? You need a jigsaw.
Step 1: attach the moisture protection
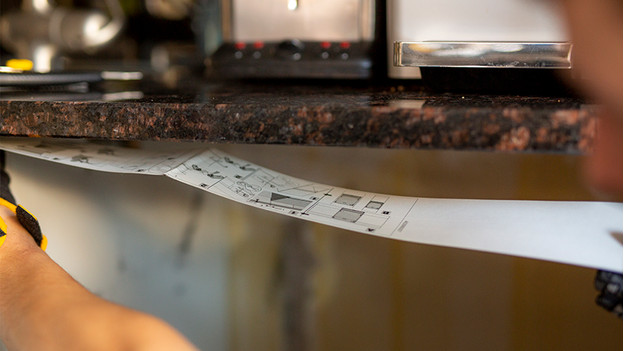
The first step is to attach the moisture protection. This is a sticker or plastic strip of about 60cm wide (45cm in the case of a narrow built-in fridge) that you attach to the bottom of the countertop. When you open the dishwasher after a cycle, the hot steam hits the protection instead of the countertop.
Step 2: attach the mounting brackets
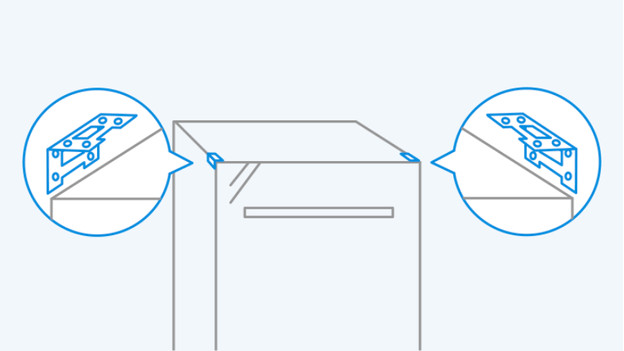
Whether your dishwasher requires mounting brackets depends on the brand and placement of the machine, among other things. For example, if you want to place your dishwasher underneath a stone countertop or next to a stone wall, you can't use screws. The setup may differ. That's why you should carefully read the manual for instructions.
Step 3: place the dishwasher
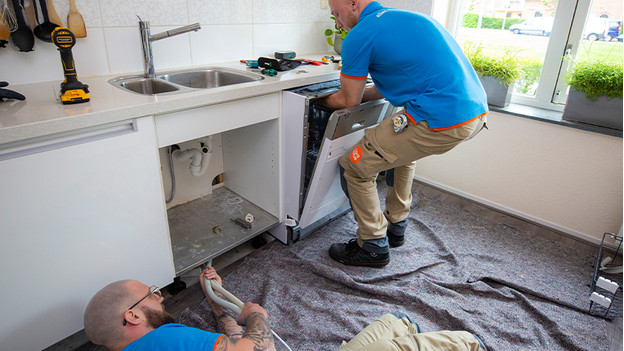
Plug the dishwasher into the socket and screw the supply hose onto the water supply. Next, you connect the drain hose to the trap with a hose clamp or insert it into the drain pipe. After, you can open the faucet and slide the dishwasher into place.
Step 4: level the dishwasher
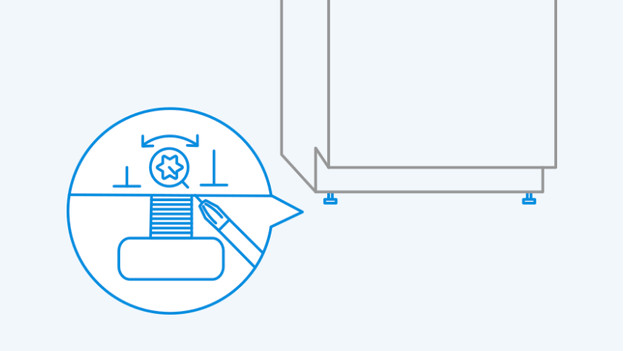
It's important that the top of the dishwasher is flush against the countertop. You do this by adjusting the front legs on the left and right. You can adjust the leg at the back of the dishwasher with the screw on the bottom of the dishwasher in the middle at the front. Use a screw driver for this. Hold the spirit level against the closed door of the dishwasher and check if it's level.
Step 5: prepare the front panel
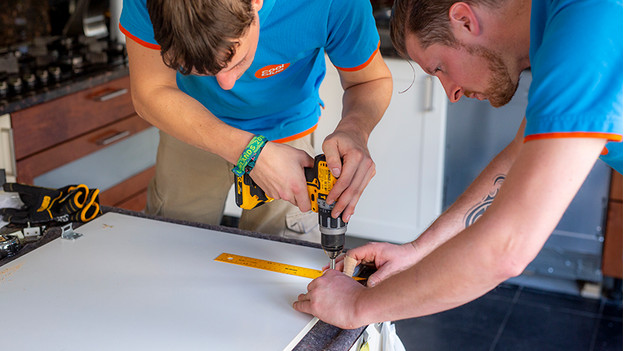
You attach the kitchen panel to the door of the dishwasher with a couple of screws. Before doing this, you have to drill holes in the right places. You can check where exactly these holes should be in the manual of your built-in dishwasher. Make sure you don't drill too deep. You don't want to drill through the panel.
Step 6: attach the kitchen panel
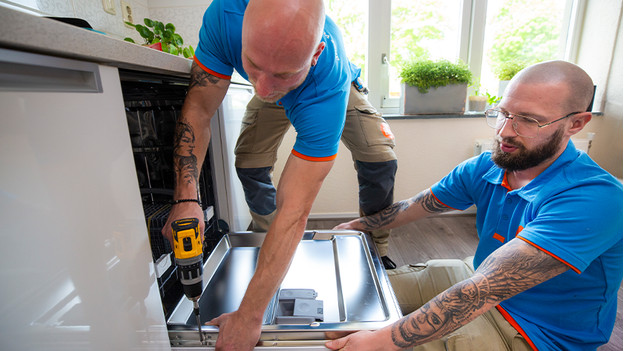
You can now attach the kitchen panel to the door of the dishwasher. In most cases, you can mount the kitchen panel to the door and then secure it with screws. Check the manual to see how to do this for your dishwasher.
Step 7: secure the dishwasher
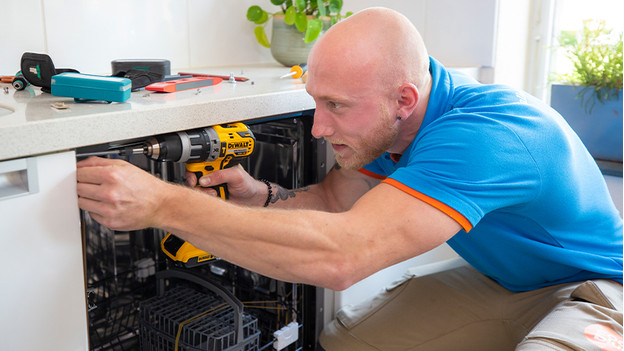
Now that you've attached the panel, it's time to secure the dishwasher in the kitchen. Secure the dishwasher onto the previously placed mounting brackets. You need a manual screw driver for this.
Step 8: replace the baseboard
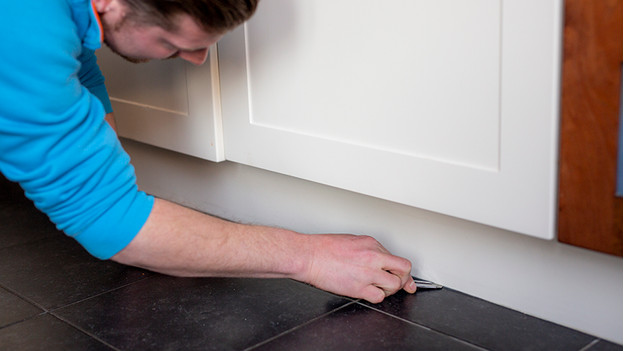
The final step is to replace the baseboard. You might need to saw off a piece to make room for the door of the dishwasher. You've now built in your dishwasher.
Choose our build-in service

Are you struggling to build it in or don't have the time? Let us do it for you. For an extra fee, we'll take out your old dishwasher and build in your new one right after. We'll connect it and take your old dishwasher with us. That saves you some time.


