Written by Nina
Edited on
12 March 2024
·
16:01
Get started with a gimbal for your camera
You've purchased a gimbal for your camera and are ready to shoot your first stable footage. Before you get started, you have to get the gimbal ready for use. We'll explain how to do that in this article step by step. You'll record smooth videos that look professional in no time.

Getting started with a gimbal
If you set up your gimbal properly, you can easily record smooth videos. With the following steps, it's not a lot of work to set up your gimbal and you'll be able to get started soon.
Step 1: mount your camera onto the gimbal
Step 2: balance the camera and gimbal
Step 3: download the app
Step 4: practice with the gimbal

Step 1: attach your camera to the gimbal
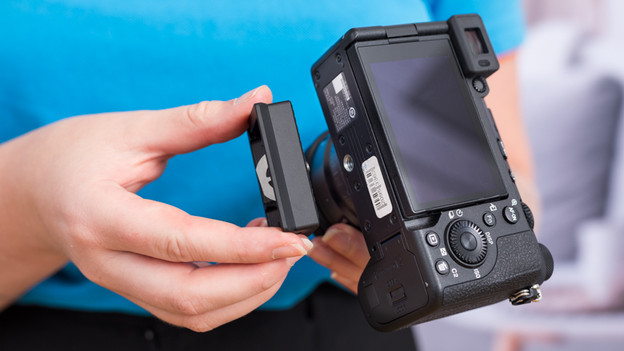
You can mount your camera onto the gimbal with a quick-release plate. This plate has a screw connector, just like your camera. First, screw the quick-release plate onto the screw connector of your camera. Make sure it's secured properly and can't rotate on its own. Now, put the gimbal on a flat surface or on a mini tripod. Slide the plate with the camera onto the head of the gimbal. It's secured properly when the camera can no longer slide.

Step 2: balance the gimbal
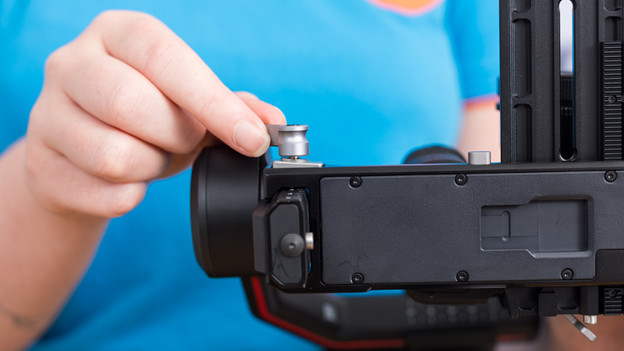
It's important to balance the gimbal. If you don't do this properly, your camera will tilt forward or backwards. That way, the gimbal won't work. Take your time balancing it out. Open the levers of the axes one by one. Move the axis carefully until the camera no longer tilts. Balance all 3 axes this way. Note: the center of gravity of your camera changes when you zoom in or out, because the lens becomes longer or shorter. This means you'll have to balance the gimbal again when you zoom. For an extensive explanation on how to balance your gimbal, you can view the article below.

Step 3: download the app
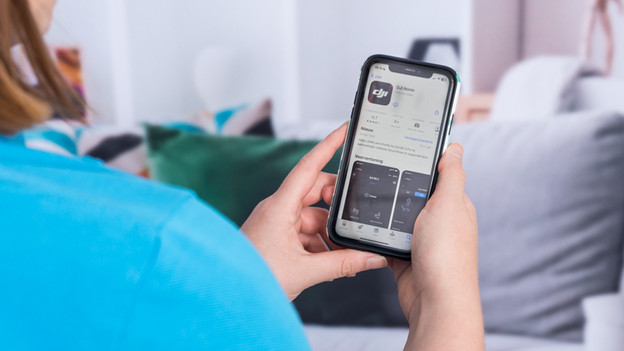
You can get the most out of your gimbal with the accompanying app. This app lets you control it remotely. You can easily start recording this way, which is useful if you want to record yourself. Via the app, you can also use automatic modes, like DJI Active Track. In this mode, the gimbal will track the motions of an object itself. For Zhiyun gimbals, you have to download Zhiyun Play. You can use the DJI Ronin app for DJI gimbals. Start the app and connect your phone to the gimbal.

Step 4: practice with the gimbal
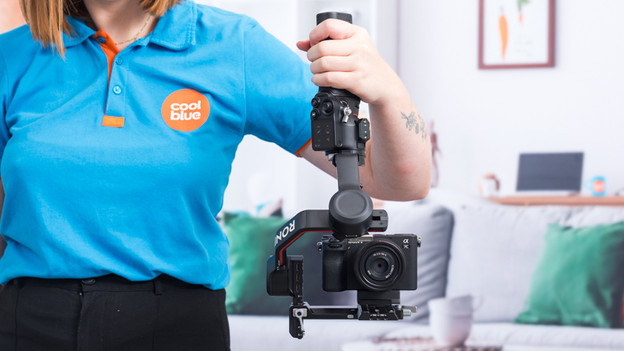
Is your gimbal balanced and did you install the app? It's time to practice. Recording videos with a gimbal takes some time to get used to. That's why it's good to practice with different types of images and automatic modes. It's often nice to start off slowly with a gimbal. This'll make images look extra smooth. Some gimbals have a joystick, which you can use to spin the head. If you move the gimbal and the head into the same direction at the same time, you can create a cinematic image. Experiment with different techniques, so you can record professional videos in no time.
Article by Nina
Gimbal Expert.
