What do you keep in mind when expanding your WiFi network?
Expand your WiFi network
We'll give an extensive explanation on how to expand a network in this article. If you want a brief explanation, read the article via the link below. Otherwise, follow these steps:
- Disable a DHCP server
- Use different channels
- Create 1 large network
- Set the router to access point mode
Tip 1: switch off 1 DHCP server

Each router has a so-called 'DHCP server'. Thanks to the DHCP server, the device that is connected to your router receives a unique IP address so it can access the network and the internet. If you want to expand your network, it's possible your purchased solution also has this function. In the example below, I'm using an access point. As it connects to the network of your access point, the connected device (for example your phone) receives a unique address from both your router and the access point. As a result, it's possible you can't establish a connection or the connection keeps failing.
It's very similar to postal delivery. If a house has 2 different house numbers, how will the delivery driver know they're at the right address?
This is why it's important to switch off this function. You can read how to do that below.
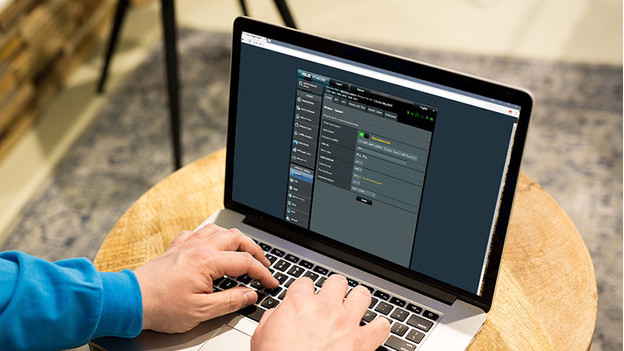
- Open the Network Settings via the control panel. If you can't find the control panel, check the manual.
- Log in with your username and password. You can also find these in the manual if you haven't configured them already.
- Find the DHCP settings. Generally, these can be found in the LAN settings of the device.
- Switch off the DHCP server and save the settings.
- You now have a stable network and internet connection and your phone gets only one unique address. Don't close the settings just yet, as you'll need this panel again for the next tip.
Tip 2: use 2 different channels

Your router broadcasts WiFi via a certain channel. If your router and new access point are on the same WiFi channel, they'll interfere. As a result, your connection will be poorer. That's why it's important to adjust the WiFi channels of both appliances. You can do this the following way:
- Search for the WiFi settings on the configuration page of your amplifier that you've used during tip 1.
- You'll see the WiFi channel in the list of WiFi options. Choose automatic. That way, your amplifier will choose a channel that won't cause interference with your own router or the router of your neighbors.
Tip 3: create one large network

Each access point has a network name. We call this an SSID. Because the SSID of your access point is very different from the SSID of your router, you have to constantly select the right network. I recommend assigning all your access points the same SSID. All you need to do is follow a number of small steps:
- You set the SSID via the control panel of the access point. This is the page you also used for tip 1 and 2. Open the WiFi settings via this page.
- You can find the SSID among the options shown here. Enter the same WiFi name your router has.
- Select WPA2 as the security method and enter the same password as the one used for the network of your router. Are you using a different form of security with the router? Use the same type of security here.
- Save the settings. If you search for available networks, only 1 network appears.
Tip 4: set the router to access point mode

An access point is a network device that allows you to create an extra WiFi point. You can also configure your new router this way. You can have your router serve as a powerful WiFi extender that you can place in the bedroom or even in the attic, for example. As a result, you have WiFi throughout your house without the second router interfering with your existing network.
- Open the network settings in the control panel. If you can't find the control panel, check the manual.
- Log in with your username and password. You can also find these in the manual if you haven't configured them yet.
- Look for 'Network Connections'. Check the manual to find the exact location.
- Select 'Access Point Mode' or 'AP Mode' and set up your router.
- Once you've saved the the settings, you have a stable network and internet connection and your phone only gets 1 unique address.


