Written by Manon
Edited on
1 October 2025
·
10:02
Tips for changing your lens
Don't have any experience with changing lenses? No worries, practice makes perfect. It's most important that no dust gets inside the camera or on the lens. In this article, we'll explain how to change the lens of your camera in 5 steps and we'll give tips.
Get started with changing your lens
Before you change your lens, we'll give 4 tips to do this quickly and safely.
Step 1: turn off your camera.
Step 2: have the lens caps ready.
Step 3: aim the aperture downwards.
Step 4: change the lens.
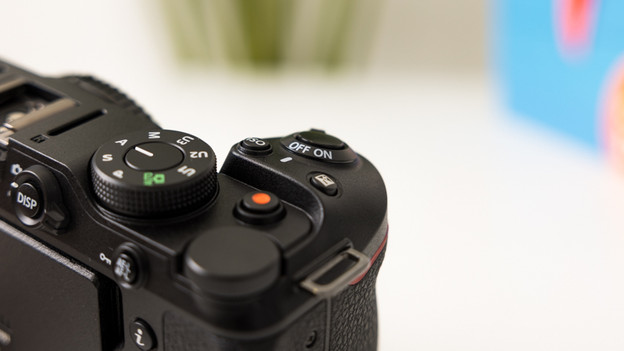
Step 1: turn off the camera
Your camera and lens communicate via contact points. To prevent damage to these contact points, it's important to turn off the camera before you change the lens. After this, you can safely remove the lens. When your camera is on, dust is more likely to stick to the sensor too. That's because the electric charge of the battery attracts dust. You can prevent damage to both the lens and sensor of your camera when you turn off the camera before you change the lens.
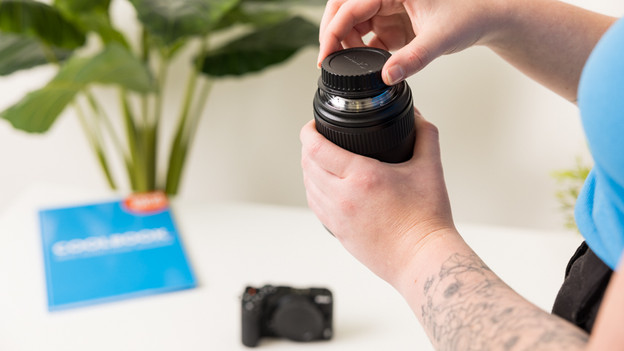
Step 2: have the lens caps ready
Only change the lens if you have the lens caps ready. After you remove the lens of your camera, make sure to screw the lens cap onto the back of the lens directly. You close the opening of the lens that way. As a result, you only briefly expose the lens to moisture or dust. This reduces the chance on damage. Don't forget to place the lens cap of the front of your lens back, so you don't scratch the lens. Once both lens caps are on the lens, you can safely store it in your camera bag.
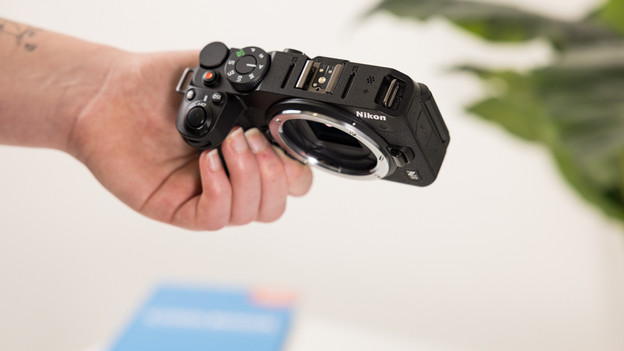
Step 3: aim the aperture downwards
Always aim the aperture downwards while changing the lens. This means you hold the camera upside-down. That way, no dust will fall onto the sensor of your camera. If dust did end up on your sensor, you'll see a dark spot in your pictures. If this happens, you can carefully clean the sensor with a special brush or have it cleaned in a store.
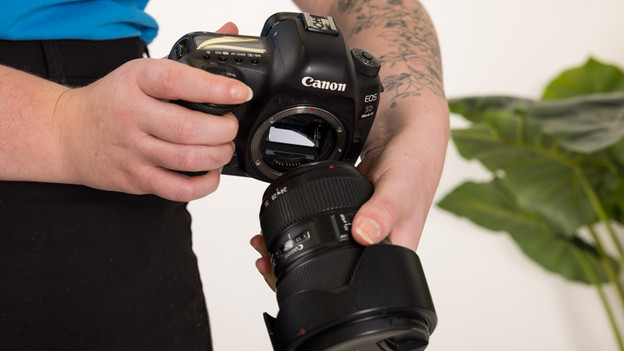
Step 4: change the lens
Now that you know how to prevent damage to your lens and camera, it's time to change the lens. Most cameras have a button next to the lens. You can remove the lens with this button. Unscrew the camera while you press this button. Screw the lens cap onto the lens right away and place it in a safe spot. Remove the lens cap of the new lens. Most cameras and lenses have a red or white dot around the aperture. Place the dots of the lens and body in the same spot, so they fall into place. Screw the lens onto the body firmly, and you're ready to take photos.
Article by Manon
Camera Expert.