How do you remove a fridge?
Remove the fridge in 3 steps

To easily remove a fridge, it's important that you follow the 3 steps below.
- Step 1. Remove the door panel
- Step 2. Unscrew the fridge
- Step 3. Lift the fridge out of the niche
Step 1a: remove the panel (door-on-door system)

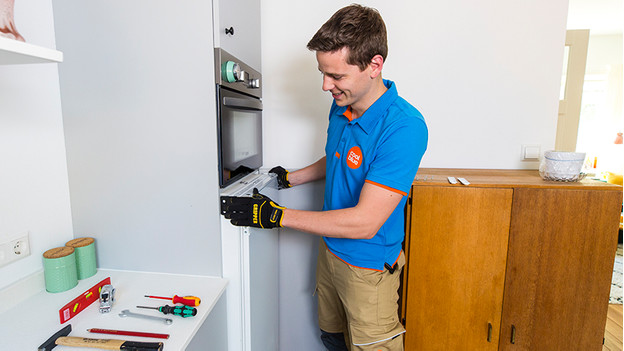
If you have a door-on-door system, you can find the screws on top of the door. Usually there is a plastic cover on top of it. Remove it and loosen the screws. Slide the front panel up from the fridge. Keep the kitchen panel that is on your current fridge. You'll need it again for your new fridge.
Step 1b: remove the panel (slider door system)

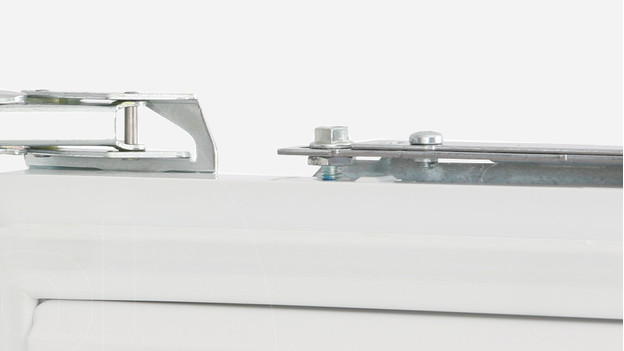
You need the current kitchen panel, but it has to be removed from your old fridge. If you have a slider door system, you should see 2 guides next to the door. Loosen the door guides by removing the screws. To detach the front panel on the inside, unscrew the hinges. Can't reach them? Wait until your fridge has been removed from the niche.
Step 2: unscrew the fridge

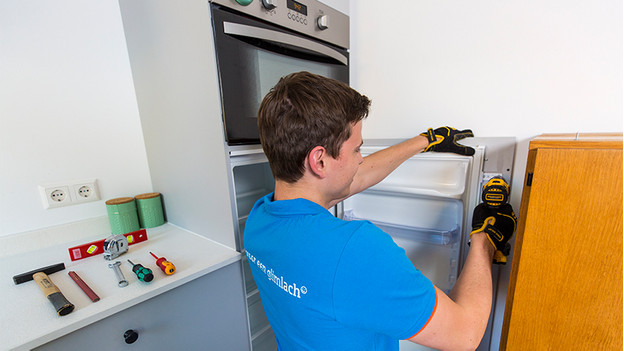
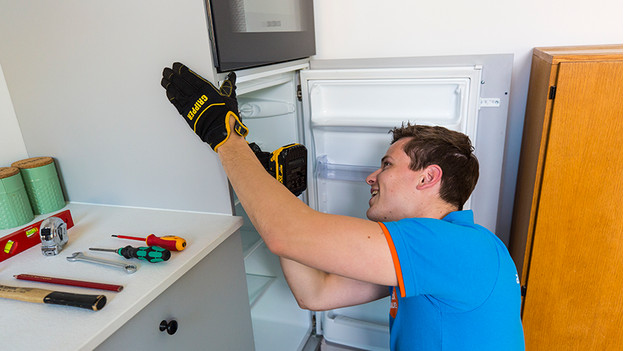
The fridge is attached in 4 places in the niche, in the top and bottom corners. The hinges are sometimes covered with a plastic cap. Remove these caps and remove the screws from the hinges. Also remove the cover strips. Check if you can bring the fridge forward. Does it seem like it's still stuck somewhere? Check to see if there are any screws on an extra strip above or in the fridge.
Step 3: lift the fridge out of the niche

When the fridge is unscrewed, carefully remove it from the niche. Keep in mind that you still have to unplug the power cord. Slide the fridge forward as far as possible. Rest it on your leg and lift it out of the niche.


