How do you adjust the RAID setup of your Synology NAS?
What's a RAID setup?

RAID stands for 'Redundant Array of Independent Disks'. In a RAID setup, you combine hard drives to increase performance or better protect yourself from data loss. Do you already know which RAID setup you want? Continue reading. If you want to know which different RAID setups there are, first read 'Advice on RAID'.
Different options: Adjust RAID setup
Setting up or changing a RAID setup isn't difficult, you just have to know how it works. In this article, we highlight 3 different options:
- You want to create a new RAID setup (Note: files will be deleted).
- You want to change your current RAID setup.
- You want to restore your old RAID setup (Note: files will be deleted).
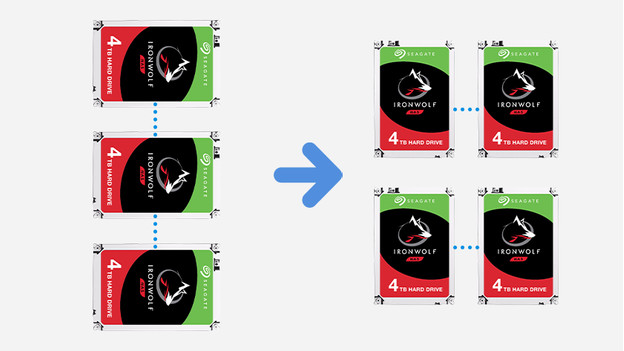
Option 1: Create a new RAID setup
If you haven't set up a RAID yet, you can choose any RAID setup you want. Note that you need a certain number of drives for each RAID. See the complete overview below:
New RAID setup options
| From | To | Minimum number of drives |
|---|---|---|
| No RAID | Basic or JBOD | 1 |
| No RAID | Raid 0 or 1 | 2 |
| No RAID | Synology SHR | 2 |
| No RAID | Raid 5 | 3 |
| No RAID | Raid 6 or 10 | 4 |
| No RAID | Synology SHR-2 | 4 |
How do you set a new RAID setup?
Warning: if you create a new RAID setup, all files on the disks will be deleted. Make a backup if you want to keep it.
- Open http://find.synology.com in a web browser (e.g. Google Chrome, Safari, Firefox, or Internet Explorer) to open the NAS user interface. Use a computer that is connected to the same network as the NAS for this.
- Click the main menu in the top left corner and then click 'Storage Manager'.
- Select 'Storage pool' in the menu on the left of this screen and then click 'Create'.
- Choose 'Better Performance' if you only want to create one volume with faster file transfer or choose 'Higher Flexibility' if you want to create multiple volumes. (Note, if you choose 'Better performance', SHR and SHR-2 aren't an option.)
- Choose the type of RAID you want and click 'Next'.
- Now choose which hard disks you want to use for this RAID setup.
- Check your choices again and then confirm your settings with 'Apply'.
- Go left in 'Storage Manager' to 'Volume' and click 'Create'.
- Leave it at 'Choose an existing storage pool' and go to the next page.
- Choose how big the volume should be, go through the following steps, and click "Apply."
- Your disks have now been converted to a RAID setup.
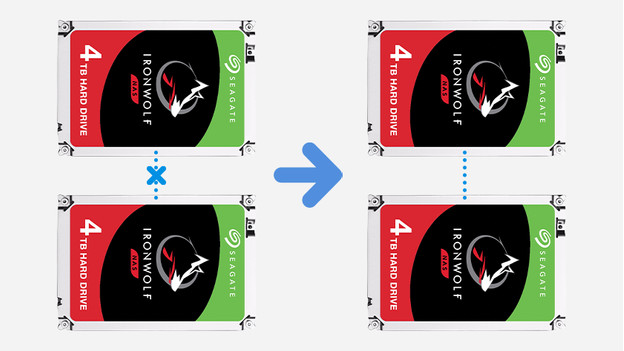
Option 2: Change RAID setup
Are your hard drives already running in RAID setup, but do you want to change them without losing your data? You can, but the options are limited. There are only 5 possible changes you can make, namely the following:
Change options RAID setup
| From | To | Minimum number of drives |
|---|---|---|
| Basic or JBOD | RAID 1 | 2 (1 more than basic) |
| Basic or JBOD | RAID 5 | 3 (2 more than basic) |
| RAID 1 | RAID 5 | 3 (1 more than RAID 1) |
| RAID 5 | RAID 6 | 4 (1 more than RAID 5) |
| SHR | SHR-2 | 4/5 (2 more than SHR) |
How do you change the RAID setup?
How do I set a new RAID setup? Warning: If you change a RAID setup in a way not mentioned in the table above, all files on the disks will be deleted. If you do it right, you the files. Make sure to make a backup.
- Open http://find.synology.com in a web browser (e.g. Google Chrome, Safari, Firefox or Internet Explorer) to open the NAS user interface. Use a computer that is connected to the same network as the NAS for this.
- Click the main menu in the top left corner and then click 'Storage Manager'.
- A new screen opens. Select 'Volume' in the menu of this screen on the left.
- Choose the volume on the right and press 'Manage' at the top.
- In the next screen, choose the option 'Change RAID type'. Then press 'Next'.
- Select the desired RAID setup and press 'Next'.
- Have you added new hard drives to the NAS? Select them and press 'Next'.
- The RAID setup has now been adjusted.
Option 3: Restore RAID setup
Warning: it's not possible to restore a RAID setup to the original setup without losing the data on the disks. Do you want to go back to a previous RAID setup? Follow these steps:
- Open the configuration page of your NAS. Use a computer connected to the same network as the NAS. (Optional) Make a backup of the data on the hard drives. You can do this via the 'Synology Hyper Backup' application.
- Open the main menu and select 'Storage Manager'.
- A new screen opens. Select 'Volume' in the menu of this screen on the left.
- Select the volume on the right and press 'Delete' at the top. Confirm the deletion.
- After deleting, choose 'Create' at the top.
- Choose the disks you want to use and press 'Next'.
- Select the desired RAID setup and click 'Next'.
- The RAID setup has now been created. It may take a few hours for the volume to be completely ready for use. You can see when it's completely ready for use by the status in the volume overview.