How do you make IP camera recordings with your Synology NAS?
Install IP camera for Synology in 5 steps
It's not difficult to connect your IP camera to Synology Surveillance Station. To help you as well as possible, we've listed steps for you here:
- Step 1. Install Synology Surveillance System
- Step 2. Connect the camera
- Step 3. Enter the camera data
- Step 4. Go through all your settings
- Step 5. Check the connection
You need:
- A Synology NAS
- Internal hard drives to store your footage
- A suitable IP camera
- A laptop or desktop
- A (modem) router your NAS, IP cameras, and computer are connected to
Step 1: install Synology Surveillance Station
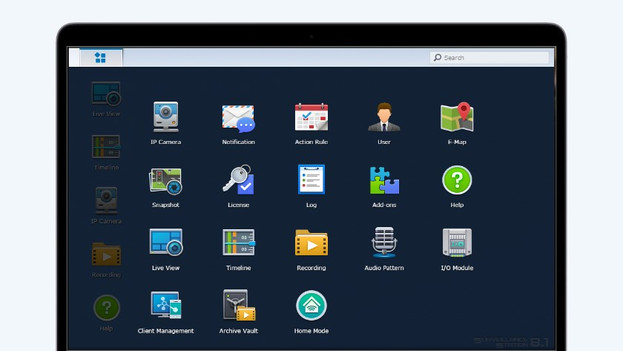
Before you can add a camera to your Synology NAS, you have too setup Synology Surveillance Station. This allows your to stream live footage from your camera to the NAS, and store it as well. Go to 'Synology Package Center and find 'surveillance station' The app appears on the right side of the same windows. Click 'Install' and wait until the installation is complete. You'll then see Surveillance Station in the main menu. Do you see an empty window when you open the app? Don't worry, that's because you haven't connected a camera yet.
Step 2: connect the camera to your NAS
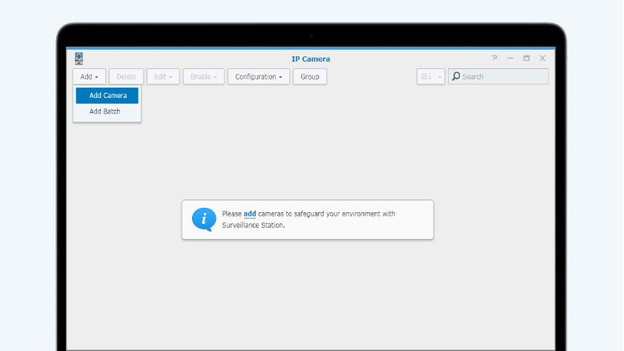
Now, we're going to connect the camera to your Synology NAS. Click in the top left corner to go to the main menu and go to IP camera. Don't see any connected cameras? Click 'Add' and enable the Camera Wizard. Select whether you want the complete or quick installation.
- With the quick installation, you only have to enter the most important information.
- With the complete installation, you can also adjust the video settings, recordings, and schedules.
Want the quick installation right now? You can still adjust the other information later. Select the server you want to connect the camera to and click 'Next'.
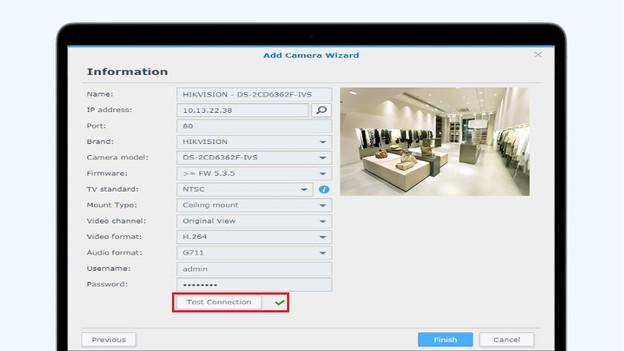
Step 3: enter the camera information

You should now see an empty field. Click the magnifying glass next to 'IP address'. Surveillance Station will then automatically look for available devices. Select your camera in the menu and click 'OK'. The app fills in the information you entered earlier so you don't have to do this again. Want to use extra functions like firmware, connection type, or UPnP? Disable this function on your camera first. Once you've filled in everything, choose 'Test Connection'. This won't take longer than 1 minute, and you'll see a green check mark after that. In the window next to the information, you can see the life fee from your IP camera right away.
Step 4: check all your settings
If you've chosen the complete installation, you'll see more settings on the following page.
-
Adjust video settings, such as the audio format, streaming profile, resolution, and frame rate. You can do this for up to 3 streams at the same time
-
After that, you can adjust the settings. You can choose the pre-recording time and how log you should store footage. You can also choose where to store the images. You can also choose the drive or volume you want to store the footage on here.
-
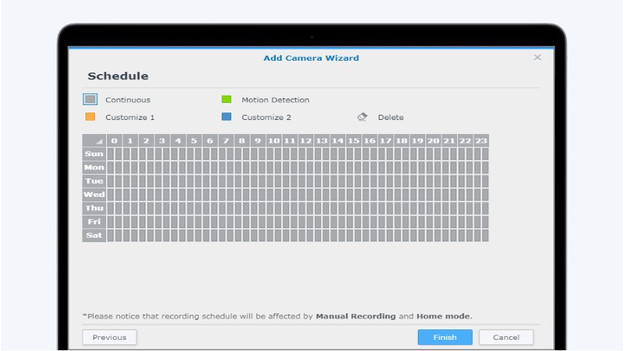
Set a schedule for your recordings. Click the fields above the time schedule and drag your mouse to the right recording duration.
Step 5: check the connection
Now that the installation is complete, cameras will appear in the list with their status behind the names.
- When a camera is connecting, 'Activate' appears next to the camera.
- If the camera isn't connected, you'll see 'Disconnected' with a possible reason next to the camera.
Want to watch the camera footage? Start Surveillance Station and go to the main menu. Click 'Recoding' and choose the recording you want to play.
Did the installation fail?
Why won't my camera connect after the connection test?
Surveillance Station can't detect your camera, what do you do?
What do you do if the connection test failed?