
Written by Daniël
Edited on
27 March 2024
·
08:44
How do you set up a TP-Link MiFi router?
The set up of a TP-Link MiFi router may be difficult. In this article, we'll tell you how to do this in 7 steps. You need a mobile data plan for this. The installation and set up takes about 10 minutes. After this, you can go online.
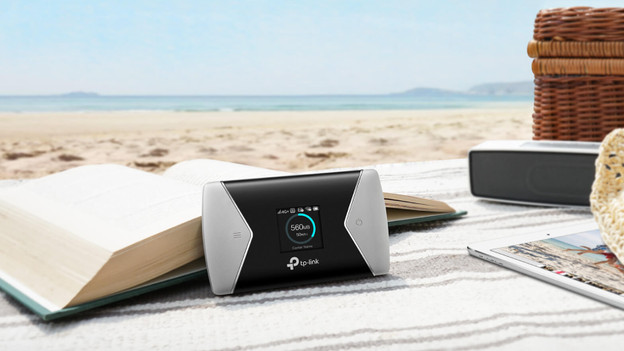
Set up a TP-Link MiFi router in 7 steps
In this article, we'll explain how to set up your TP-Link MiFi router. Follow these 7 steps and go online quickly anywhere.
- Insert the SIM card
- Turn on the router
- Start the setup
- Adjust the settings
- Set the WiFi settings
- Connect to the internet
- Set the data limit
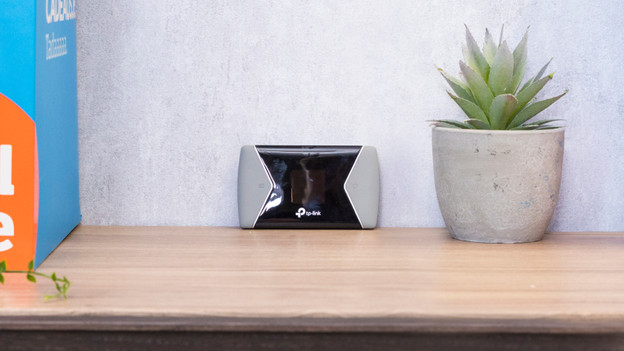
Step 1: insert the SIM card
With a TP-Link MiFi router, you can insert the SIM card under the battery. Remove the hatch on the back of your mobile WiFi router. Remove the battery from the router. Insert the SIM card. After this is done, you put the battery back and click the hatch back into place.
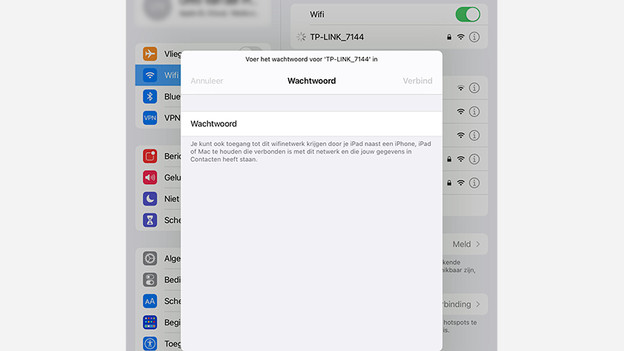
Step 2: turn on the MiFi router
Turn on the MiFi router. Make sure the battery has been fully charged before you do this. After turning it on, you'll see some information on the screen. First, connect to your MiFi router. Go to the WiFi settings on your product. At the bottom of the MiFi router or underneath the battery hatch, you'll find the name of the network and the password. Enter these to make a connection.
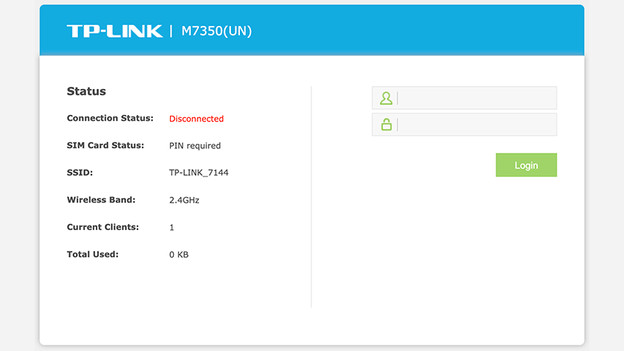
Step 3: start setup
Now that you're connected, it's time to set up the MiFi router. Open a browser like Safari or Chrome. Type in tplinkmifi.net in the search bar. Press enter. You'll now see a screen where you can log in. Enter 'admin' as a username and password. Press enter again. In the next window, enter the PIN code of your SIM card. You got these from your provider.
Step 4: mobile settings
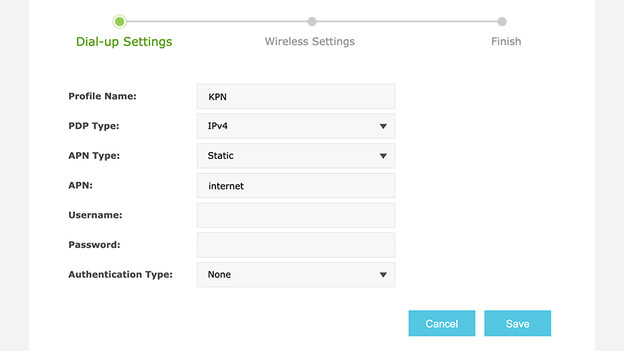
After these basic settings, the TP-Link MiFi router will start an installation wizard. You'll need information of your provider to connect. You can find this information on the internet by looking for APN in combination with the name of your provider. Isn't this working? Call your provider to get the information. Click 'Create' and enter the information. Click 'Save' to save them and 'Next' to continue.
Step 5: WiFi settings
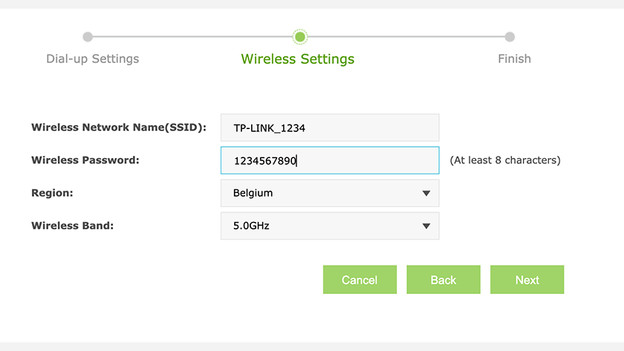
You can adjust the WiFi settings in the next window. Enter the name of the network and a password. Don't forget, because you'll need them to make a connection. You don't have to change this information, but we recommend you to do so. That way, you protect your MiFi router better. Click 'Next' to save the settings. You'll now see an overview of the settings you've set. Click 'Finish' to close this wizard.
Step 6: connect with mobile data plan
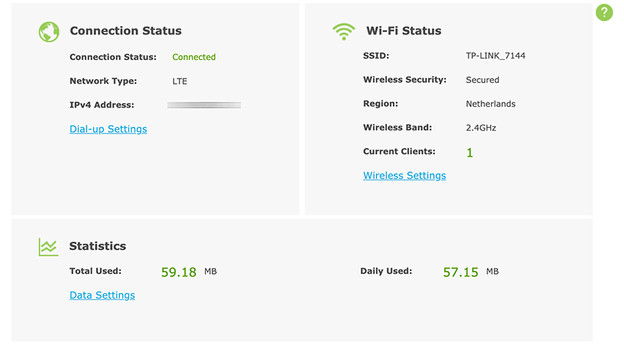
You first connect to the WiFi network that you've just set up. You can do this via the WiFi settings on your product. You can now use the internet via the TP-Link WiFi router. Test this by opening a browser like Chrome or Safari. Go to your favorite website. Still not working? Your provides might still have to activate something. Contact them to check this.
Step 7: set up data bundle
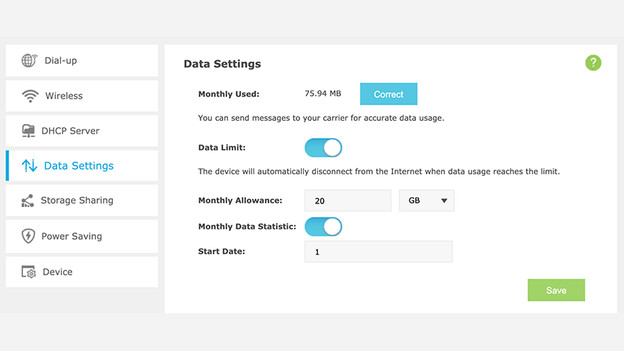
In the last step, we'll set up your data bundle. Go to tplinkmifi.net. Enter your set username and password. In the next window, click 'Data settings' at the bottom. Enable 'Data limit' to enter the amount of gigabytes in your bundle. Click 'Monthly data statistic' if it's a monthly bundle. At 'Start date', enter the day your mobile data plan started. Click 'Save' to complete the process. You'll now know how much data you have left.
Article by Daniël
Router Expert.
