How do you set up the Trust GXT gaming headset in Windows?
Nice! You just received the Trust GXT 340/363 gaming headset. To help you enjoy the product as soon as possible, I'll explain how to connect, set up, and configure the headset in this article. If you follow the steps on this page, you can use your Trust gaming headset right away.
What do you need?
- Trust GXT 340 or 363 gaming headset
- Windows 7 / 8 / 10 PC with internet connection
Step 1. Install Trust GTX driver

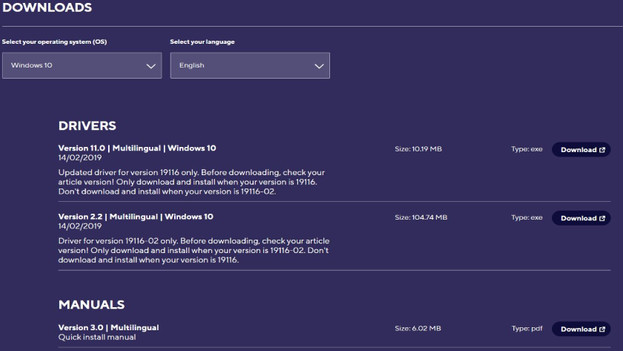
- Click the link below and find your model to go directly to the correct download page on the Trust site. The manual can be found on the same page as the driver.
- Go to Software and select the operating system of the PC and press Download exe.
- Open the downloaded file and perform the installation. Connect the USB connector of the headset to the PC if the PC indicates this and press Retry.
- When the installation is complete, choose Yes, I want to restart my computer now and click Finish.
- The PC is now restarted.
Step 2. Configure Trust GTX

The PC restarted. You can now configure the GTX gaming headset.
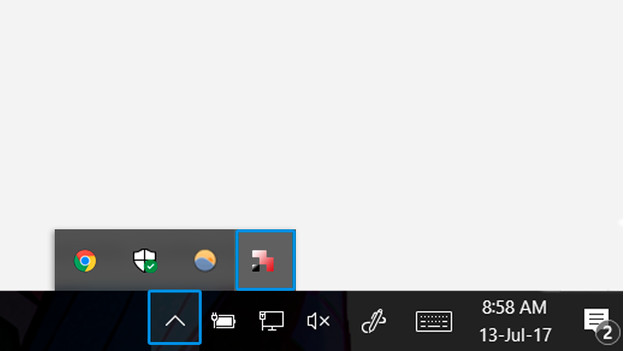
- Press the upward arrow icon on the task bar. You'll see a small window with icons.
- Double click the Trust logo in the window. The software launches now.
- Adjust the audio settings you want in the program.
Step 3. Set up sound device in Windows

In Windows, the sound settings must be adjusted.
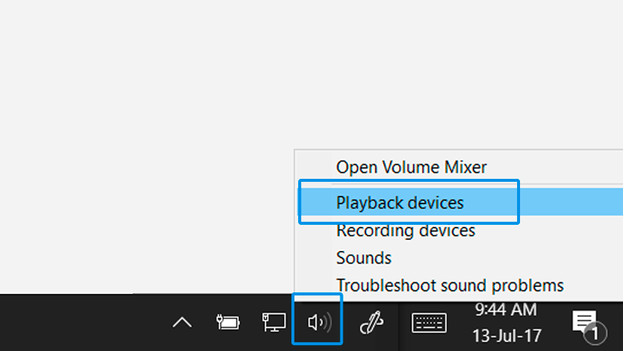
- Right-click the speaker icon on the taskbar. A window with a number of options now appears.
- Select * Playback device in the list. * A window appears, called Sound.
- Select * Trust GXT headset * speakers and click * Set default. * The sound will now play through the gaming headset.
- Now go to the tab * Recording. *
- Select * Microphone Trust GXT headset * and click * Set default. * Your voice will now be sent to the PC via the microphone of the headset.

Article by:
Giovanni
Gaming Expert.

