How do you set up an HP inkjet printer?
Before you get started
The setup takes approximately 30 minutes. What do you need?
- An HP inkjet printer
- A4 paper
- Cartridges
- A computer or laptop
- A printer cable if you have a printer without WiFi.
Note: For this article, we use the HP ENVY Photo 6234 All-in-One inkjet printer. The setup of other HP inkjet printers is almost identical. If you encounter differences during the setup, check the manual of your printer.
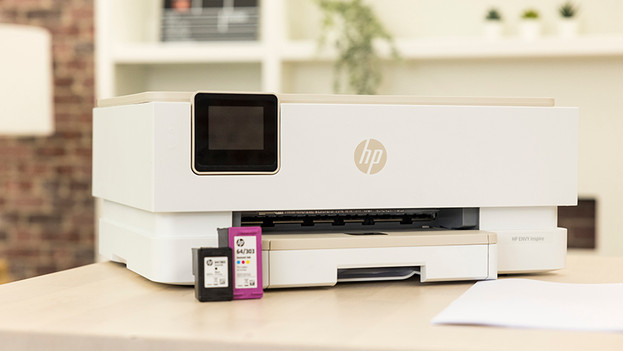
Prepare the printer
Before you begin to install your HP printer, you have to unpack and connect your printer, and remove any protective material. You can do this as follows:
- Unpack your HP printer and remove all tape and protective material from the inside and outside of the printer. Check the manual to make sure you don't miss any material.
- Plug in the power cord to power the printer. Turn the printer on and choose the correct language on the screen.
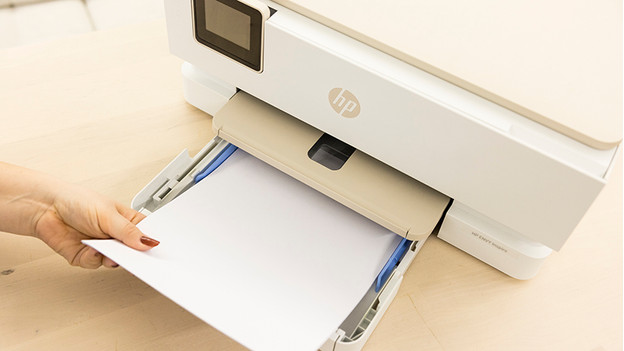
- Add a stack of paper. Note: with some models you have to clamp the paper between 2 plastic sliders that you push inwards.
The printer is now turned on, but it's not connected to a computer yet. In the following steps, we'll explain how to connect the printer.
Step 1. Install the cartridges
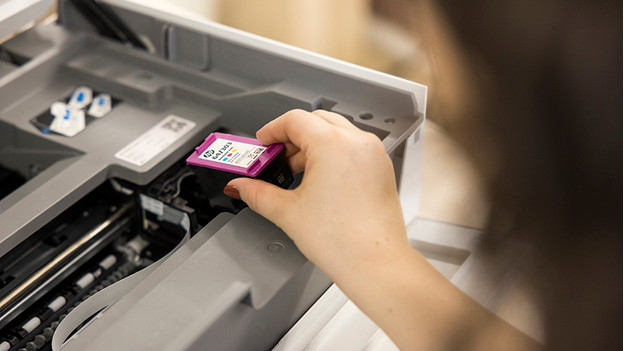
It's pretty easy to install the cartridges, but it should be done with care. First, lift the top lid of the printer. With the ENVY 6234, it's located under the scanner unit. You lift it up with the levers on the side. Remove the cartridges from the packaging and make sure you place the right color in the right place. The color is labeled at the bottom of the cartridge. Remove the (orange) sticker from the cartridge and gently push the cartridge into the holder until you hear a click. Close the lid when you have placed all the cartridges.
Note: most printers come with cartridges for setup. These cartridges contain less ink, and they're necessary for setup.
Step 2. Choose a connection method (you can also do this later)
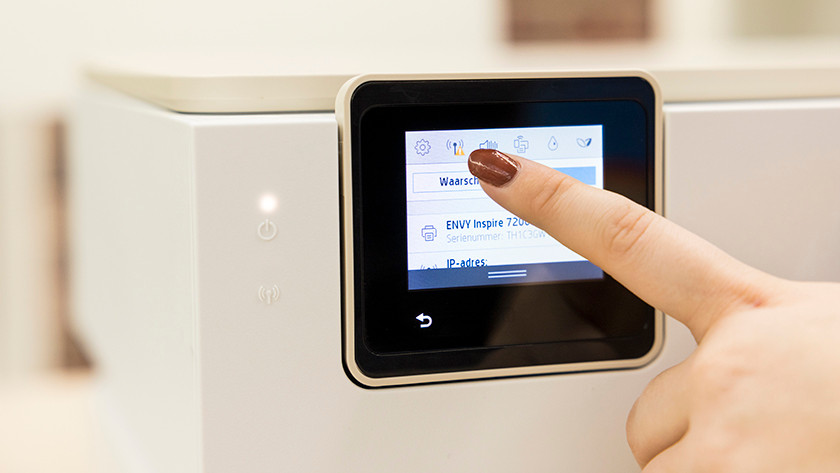
Step 2.1: Connect to WiFi
Go to the WiFi icon on your printer and to Settings. Select the Wireless Installation Wizard and follow the instructions on the screen. It can take up to a minute to connect your printer. You can also choose to connect the printer to WiFi later in the setup via the downloaded software.
Your printer can print a short manual on connecting to a wireless connection if it doesn't work after this step. To do this, press the WiFi icon and then Settings. Select Get started with printing. The printer will print a short manual how to connect the printer step by step.
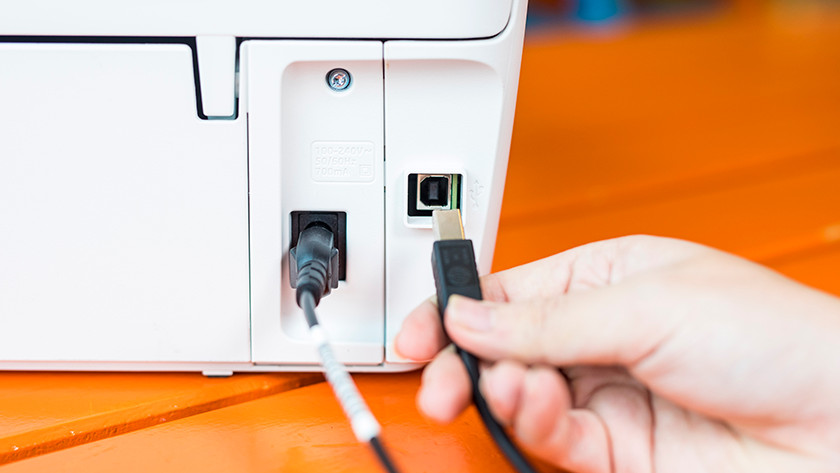
Step 2.2: Connecting via a USB cable
If you prefer to connect the printer directly to your PC or laptop without using the internet, you can use a USB cable. Plug the standard, flat USB connector (USB-A) into your laptop or PC and plug the square USB connector (USB-B) into your printer.
Do you have a Windows device? First download the software as explained in step 3 before you connect the USB cable. Do you have an Apple device? It's the other way around. First connect the USB cable and then go to step 3.
Step 3. Download the software on your laptop or PC
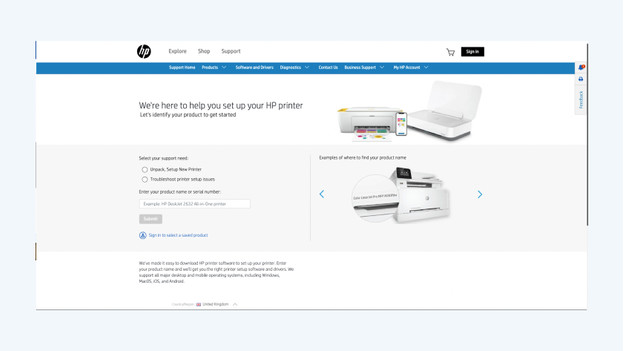
You've connected your printer. Now, we'll ensure that your computer can control the printer. We'll install the HP Smart app on your laptop or PC. Do you have an HP laptop? This app is pre-installed by default. Go to '123.hp.com' in your browser and enter the product name of your printer, such as 'ENVY 6234'. Download the HP Smart app.
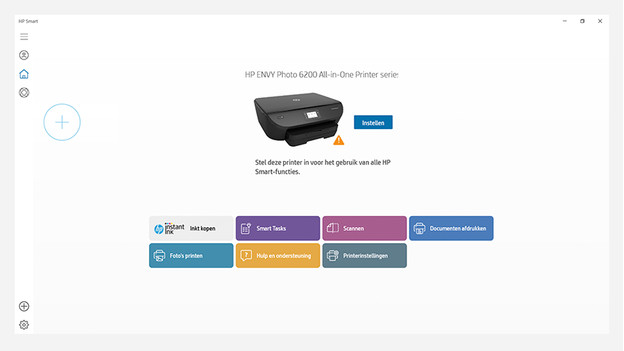
Step 4: Open HP Smart
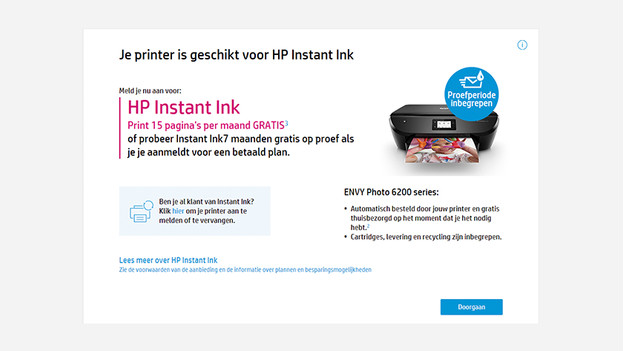
Open the HP Smart file you've just downloaded from your download folder. If you have a printer that is compatible with HP Instant Ink, the program will ask you if you want to use your trial period almost right away. Enter your personal information to use it. Don't want a trial period or do you already have an Instant Ink subscription? Proceed to the next step.
Step 5: Install software
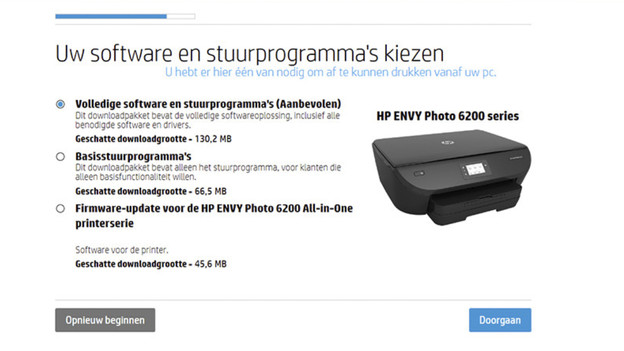
EasyStart will then ask you which software you want to install. Choose the option 'Full software and drivers' if you want additional software to solve problems in addition to the basic driver. Choose 'Basic drivers' if you only want the driver.
Step 6: installation
Your drivers are now installed on your computer. This can take a while, so feel free to grab a cup of coffee and put your feet on the desk. If you haven't connected the printer to WiFi, then look up your WiFi code or grab a network cable. After this step, the computer will connect to your printer. It's important that your printer is connected to the same WiFi network as your laptop or PC.
Start printing
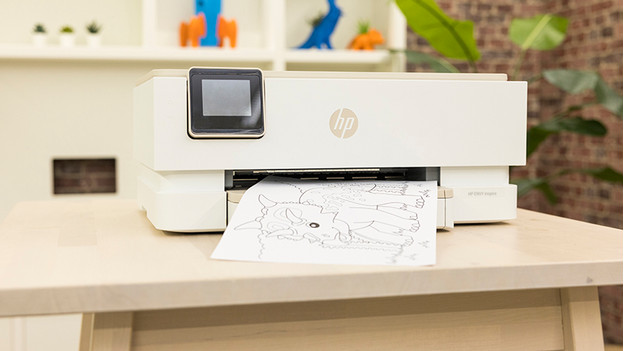
The printer will connect to WiFi and the installation is done. The printer will first print some test pages to calibrate the cartridges. Afterwards, you can star with your own first print.
Switch off the printer
It's important to turn off the printer when you've finished printing. You can do this by pressing the On/Off button. If you leave the printer on or turn it off in a different way, the printhead won't be protected. If you turn it off the right way, the printer ensures that the printhead is kept in optimal condition. This way, the print quality won't decrease and you prevent that the printer won't be able to print any documents at all.